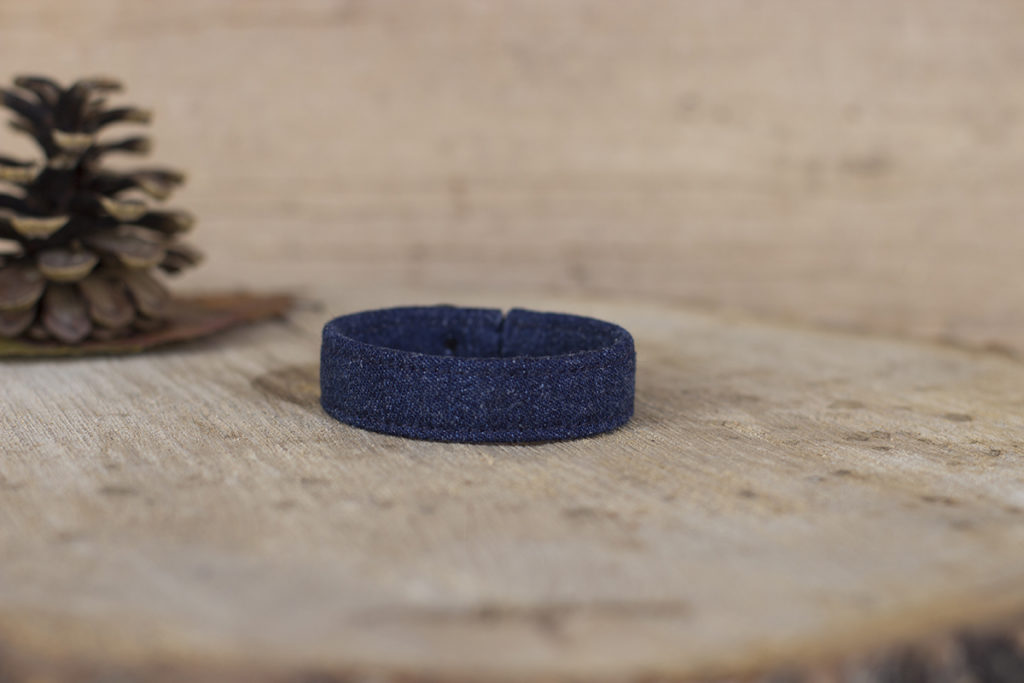
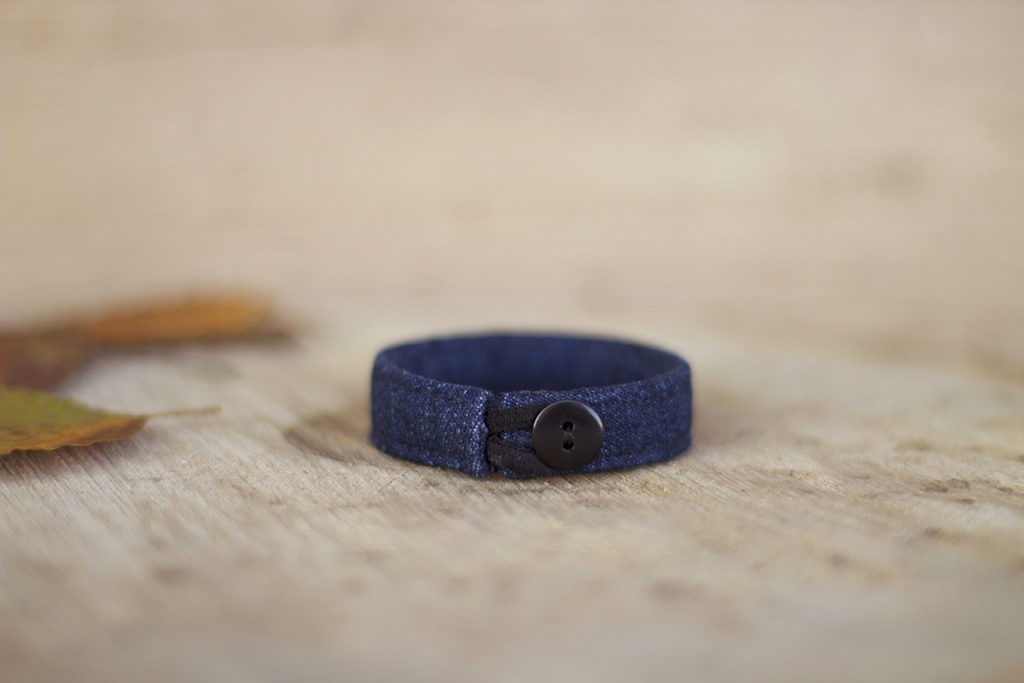
I’m not really a fan of accessories, but I’ll never refuse a denim one. I couldn’t possibly afford a 50 dollar denim bracelet on Etsy, so I started making one with some denim scraps.
So below, you have a step by step tutorial on how to make the bracelet. This is a plain one, without any details except for the button. You can add whatever you like for example a patchwork, beads or any tape of choice.
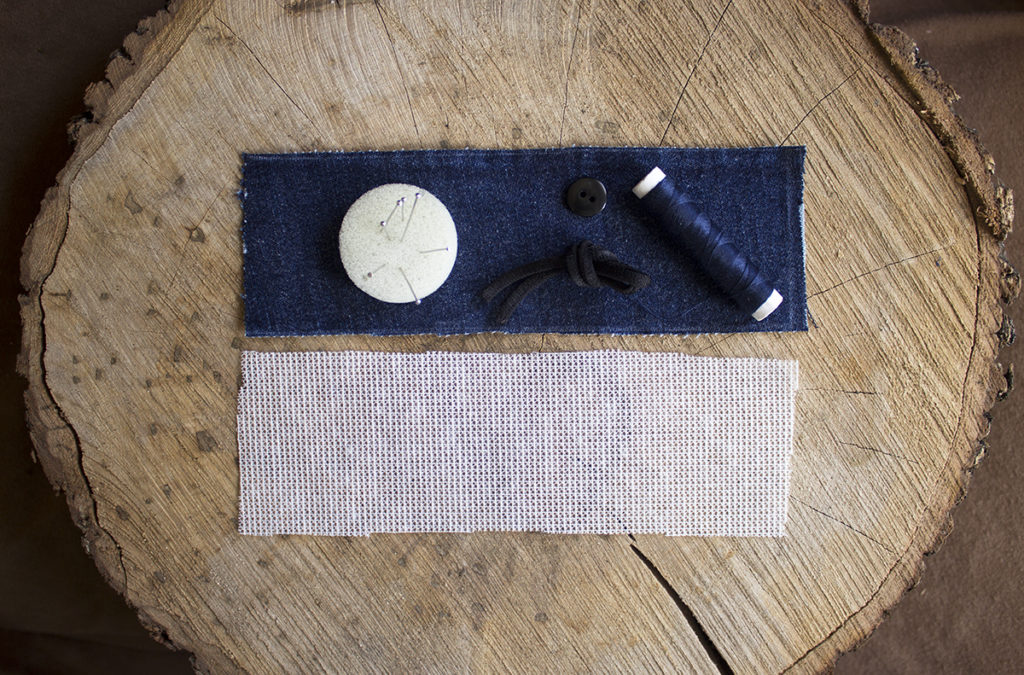
For the tutorial, you’ll need:
- Denim fabric (use scraps, old jeans or shirt)
- Cotton thread
- Fabric interfacing
- Pins
- Scissors
- Iron
- Elastic cord
- Button
First determine the length and width of your bracelet.
Measure your wrist and add 3 cm (mine was 15 + 3 = 18 cm for the length of the panel). The width of the panel was 6cm.
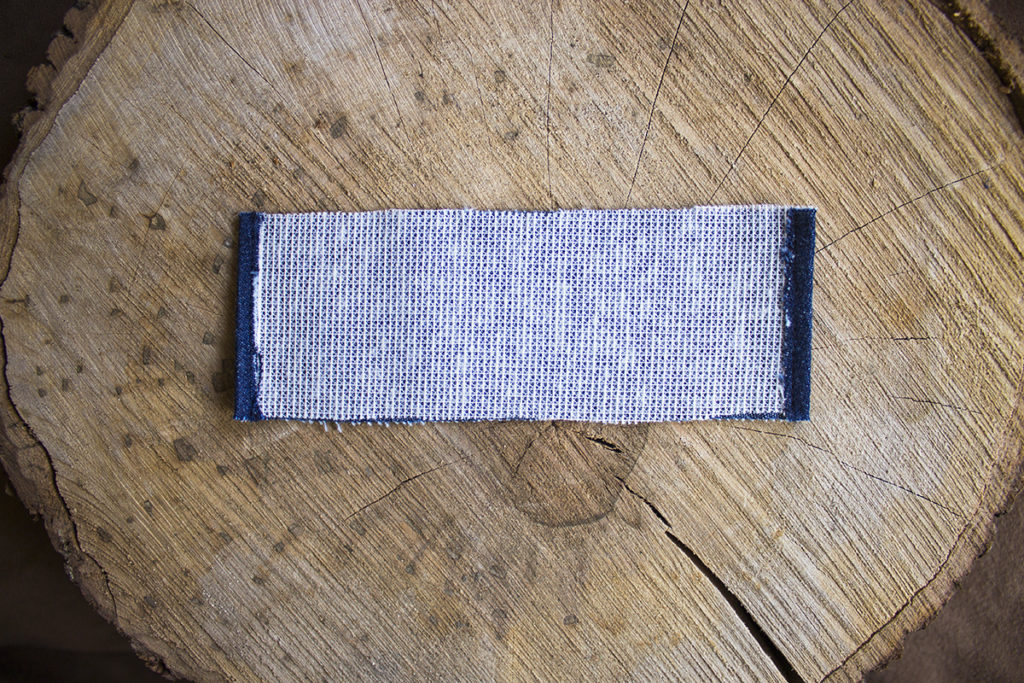
Cut the interfacing based on your denim panel.
Apply the interfacing, on the wrong side of the denim panel. Then, fold 0.5 cm and stitch on both sides.
Before folding, trim the four corners of the panel a bit. Fold the fabric edges to the center and press.
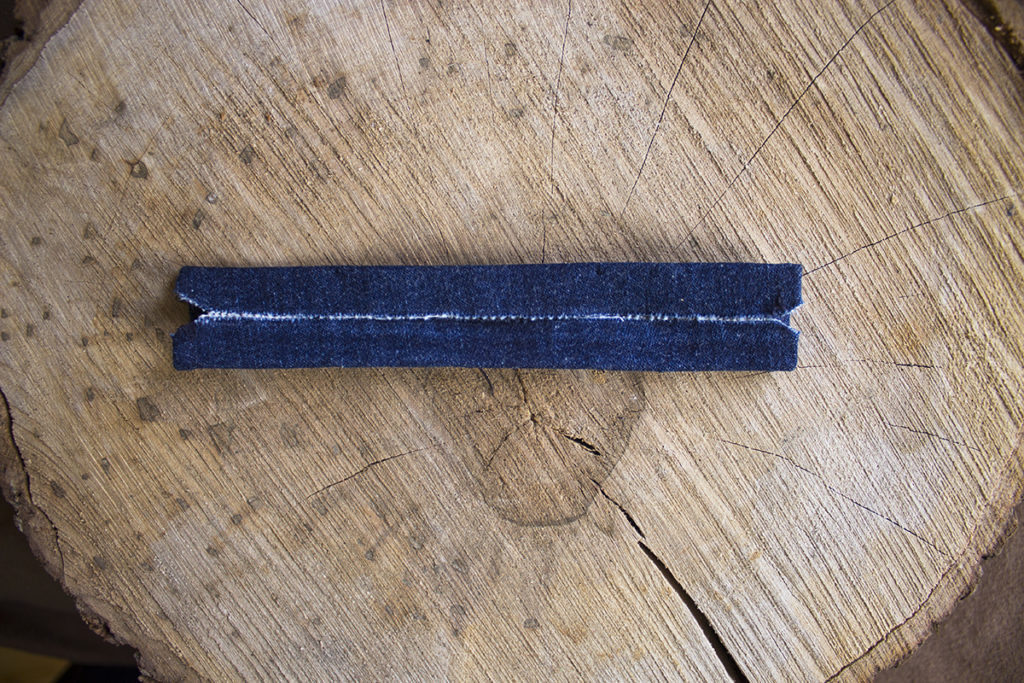
Fold again so that the raw edges are enclosed and the folded edges meet.
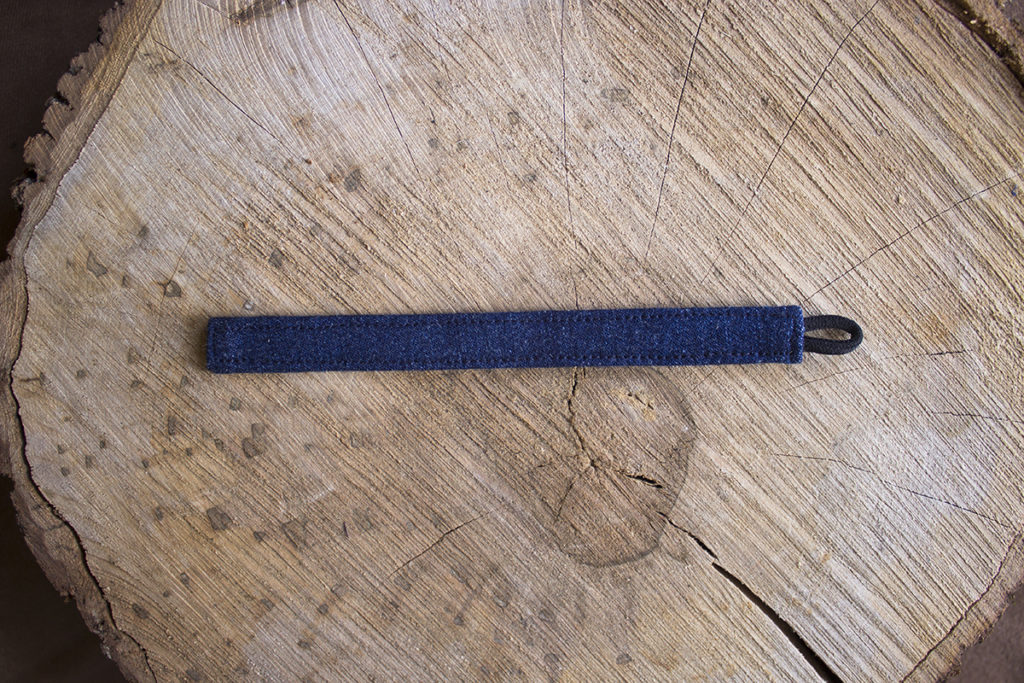
Cut a 3cm elastic, fold it in half and stitch it to form a button loop. Put the button loop between the folds. Pin the bracelet and topstitch all around, as directed on the picture below.

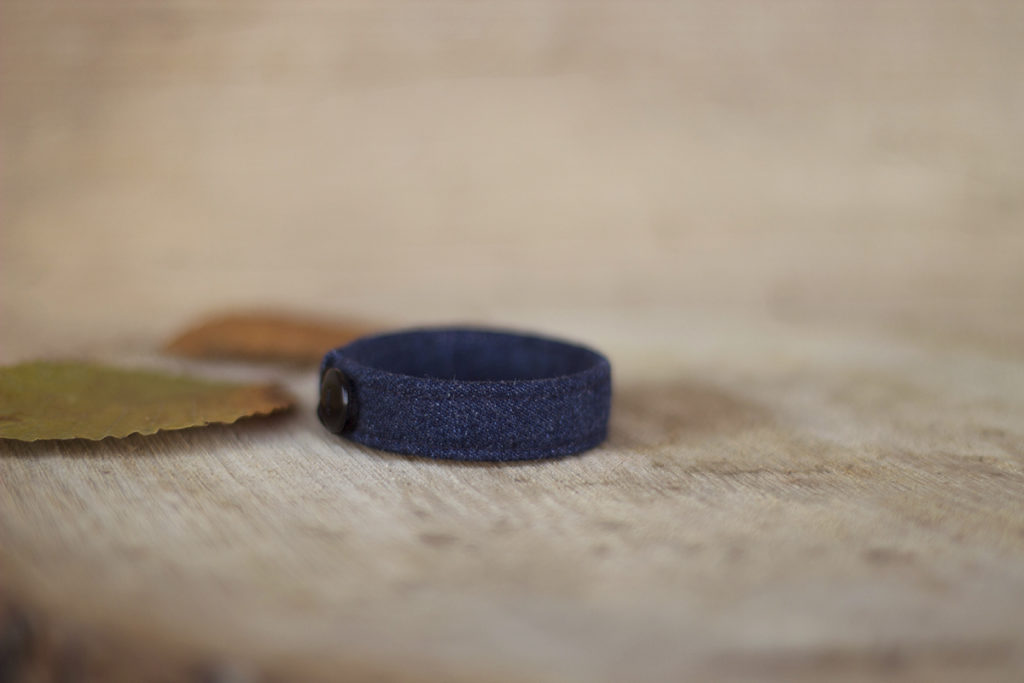
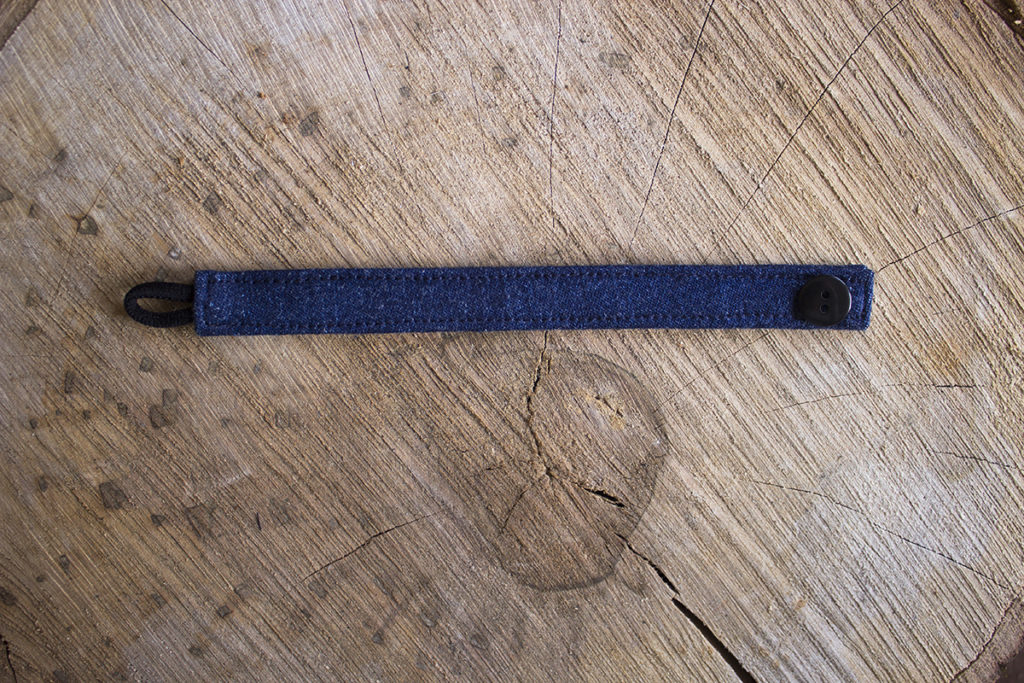
Position the button on the other side of the bracelet, 0.5 cm from the edge, and sew.
Thank you for visiting Diyclothes! Lots of love.
Tringa
Nice job! Thanks for sharing.
Thanks a lot Susan.