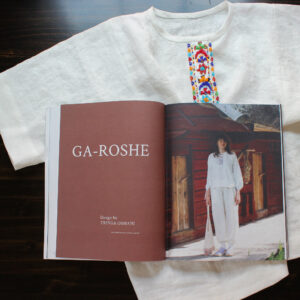
The Whipped Running Stitch is a decorative stitch that I have been applying on many of my projects since I saw it used on most of the traditional costumes of my country.
It’s easy to say that it’s one of my favorite decorative stitches since it’s not complex and does not need much thought and coordination. Embroidery is not my forte but I could add this stitch to all of my garments and it would not be enough. It’s simply beautiful especially when using contrasting threads.
In this article, I’ll walk you through how to do a basic whipped running stitch. There are many versions of this decorative stitch but let’s start with the basics before getting into more complex versions.
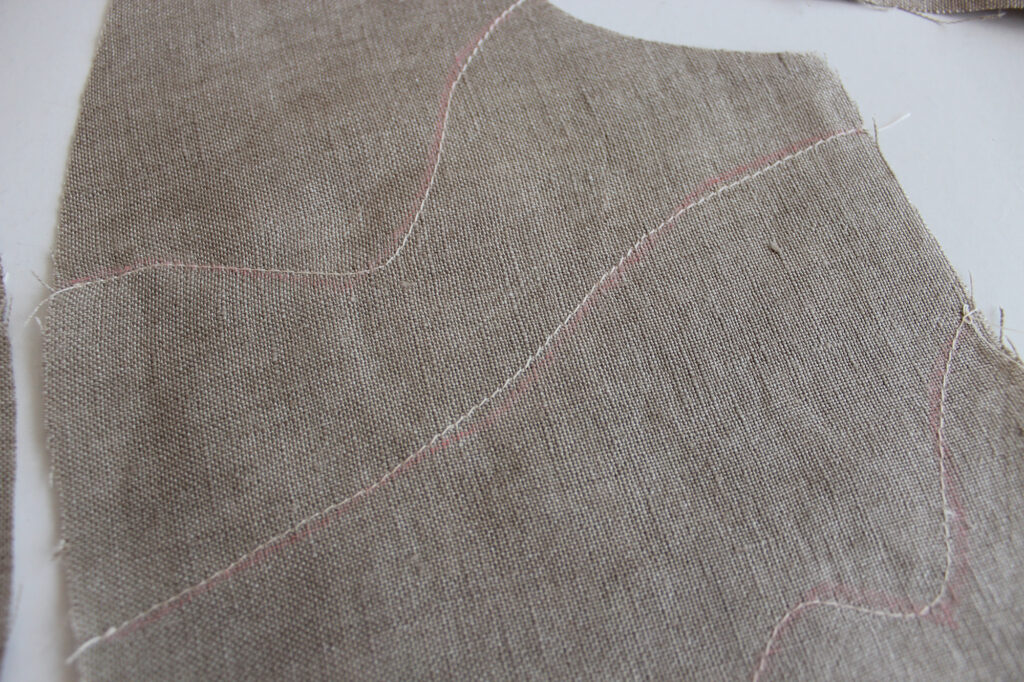
Using a regular stitch length, topstitch on the right side of your garment. Make sure to reinforce the start and the end of the seam. If you’re doing a running stitch by hand, try to keep the stitch consistent to make your work look neat and professional.
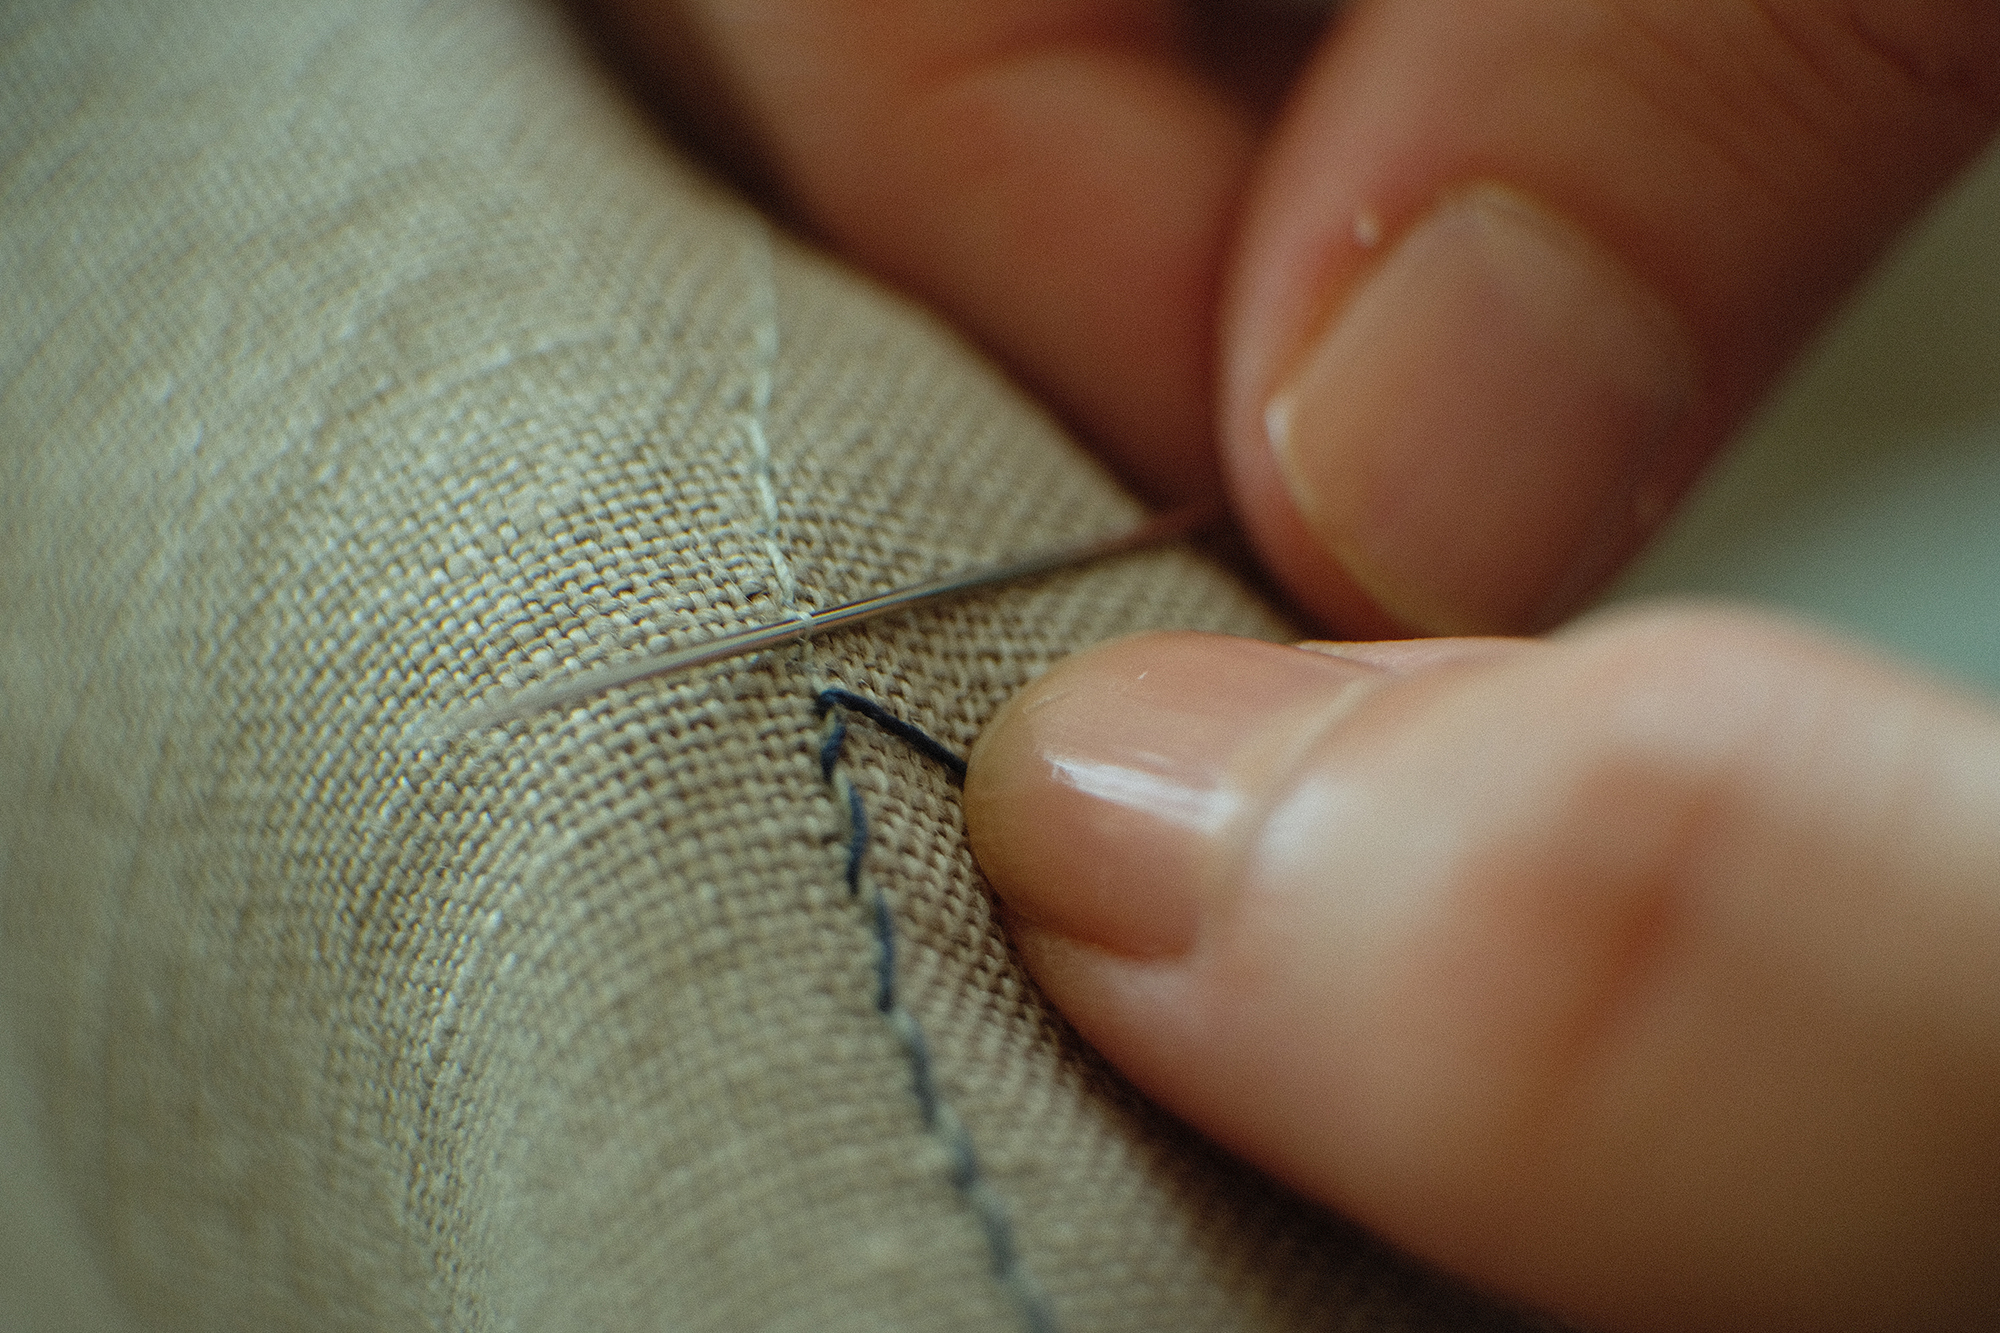
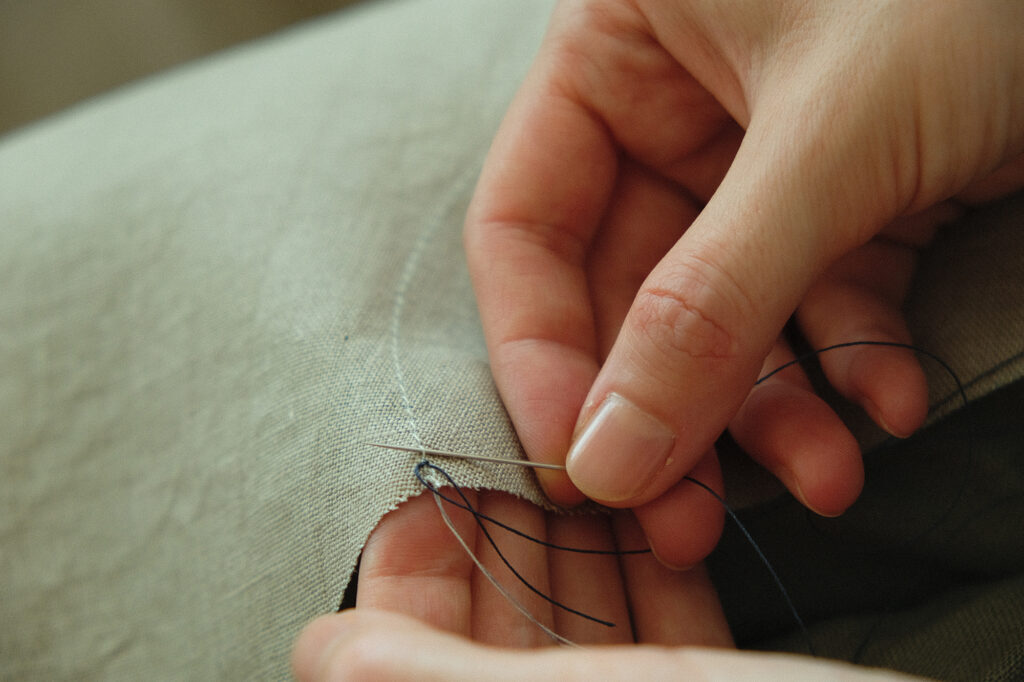
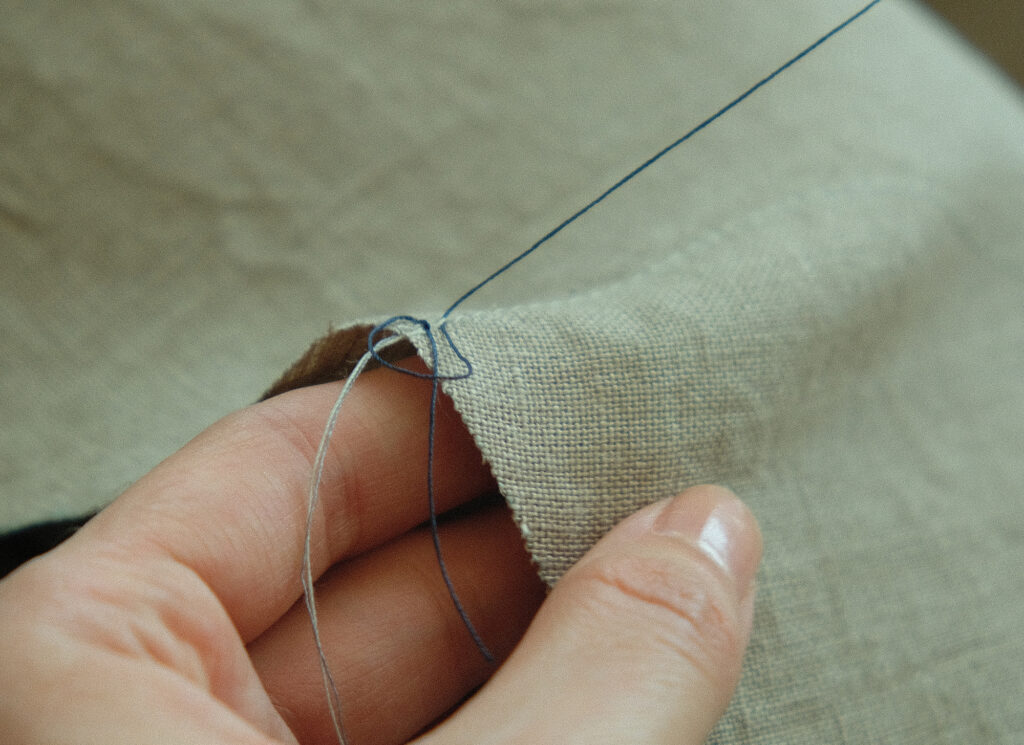
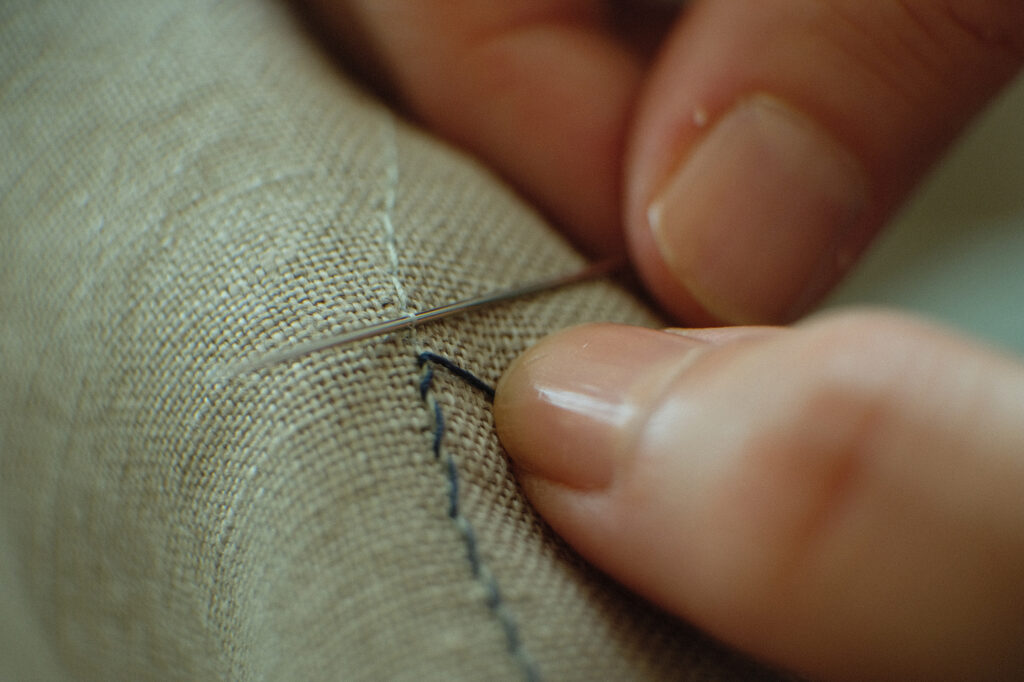
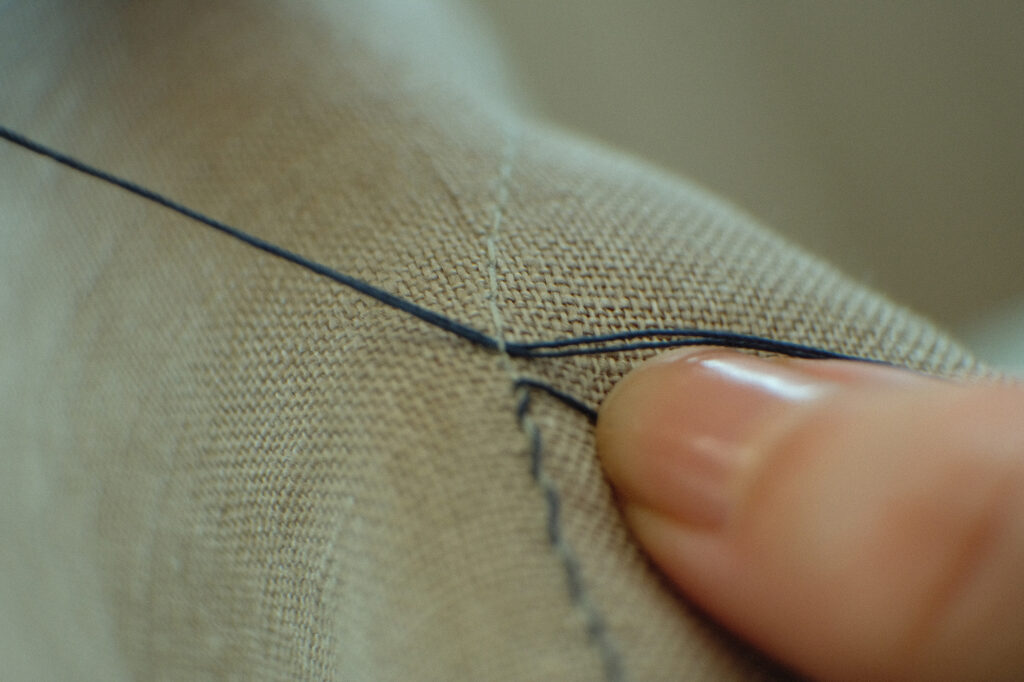
Thread a needle with a contrasting color thread and secure it. Slide the needle and thread under the first stitch either from the top or the bottom. I slid my needle starting from the bottom and continued to do so for the rest of the stitch length.
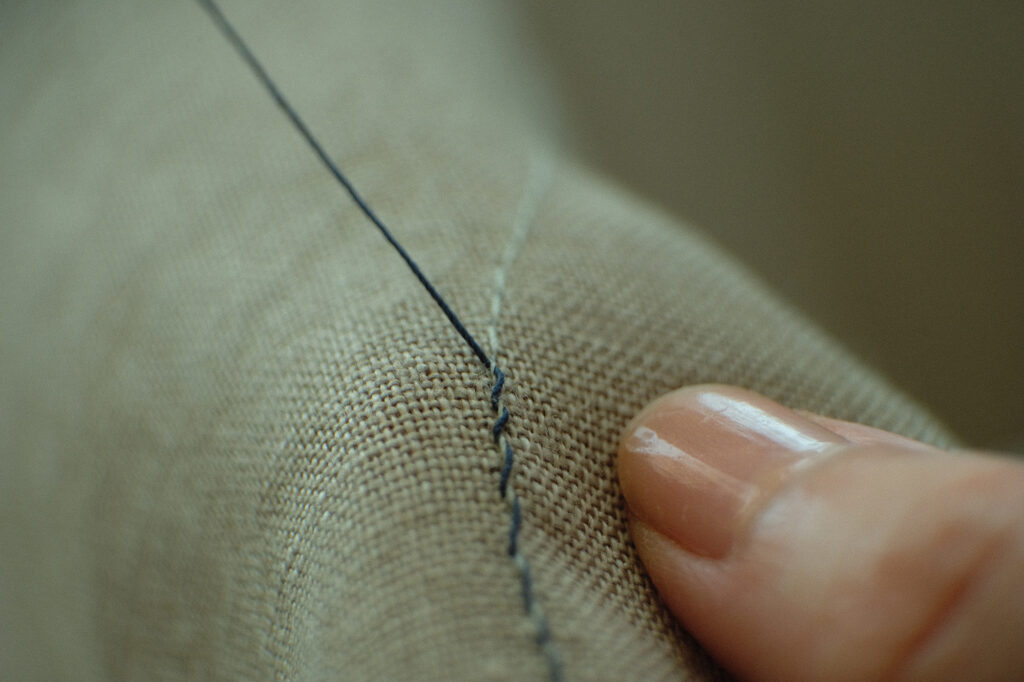
Pull the thread through, and keep sliding your thread under each stitch until you’re finished.
To finish, take your thread back down at the end of your backstitch and secure it.
The whipped running stitch has a more pronounced effect the shorter the stitch length. Additionally, the thread thickness you choose will have a significant impact. For example, both of the threads that I used had a similar weight so the effect of this beautiful stitch is pretty subtle.
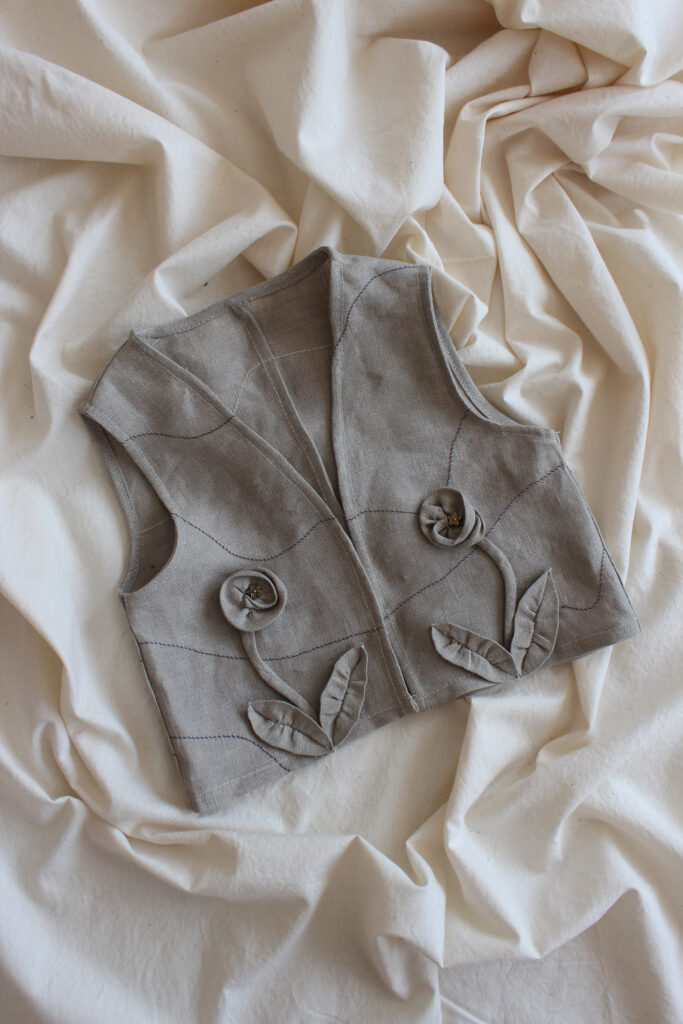
Here’s my final project: A kid’s vest decorated with the whipped running stitch.
I hope you enjoyed this tutorial!
Love,
Tringa

