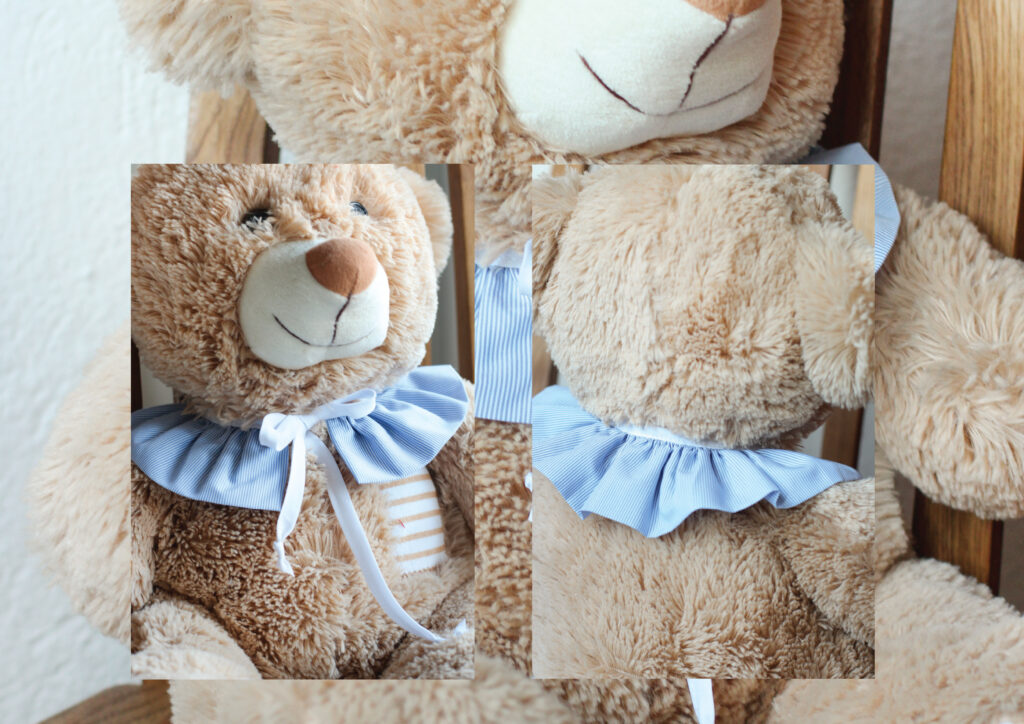
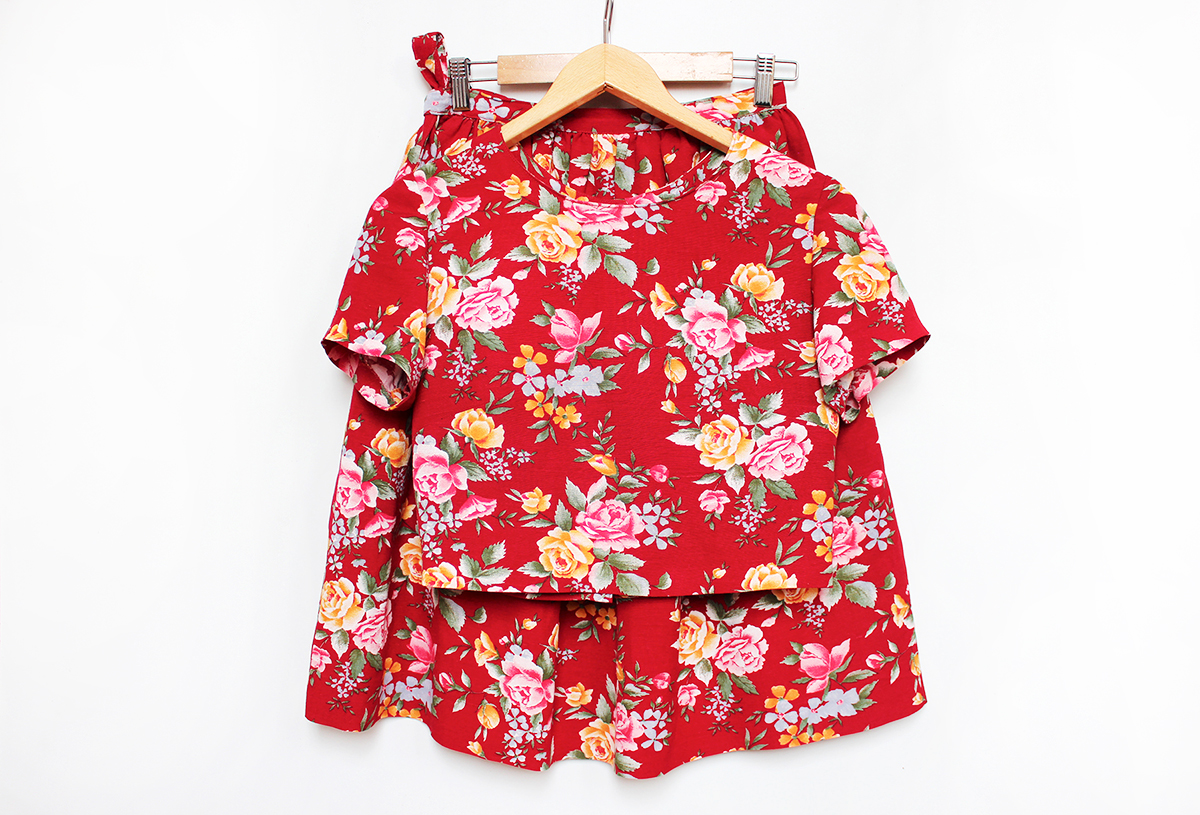
Today’s tutorial shows how to make a detachable ruffled collar for your little ones in under an hour. Depending on your fabric choice, this collar could work for both, boys and girls.
UPDATE: Download HERE The Ruffled Collar Pattern for Free (sizes 12m to 10Y).
I wrote this tutorial specifically for my brand Artisticca (Baby clothes and patterns) and I wanted to share with everyone this quick make that could be a cute gift for the end-of-the-year holidays!
Besides being fast and fun to make, these collars are beginner-friendly where you can learn fabric gathering, stitching curved seams, and learning to sew bias tape.
Fabric notion and requirements
- Lightweight cotton or linen fabric (check the table below for the amount)
- Double-fold bias tape
- Co-ordinating colored thread
- Sewing machine
- Pins
- Scissors
- Iron
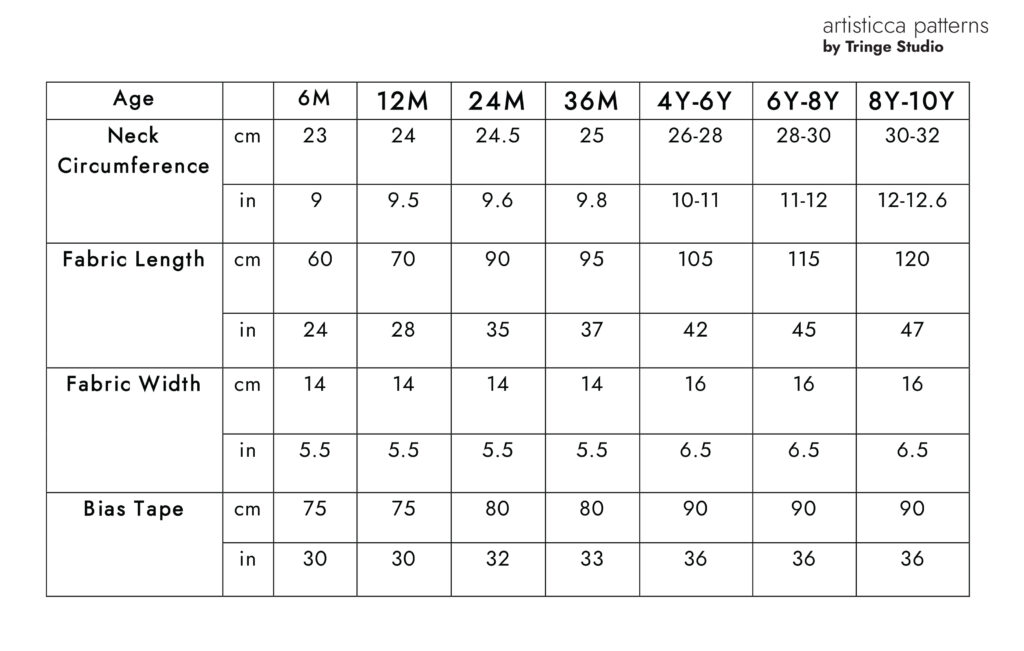
Based on the table below choose the “AGE/SIZE” you want to make and follow the requested amounts for fabric and bias tape.
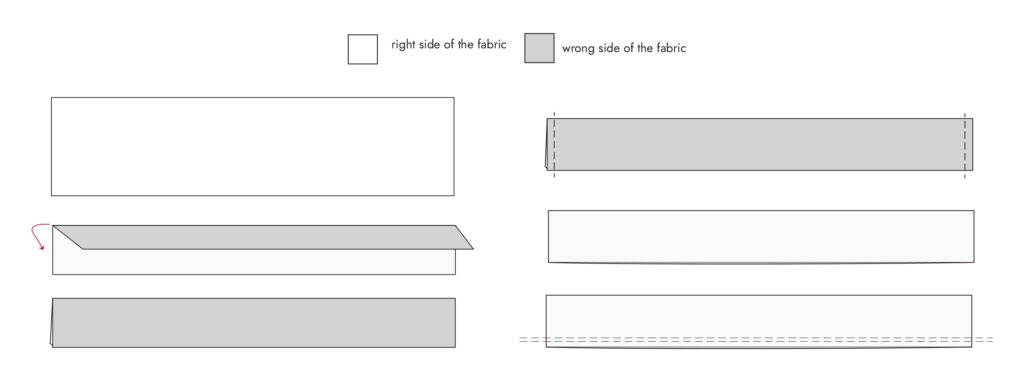
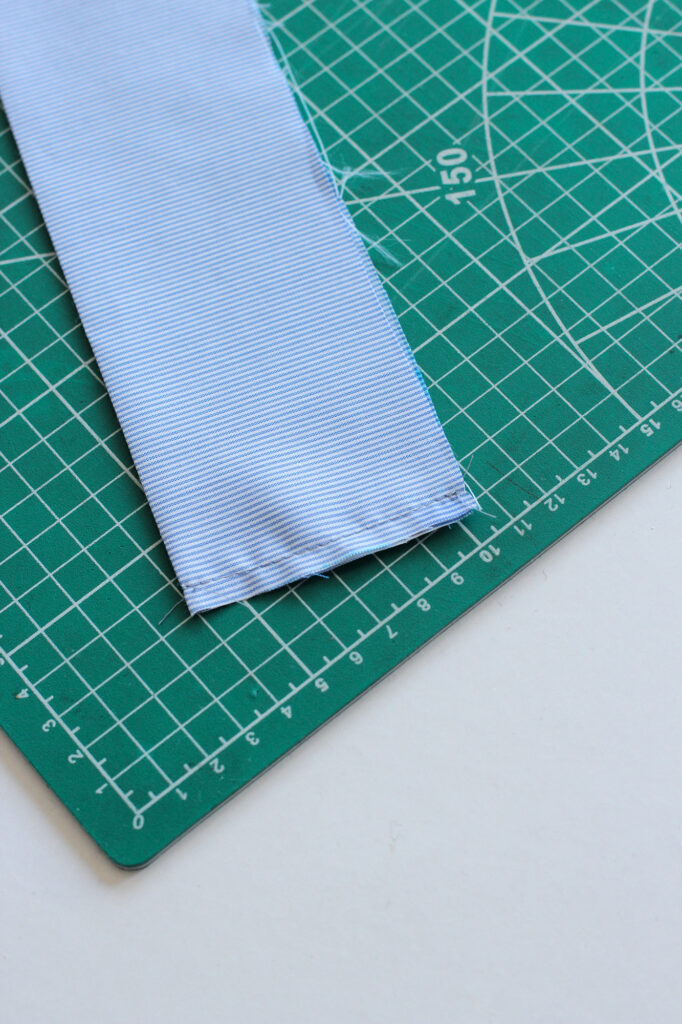
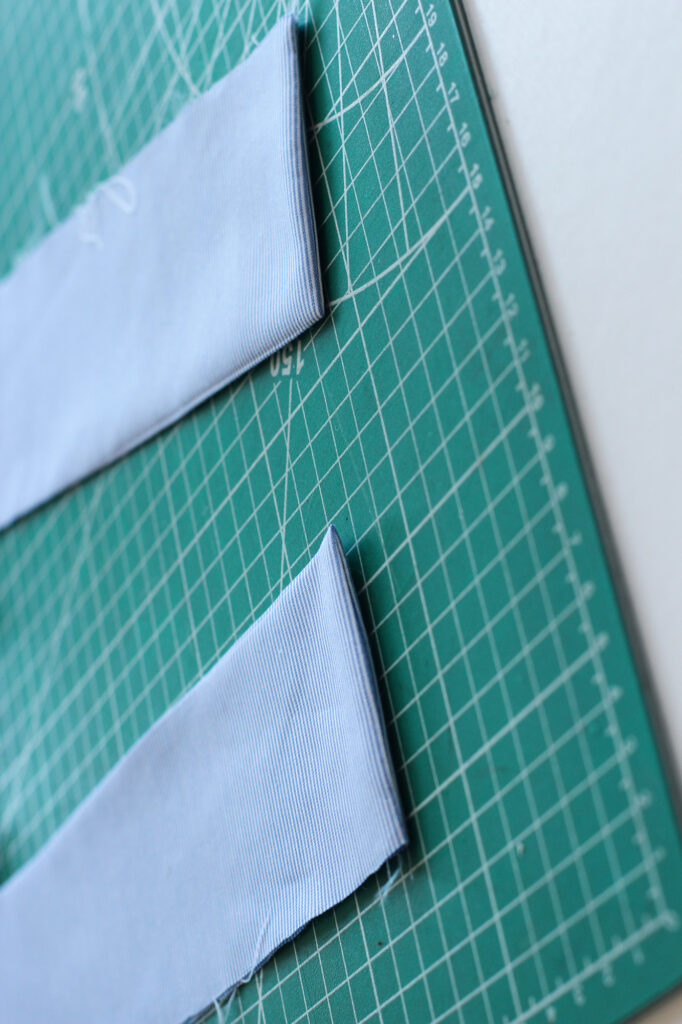
Place the fabric panel with the right side facing up. Lengthwise fold the fabric panel in half and press. On the short edge of the panel stitch 1 cm (3/8 inch) from the raw edge. Repeat for the other side. Turn the panel on the right side of the fabric and press well.
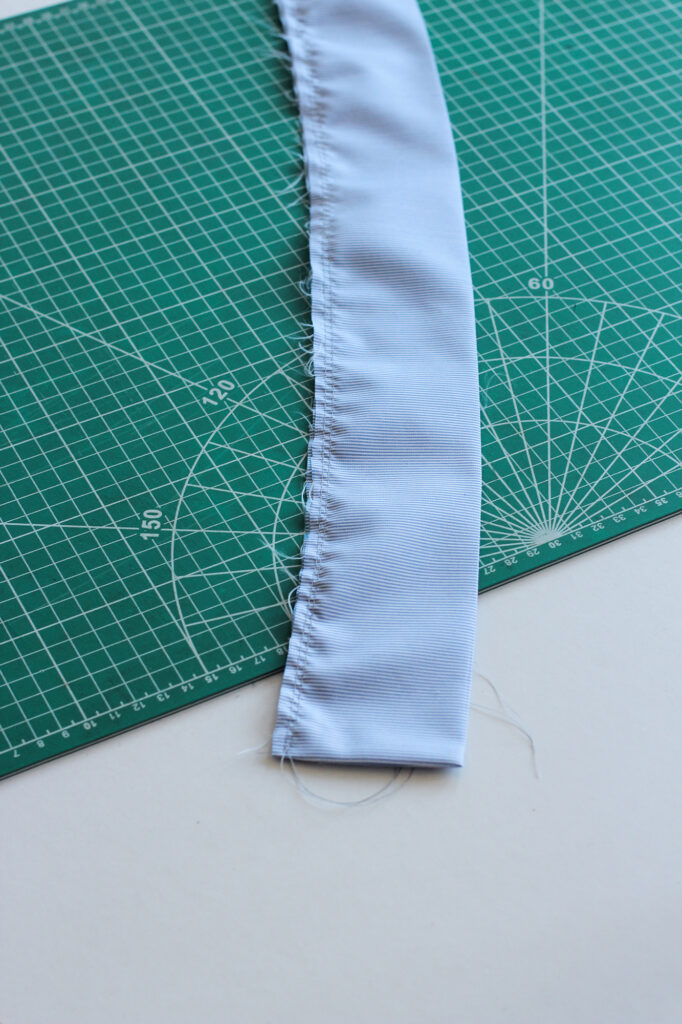
Sew two rows of basting stitches along the raw edges of the panel. Leave long tails of thread so you can gather them.
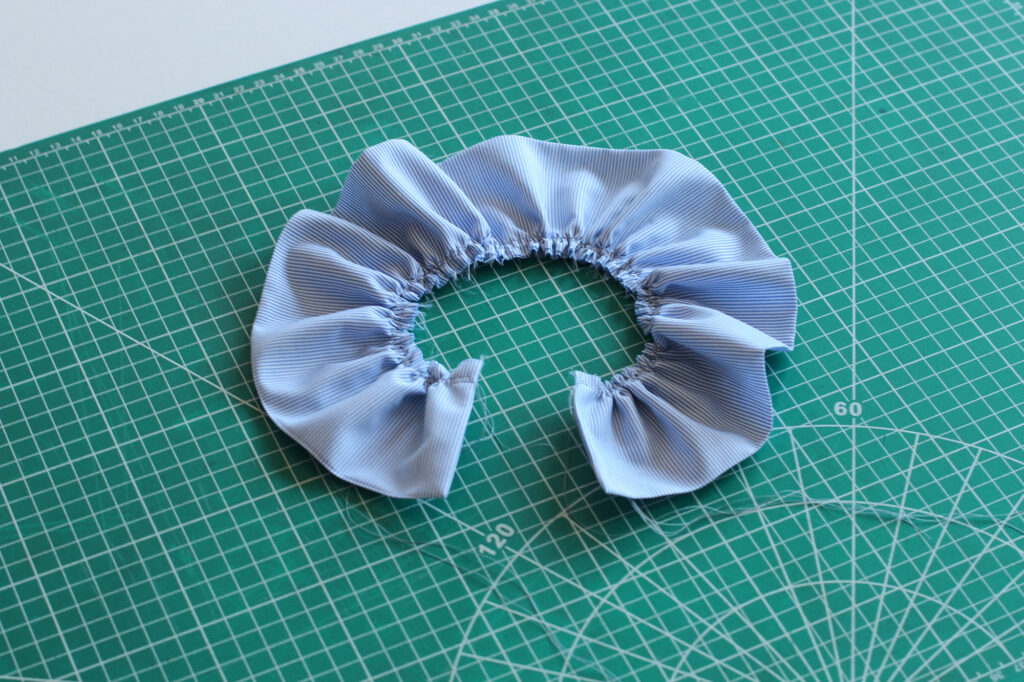
Gather the ruffle to fit approximately your chosen AGE/SIZE – check neck circumference (For example for size 24 months, neck circumference is 24.5 cm (9.6 inches) so try to bring the gathered panel around that length or a bit more if you want a loose fit around the neckline.
Secure the basting threads so there is no change in length during the bias tape sewing.
Cut the double-fold bias tape(for example, 80 cm (32 inches) of bias tape for AGE/SIZE 24 months). Fold the collar in half and mark the middle. Repeat the same for the bias tape.
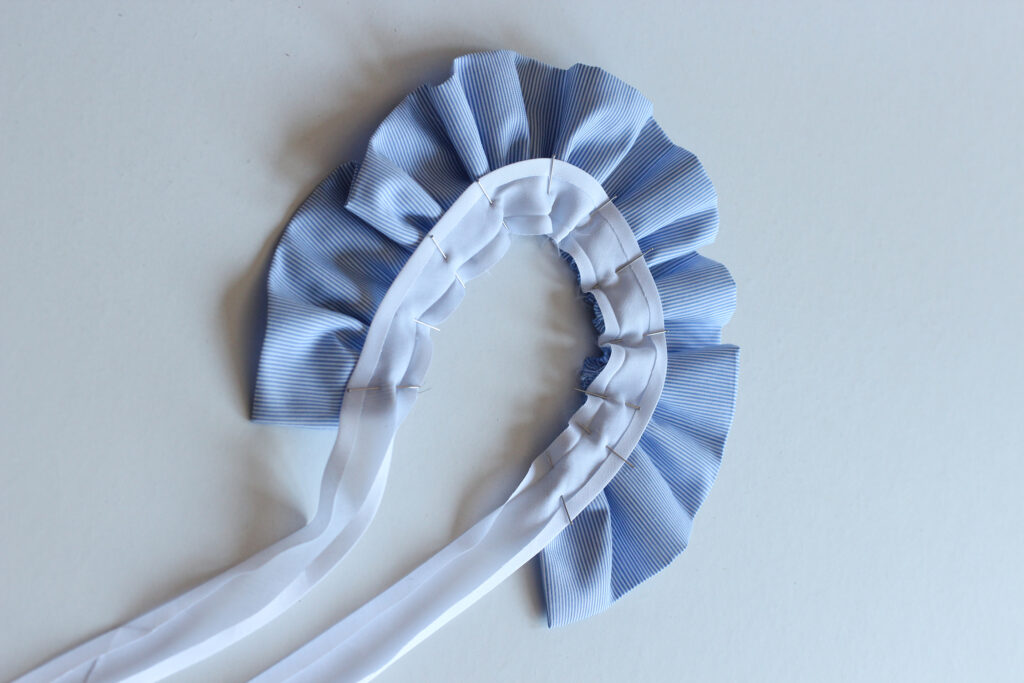
Open the bias tape so that the wrong side is facing up. Start from the marked middle and align the raw edges of the tape with the collar’s raw edges (make sure the right sides are facing together). Repeat for the other side of the collar.
Next, stitch along the first fold. Wrap the bias tape around the raw edge of the collar and pin it in place all around. If the bias tape isn’t laying flat, trim the raw edges of the collar just a little.
Stitch the bias tape in place along the entire collar and collar ties. Give it a final press and the ruffled collar is ready to be worn by your little one.
Let us know if you have any questions regarding the collar in the comments below or on Artisticca’s Instagram page.
Lots of love!

