Denim was always one of my favorite fabrics to wear. It’s also a fabric with endless refashioning possibilities. I bought a denim shirt for 1 Euro at a local flee market. My primary idea was to sew a skirt with it, but I changed my mind and I made a tote instead. I had plenty of leftover pieces in the end, that I could use in another project. You could do a lot of things with denim but another tote is always a great idea.
For the tutorial you’ll need:
• Denim shirt of your choice
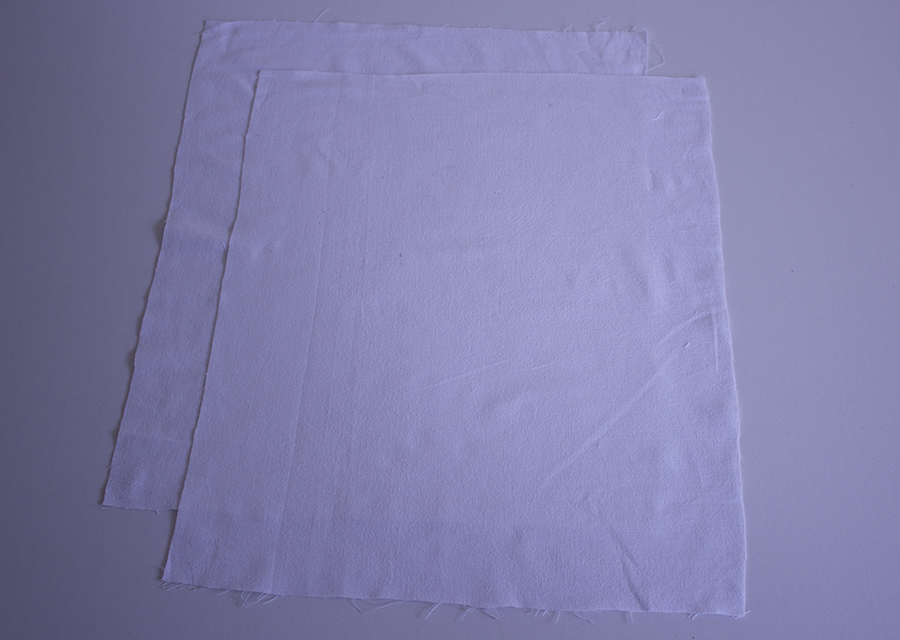
• Lining fabric (I used an old white bed sheet)
• Cotton thread to match your fabric
• Pins
• Sewing machine
• Iron
• Scissors
First here’s a picture of the denim shirt I used and a figure that illustrates the pieces I cut the from the shirt.
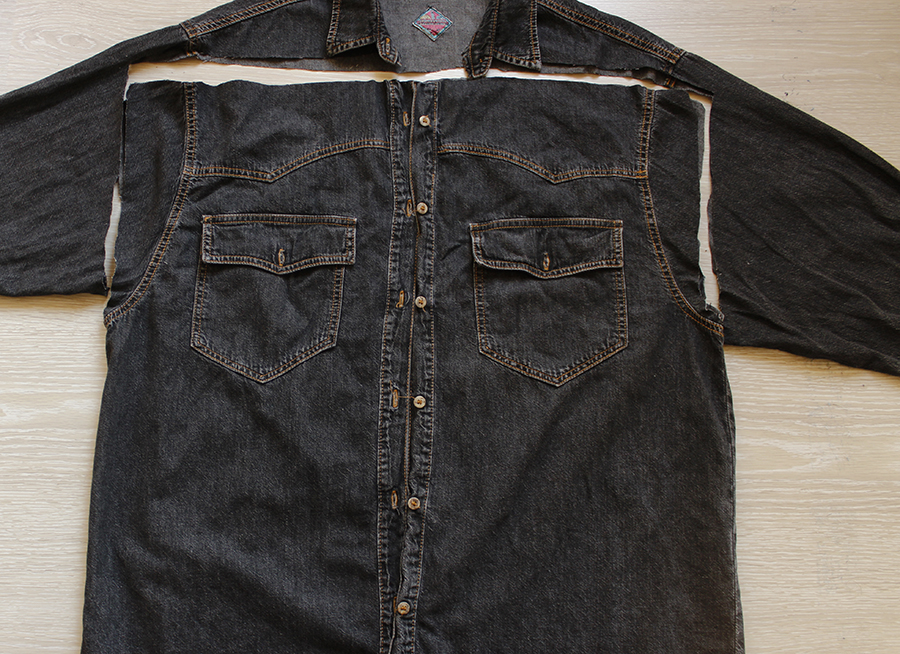

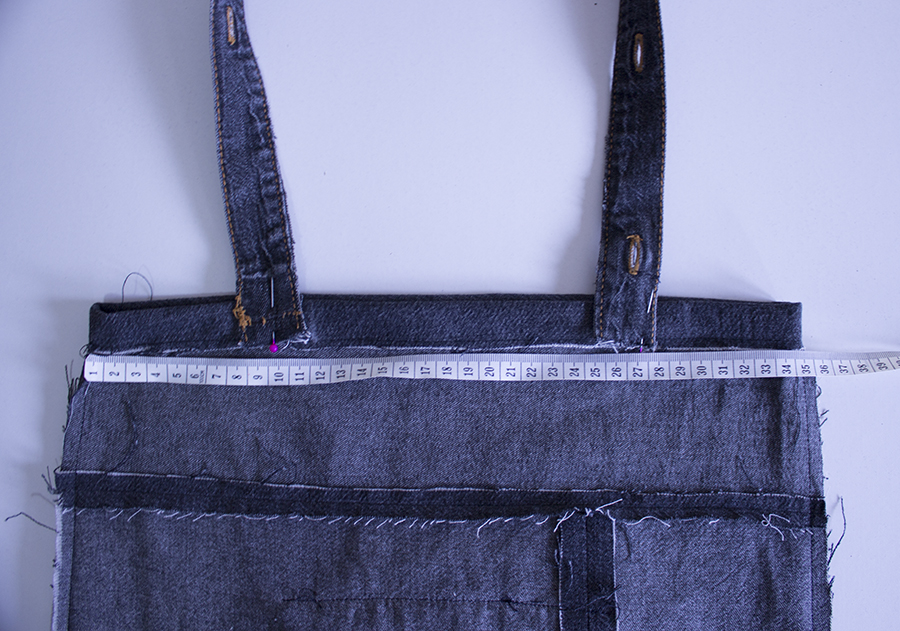
The size of the tote is absolutely your choice. To make a similar one like mine follow these directions: measure and cut two 45 cm tall by 38 cm wide denim panels for the outside of the tote and two for the lining. Regarding handles, you’ll see later on this post.
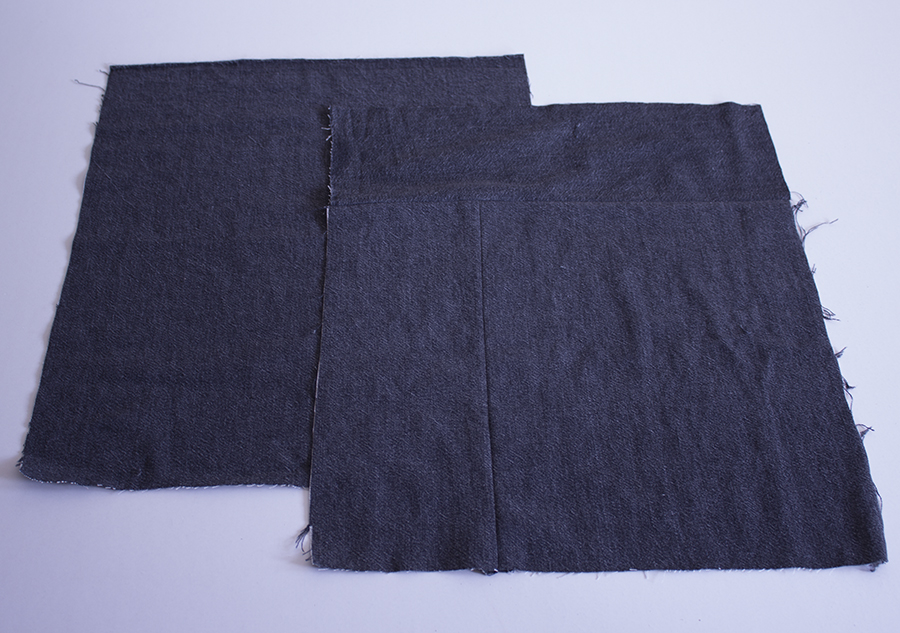
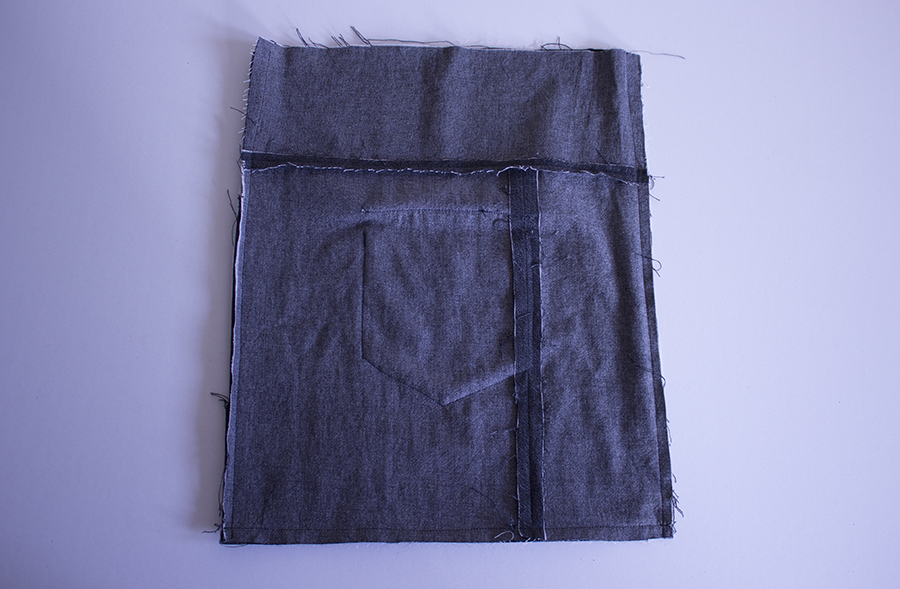
As you see on the first picture, one of my denim panels is made from three smaller pieces. This was the best way to make another panel, the same size as other one.
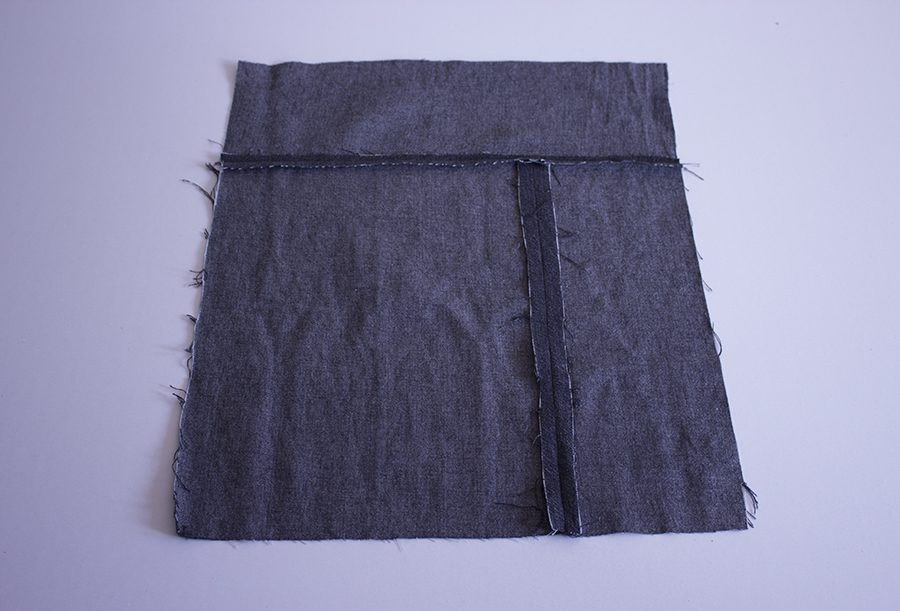
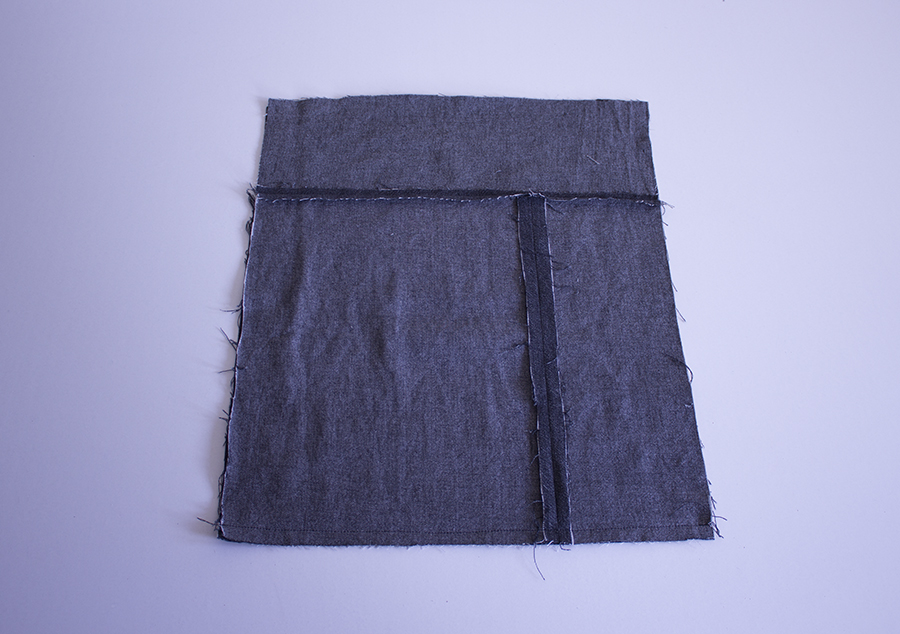
Pin the two denim panels together, right sides should face each other and sew only around the bottom.
I wanted to sew a pocket in the tote. If you choose to add it too, first cut around the pocket and then using some scissors, trim around the very edge of it. Position the pocket where you would like it to be and secure it with pins.

Edgestitch all the way around the pocket and after finishing it, turn the tote with right sides of the fabric together. Since the bottom is done finish sewing down both sides of the bag.

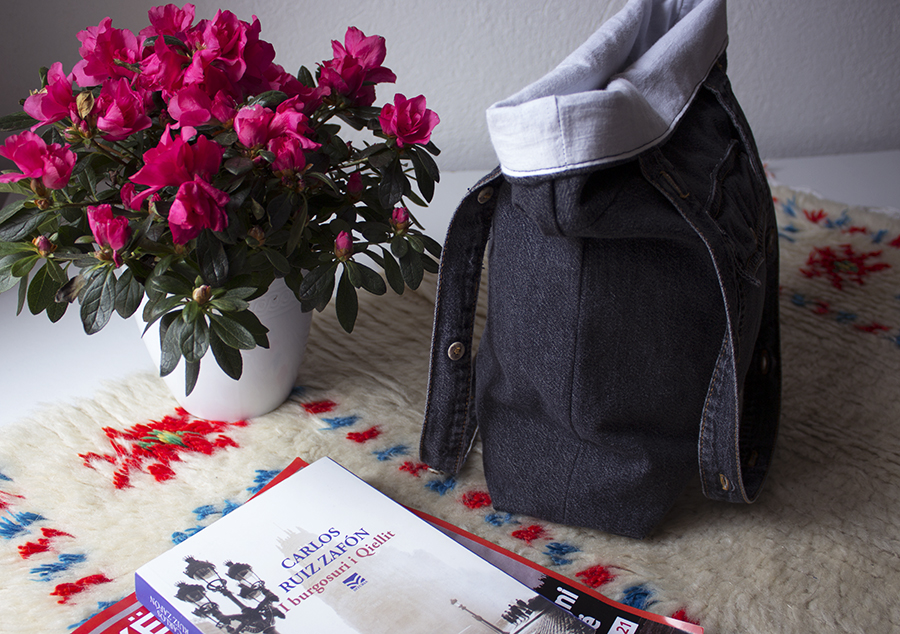
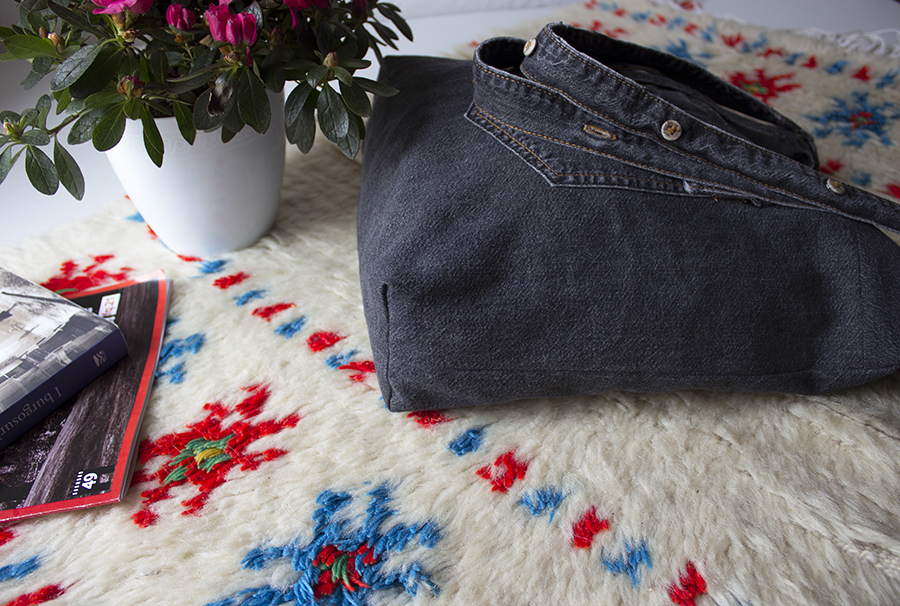
Next pinch the bottom seam and the side seam until they are lined up. You can iron the corner to make sure that everything is flat. If you’re sure that the seams are lined up, measure 5 cm from the corner and draw a line, sew along the line, in the end cut the excess fabric. Do the same with the other corner.

After you finish the outside of the tote, start working on the lining. With the right sides of the lining together, stitch the bottom and the side seams and do corners of the tote.
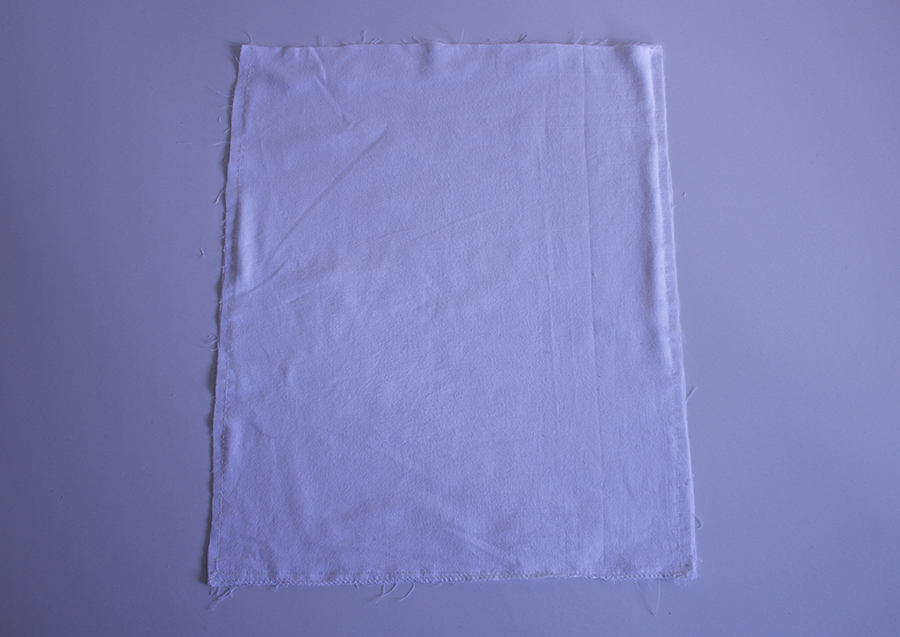
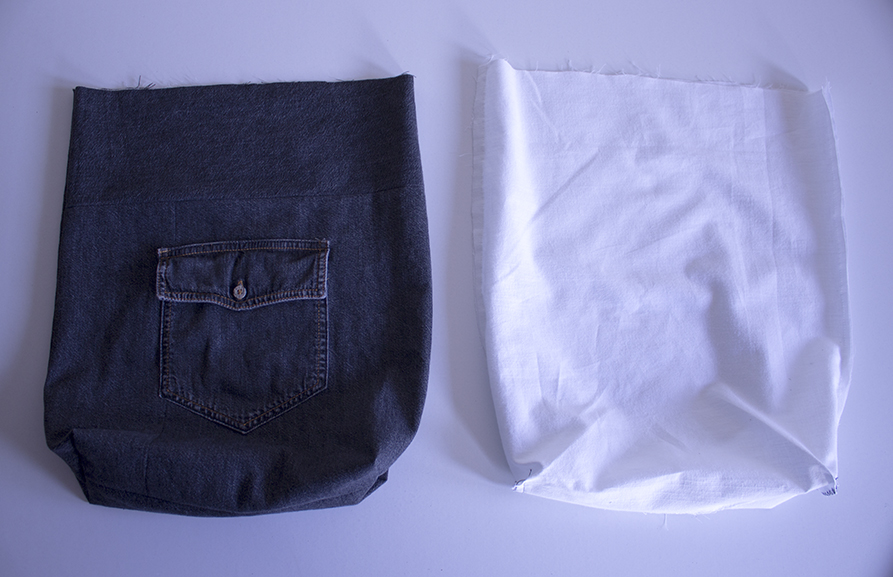
Now you have two pieces, the tote and the lining.
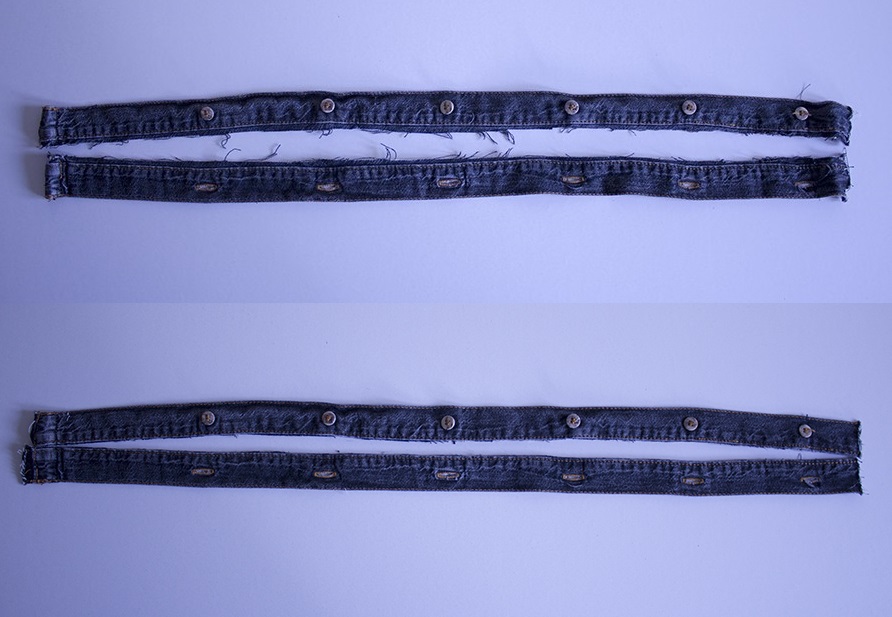
Before sewing these two together, you have several options to make the handles. Use any handles you may have or make some by using whatever fabric you like(here’s one of my TUTORIALs that might help).
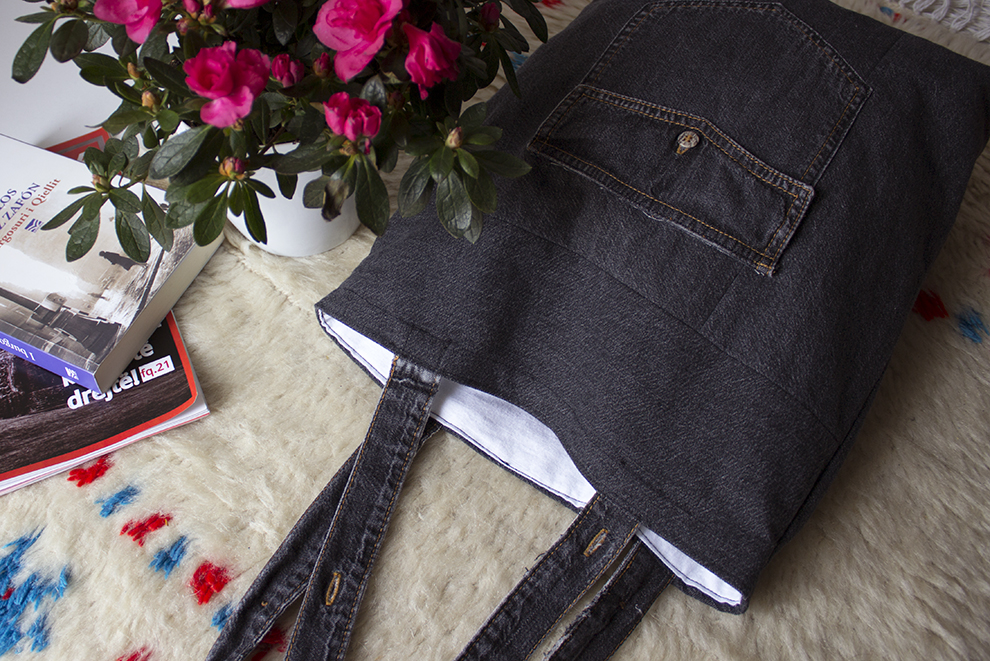
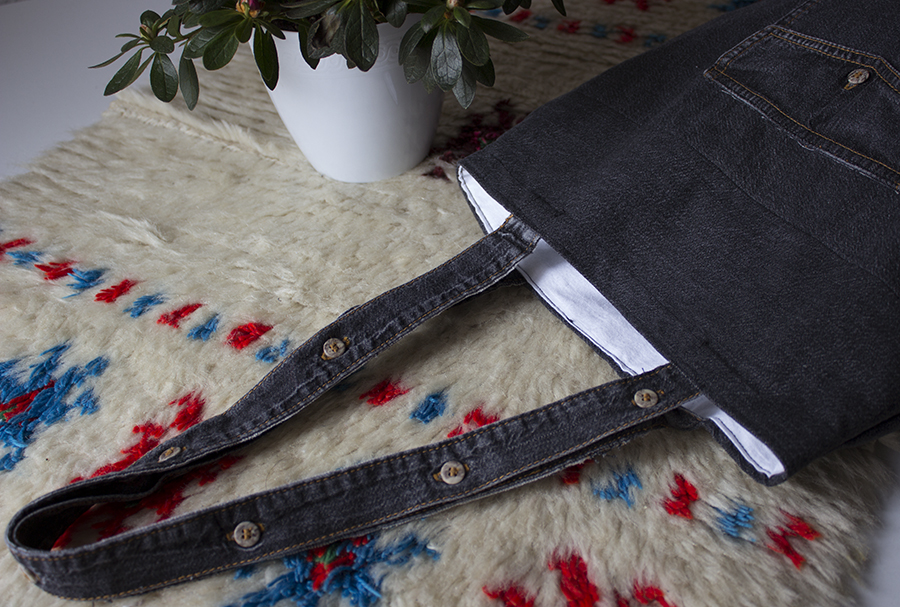
You can also consider my idea below, where as handles I used the button plackets. If you follow this idea, cut them near the edge of the seams and using scissors trim and finish pressing them.
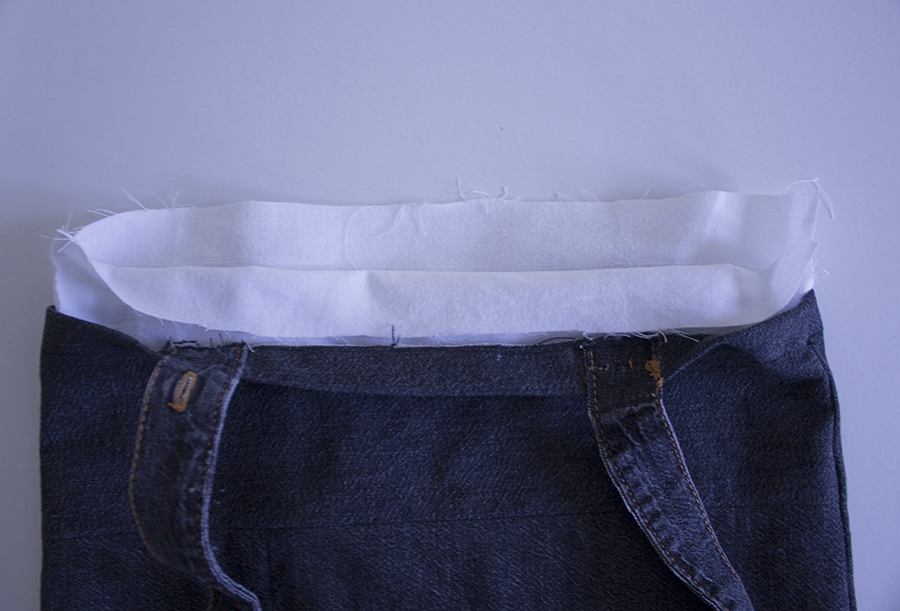
Before attaching the handles, fold and iron the top of the denim bag. Sew it all around using a straight stitch.
After that, turn the denim tote on the wrong side. Using a ruler, add the handles at cm 8 and and 25 with pins. Try the bag and adjust if necessary by either shortening the handles or moving them closer to the center. Topstitch a square and an X at the bottom handles to secure them to the bag.
With the wrong sides together, place the lining bag on the inside of the other. Fold the top of the lining in the same way as you did for the denim piece.
Line up the side seams and pin around the tops of the bags so their top edges meet equally. Finish with topstitching all around the top of the bag.

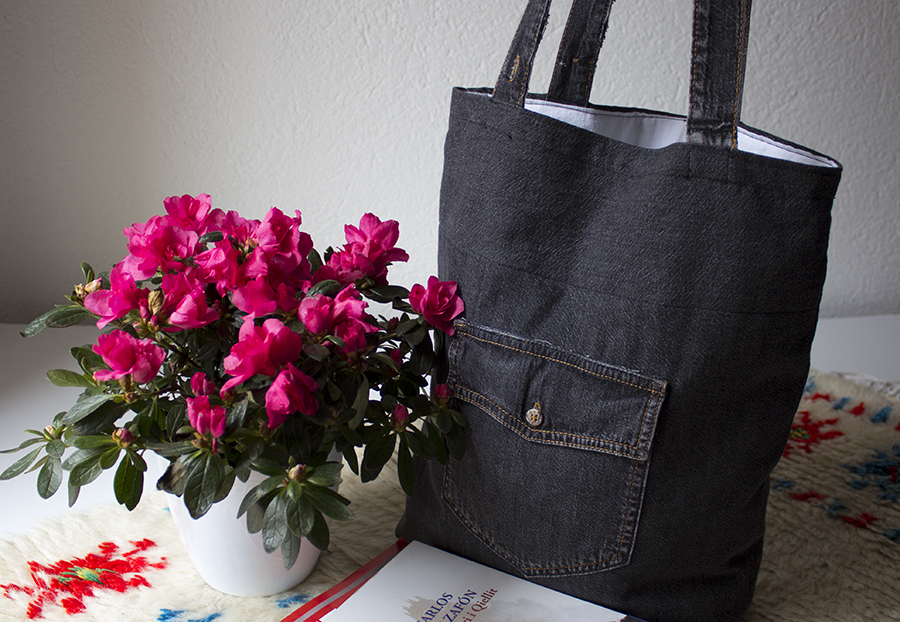

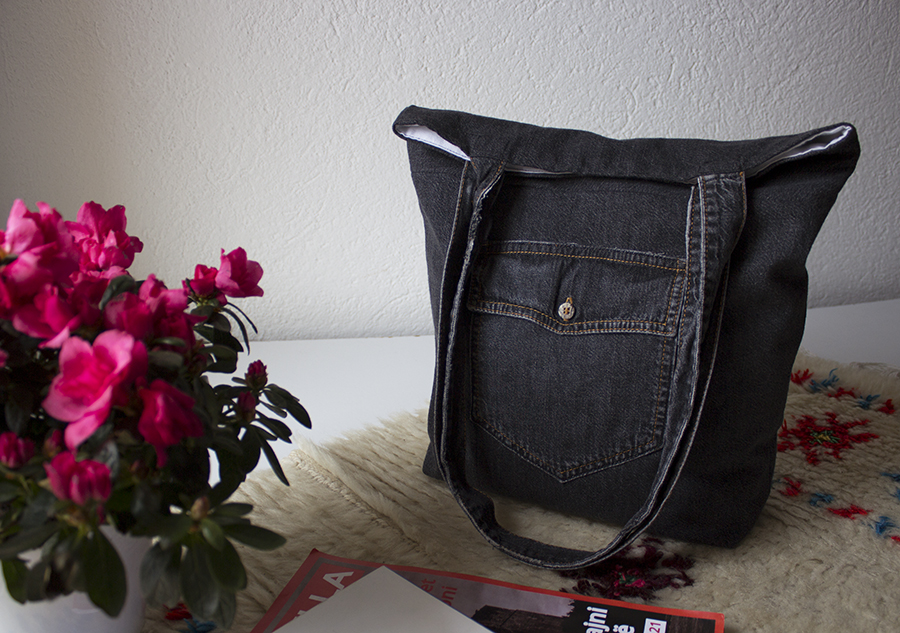
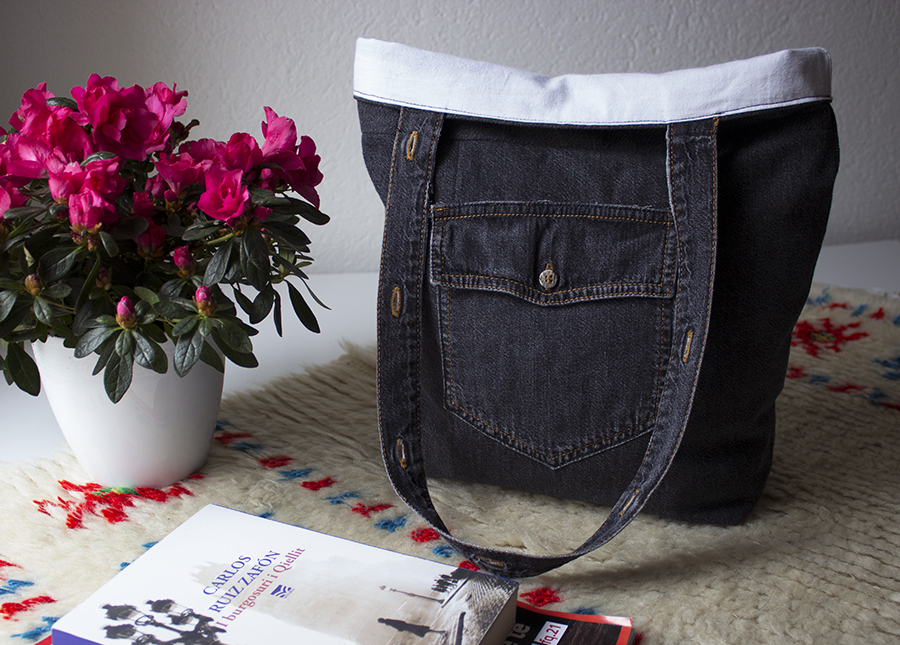
That’s all. I hope you enjoyed this refashion and a million thanks for visiting diyclothes.
Tringa


Wonderful project, Tringa!
I love how neat is your stitching and the look of the bag at the end!
Mariana
Thank you very much Mariana. I really appreciate your comment.
Not a problem, Tringa! Have a great weekend!
What a great idea to use the shirt! Love this bag!!! Well done! :o)
Thank you Timi.
This is a fabulous idea for recycling jeans clothes! Thank you for submitting this great post to DIY Crush! I made you a nice vertical image, great for Pinterest. I published it here: http://www.diy-crush.com/blog/upcycled-denim-tote-bag/
Denise thank you very much for accepting my submission. I loved the image you’ve made.
My friend is looking for a pattern, to make a bag out of recycled denim pieces she has, so I sent her a link to this tutorial. I love the construction ideas and details and the fact that the straps are enclosed between the liner and the bag exterior, so nothing can catch on them, and it would be difficult to damage the stitching attaching them to the bag. Thanks for posting this tutorial :).