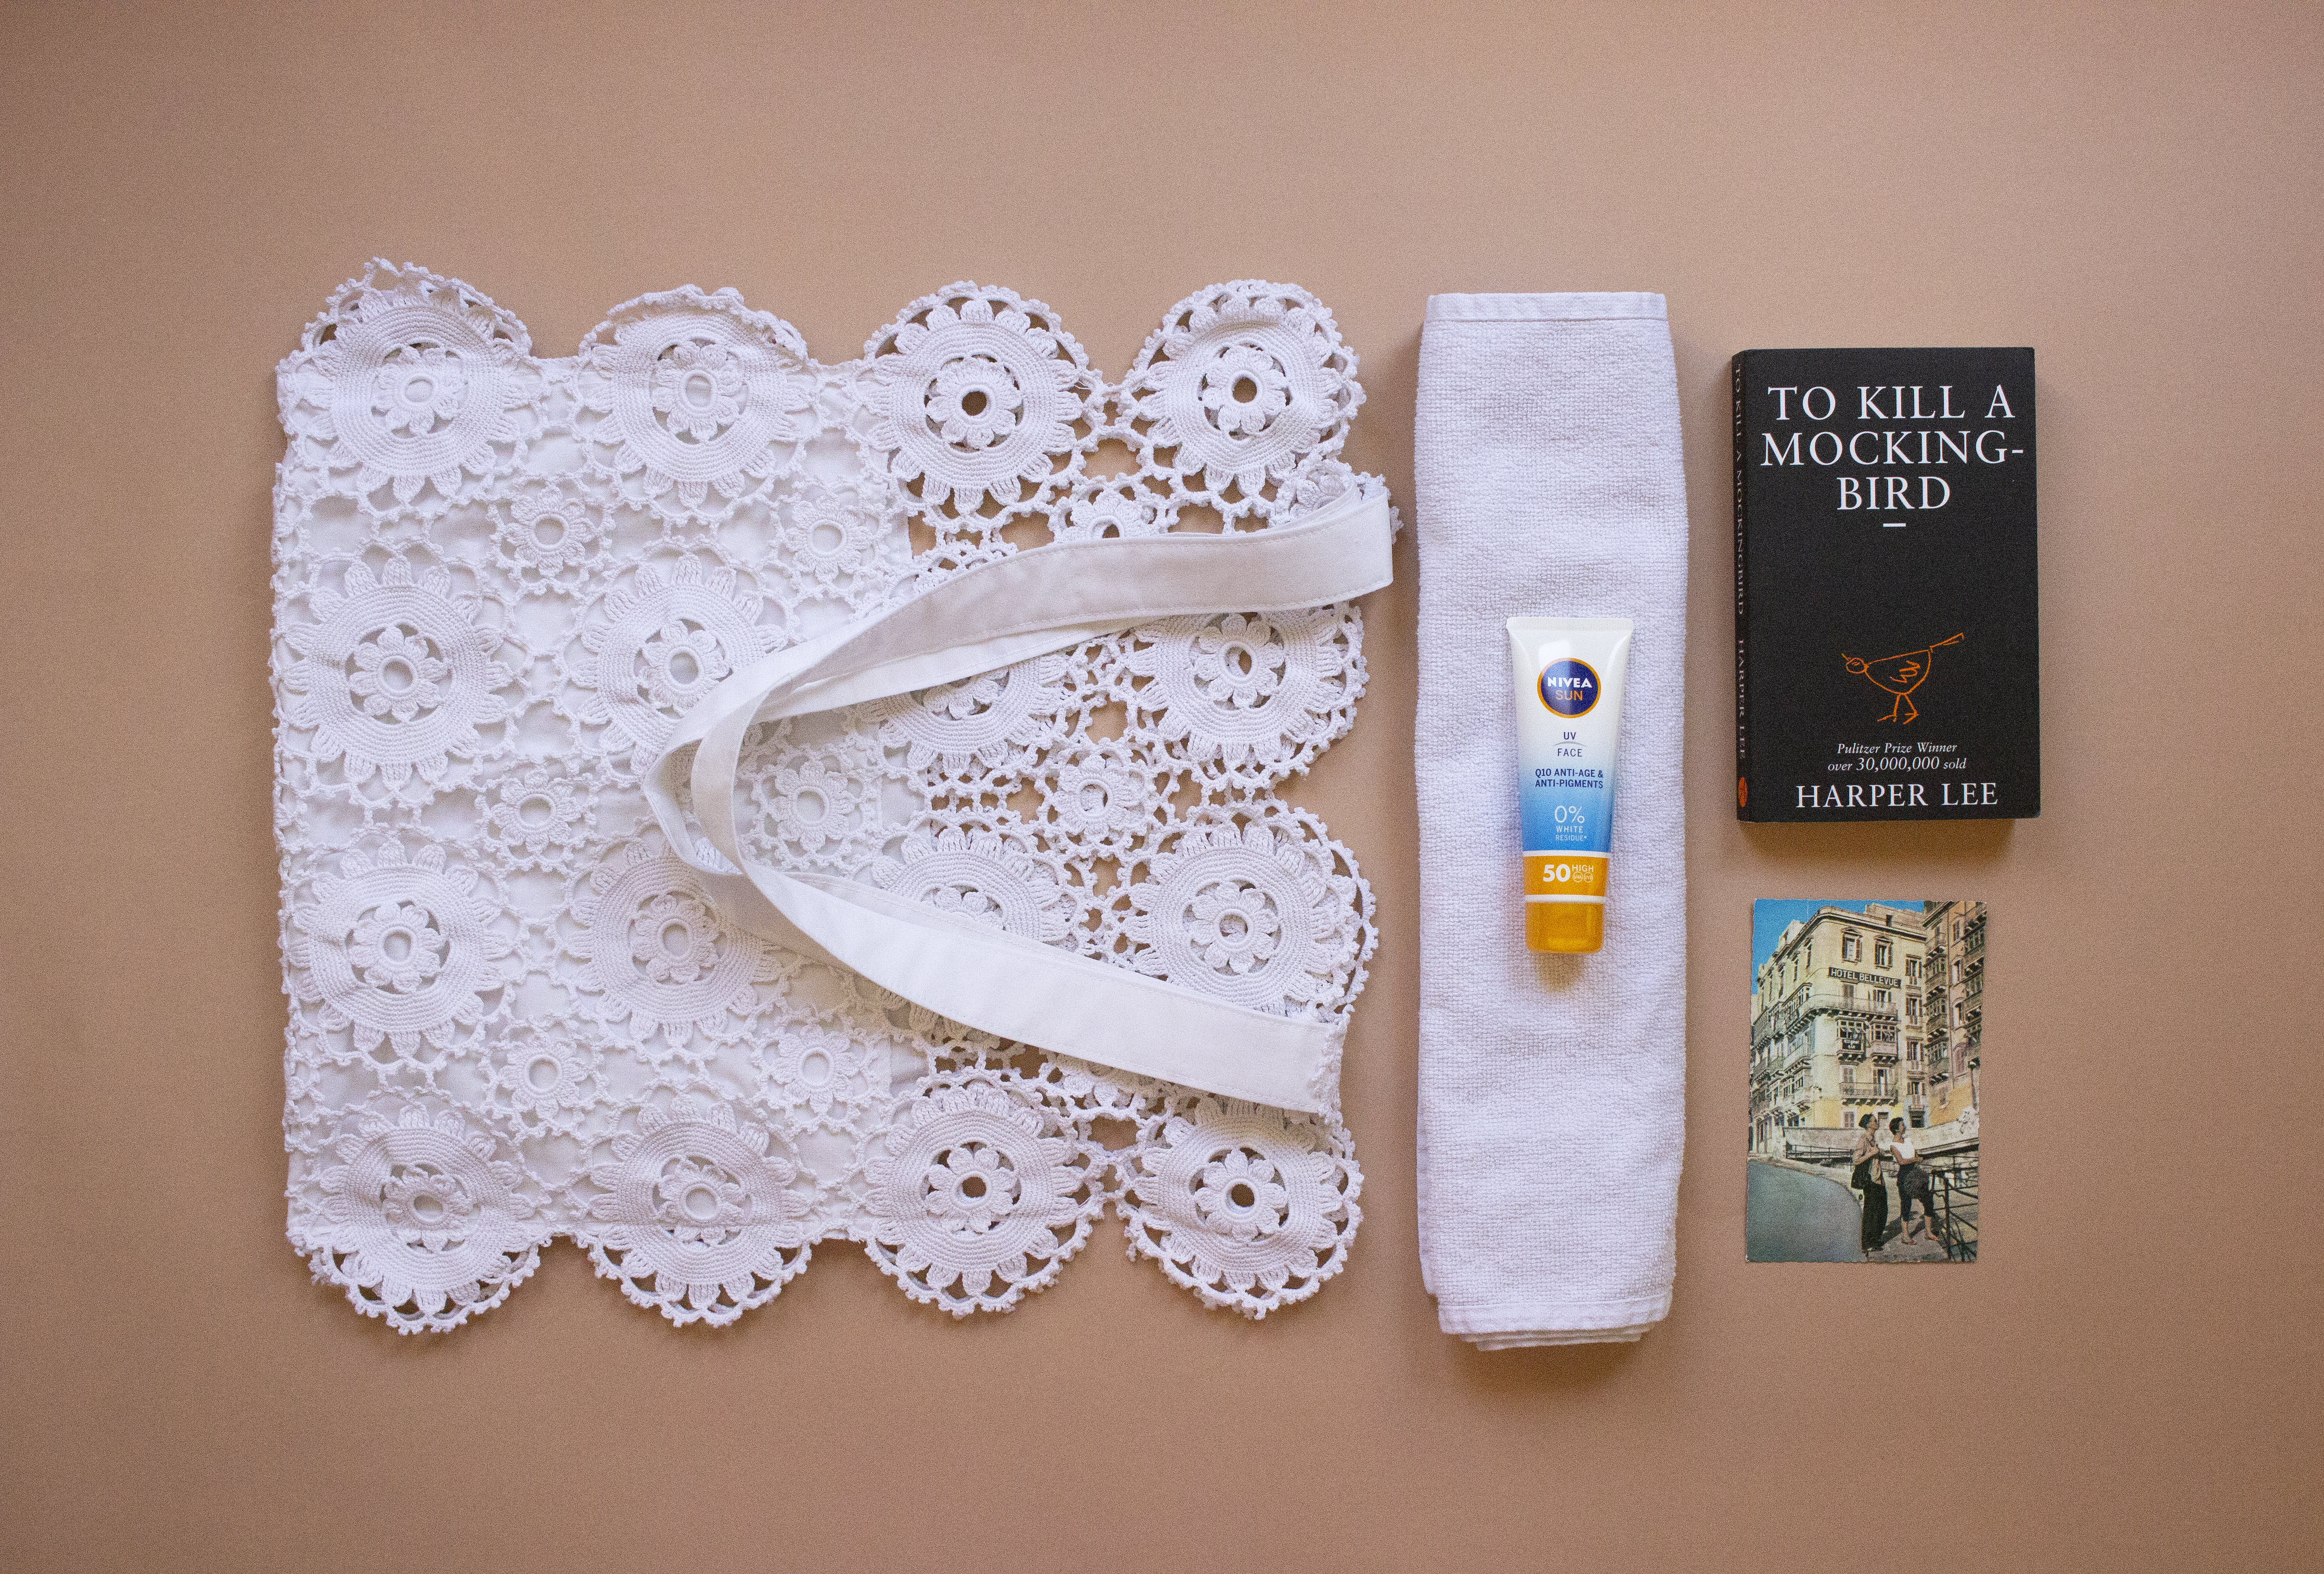
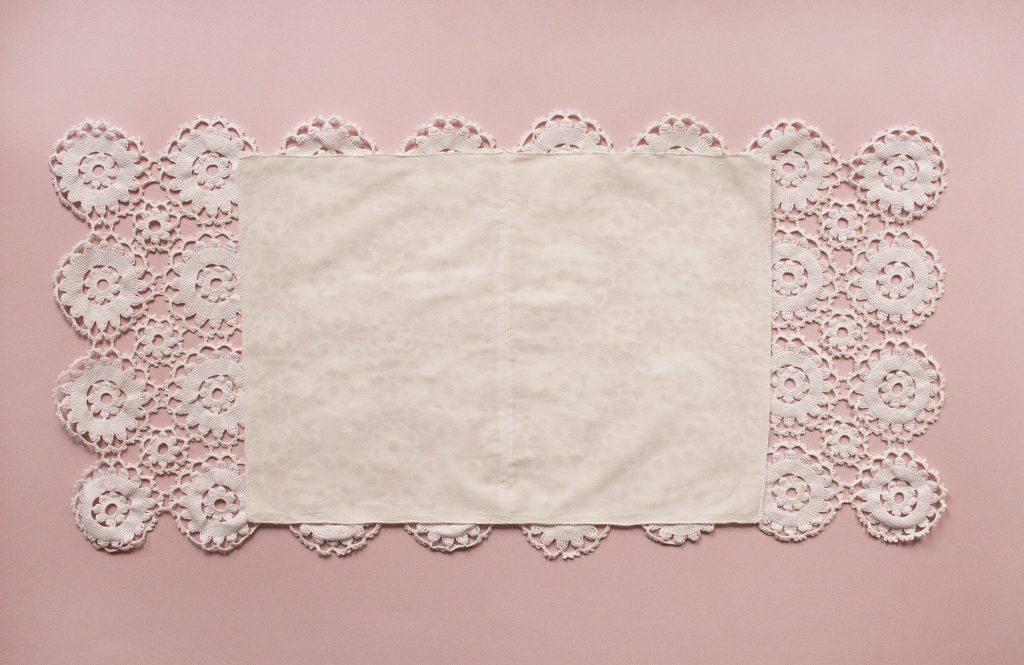
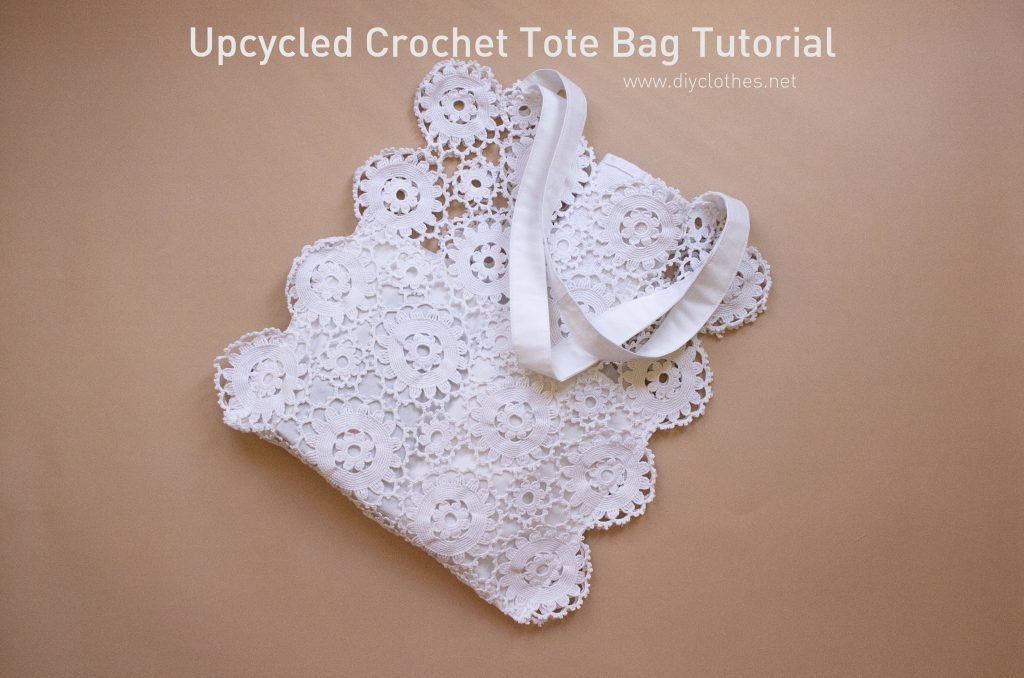
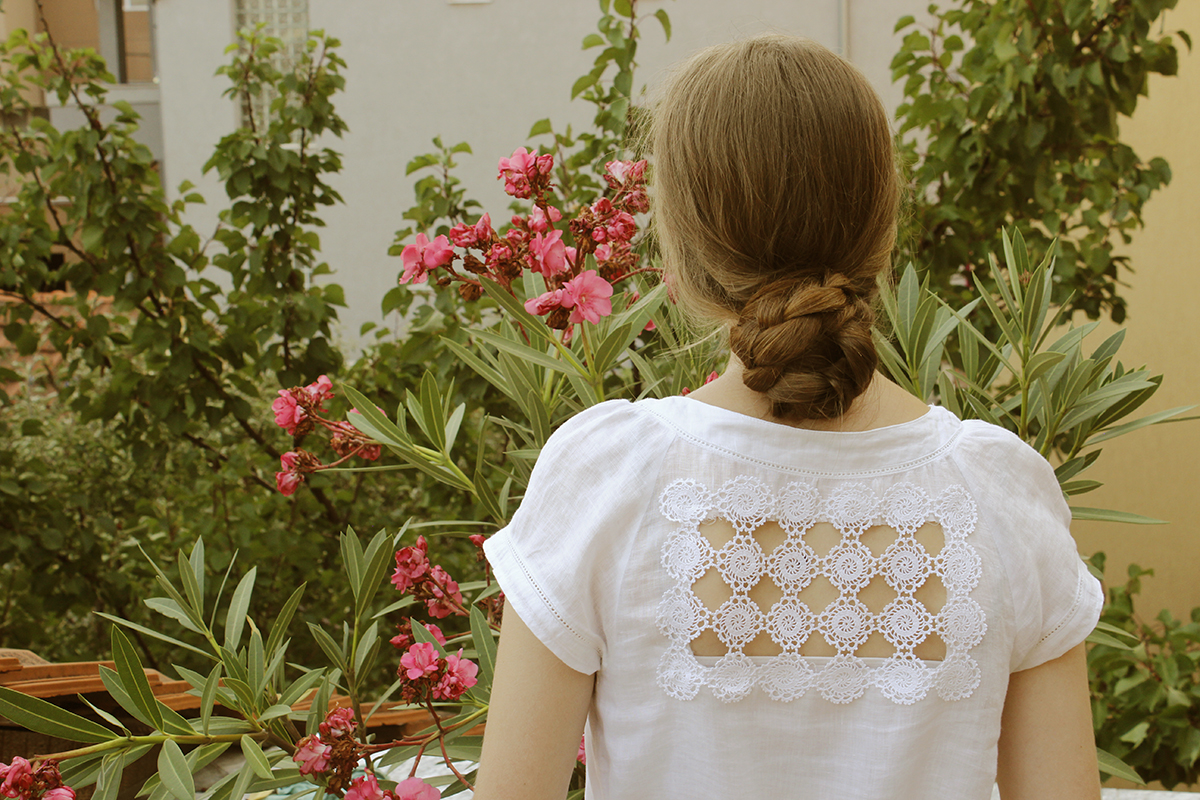
Believe it or not, this summer beach tote you can see on the pictures used to be a tablecloth. It was 1,5 long x 2 m wide and my mom used it for a long time to cover the table on our balcony during summer.
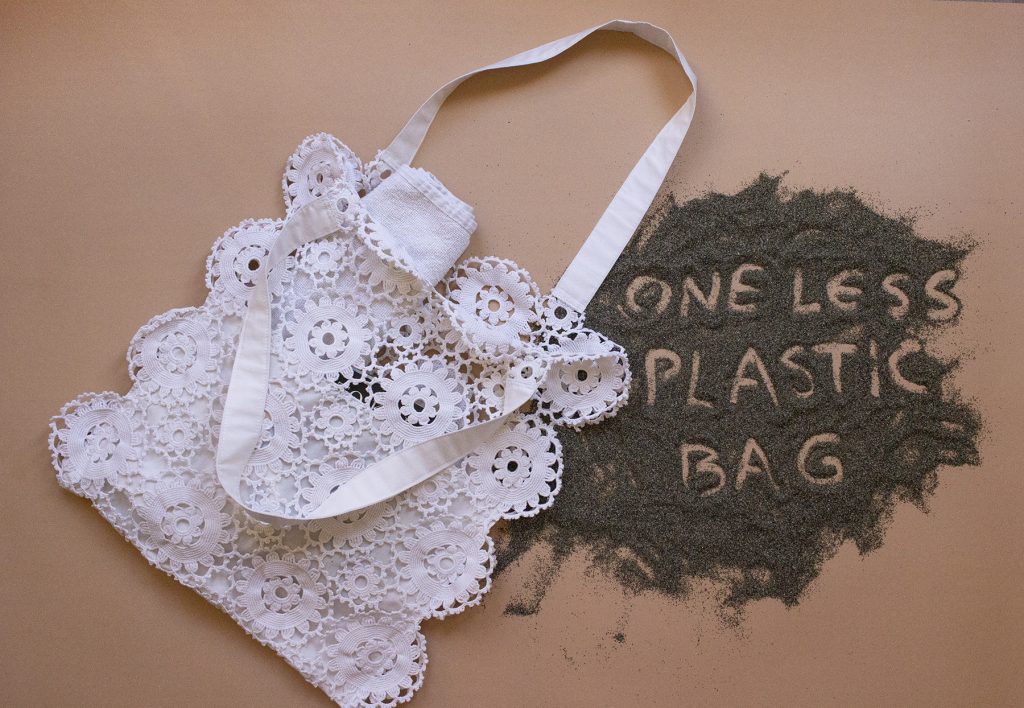
Until one day, she did not. So I took it for use in my refashion projects. At first I thought of making a crochet top but after so many laundries the piece changed color and became a bit stiff. My second thought was a beach crochet bag, and I have to say I love the result of this.
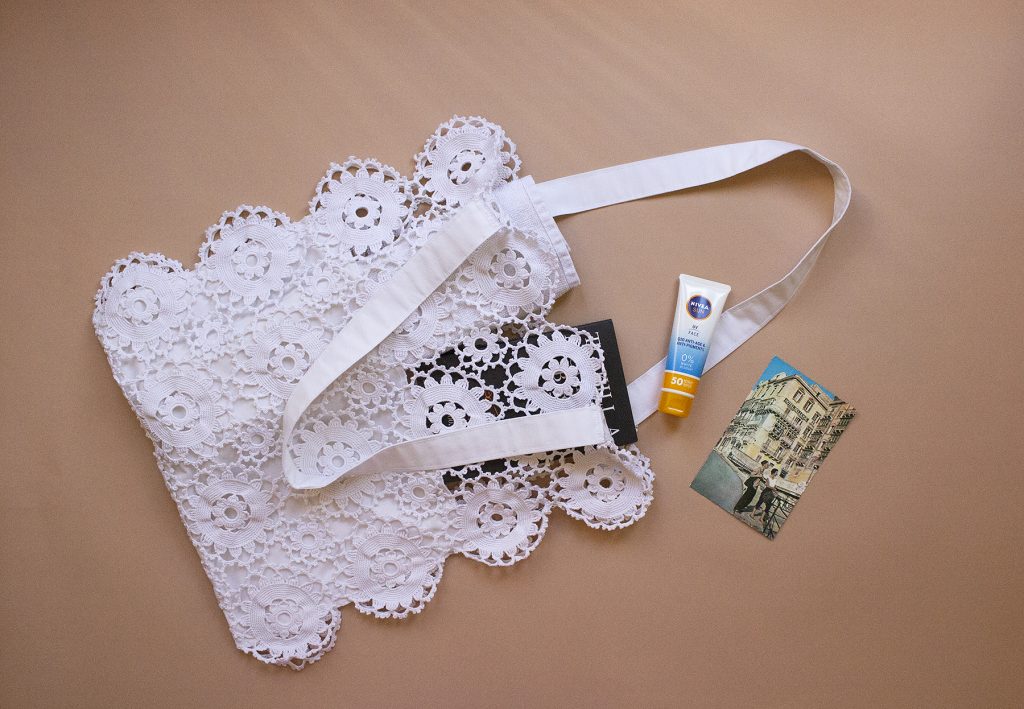
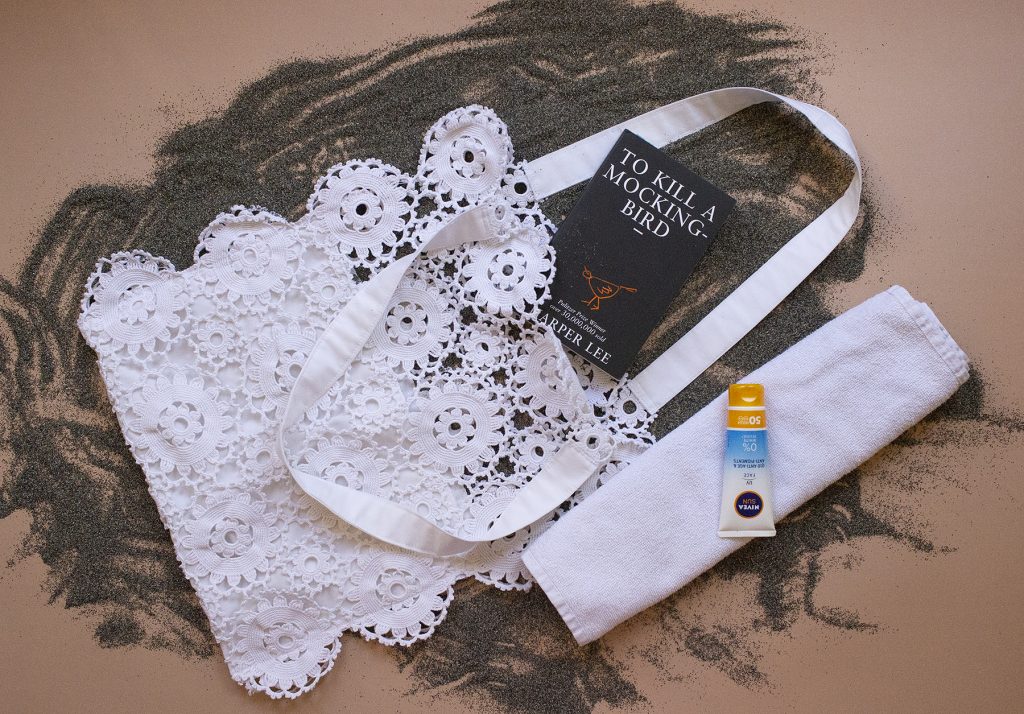
I’ll be waiting for that summer beach day to wear this bag and enjoy the sun & waves.
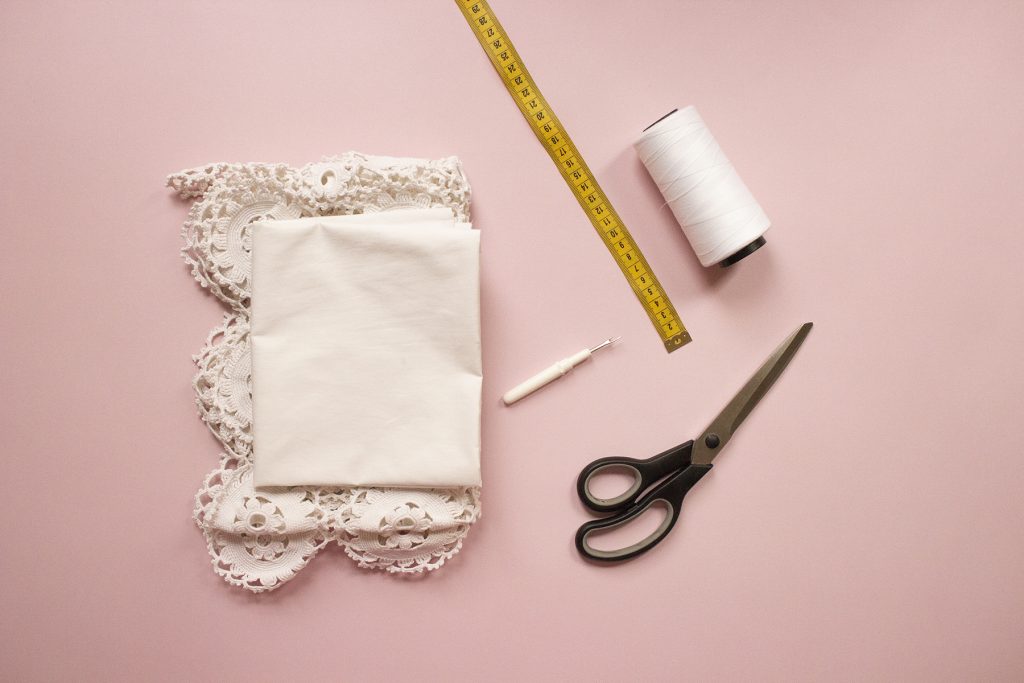
For the tutorial you’ll need:
• Cotton crochet tablecloth ( 40 cm x 80 cm )
• Lightweight cotton fabric ( 35 cm x 70 cm )
• Cotton thread to match your fabric
• Pins
• Sewing machine
• Scissors
• Iron
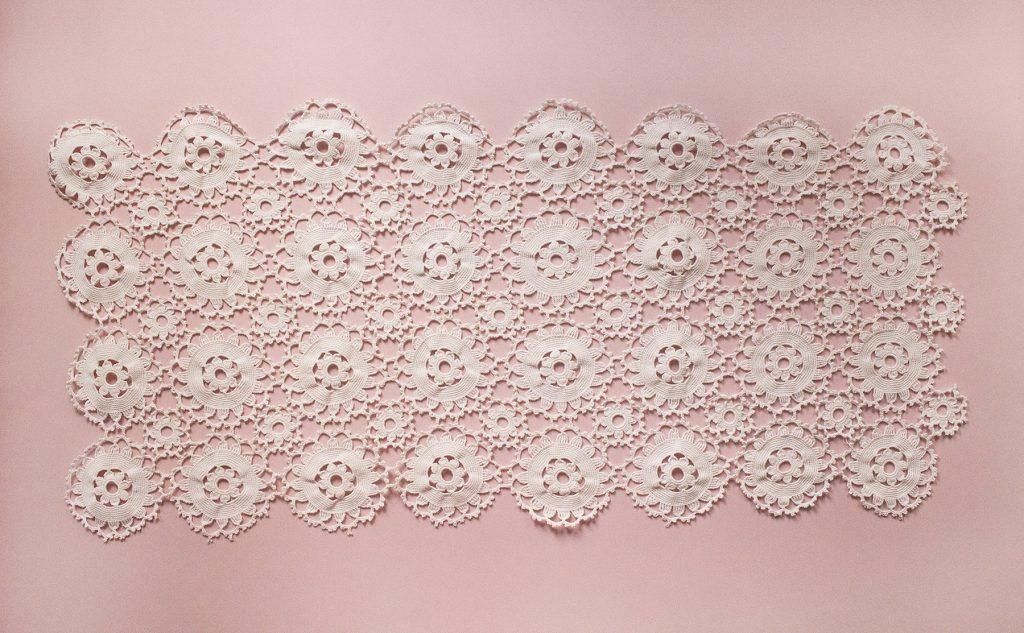
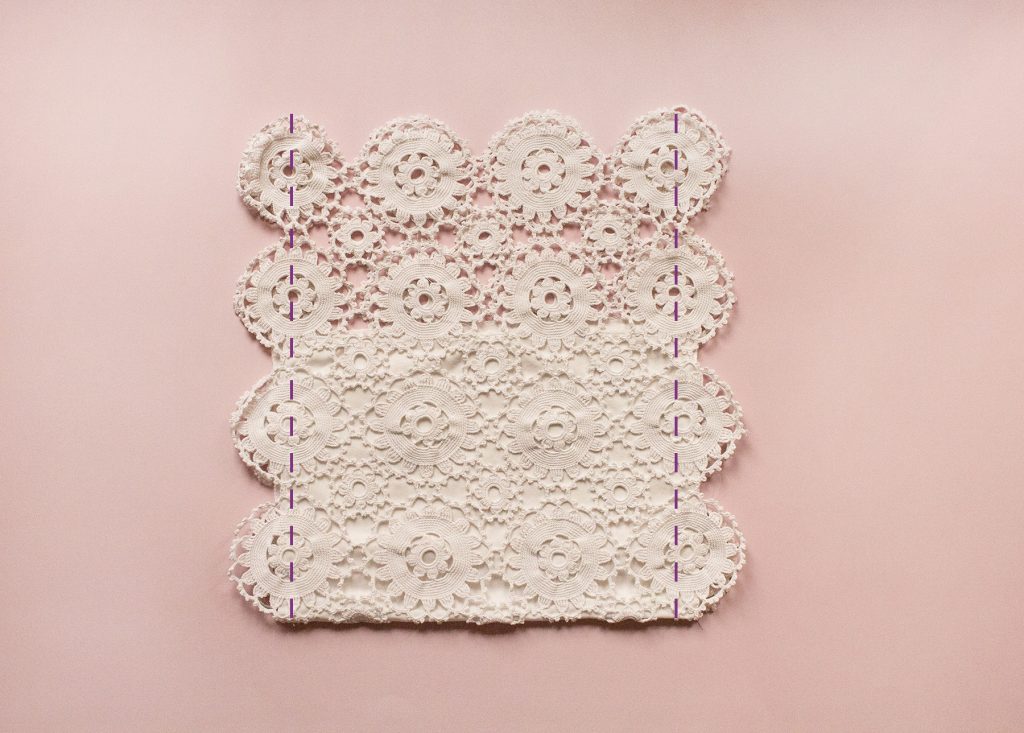
Before you start, wash and iron the crochet panel and the cotton fabric. The crochet panel I used was 84 cm long and 43 cm wide. But
*To create this type of tote you can also use square panels of crochets.
Turn the crochet panel on the wrong side. Cut a piece of cotton fabric approx. the length of the crochet panel but reduce the width. Zig zag or serge the cotton panel all around.
*As you see on the picture below, my cotton panel wasn’t long enough. Because I found this shirt to use as a lining but it wasn’t enough for both the lining and the handles.
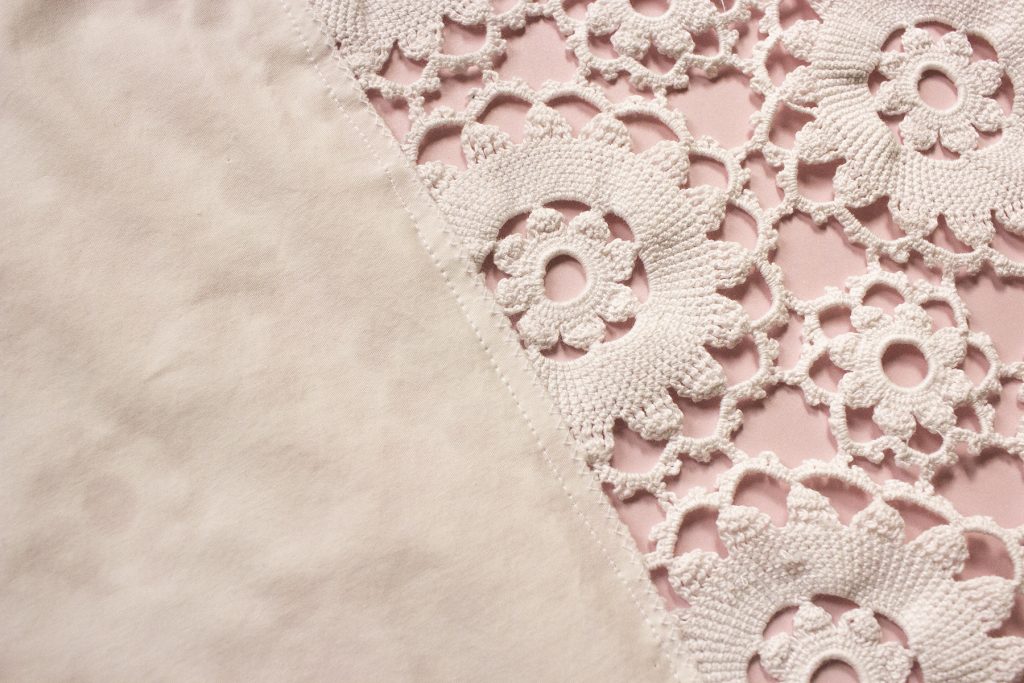
After positioning the cotton piece on the crochet panel, sew all around using a straight or a zig zag stitch. Before sewing, make sure to sew the cotton lining into the wrong side of the crochet panel.
Sometimes it is really hard to differ which one is the right side and which one is the wrong side on crochet pieces.

Some details after I finished this step.
As for the
* For example, I initially wanted to make my handles like this but then I preferred making some using the same shirt I used for the lining.
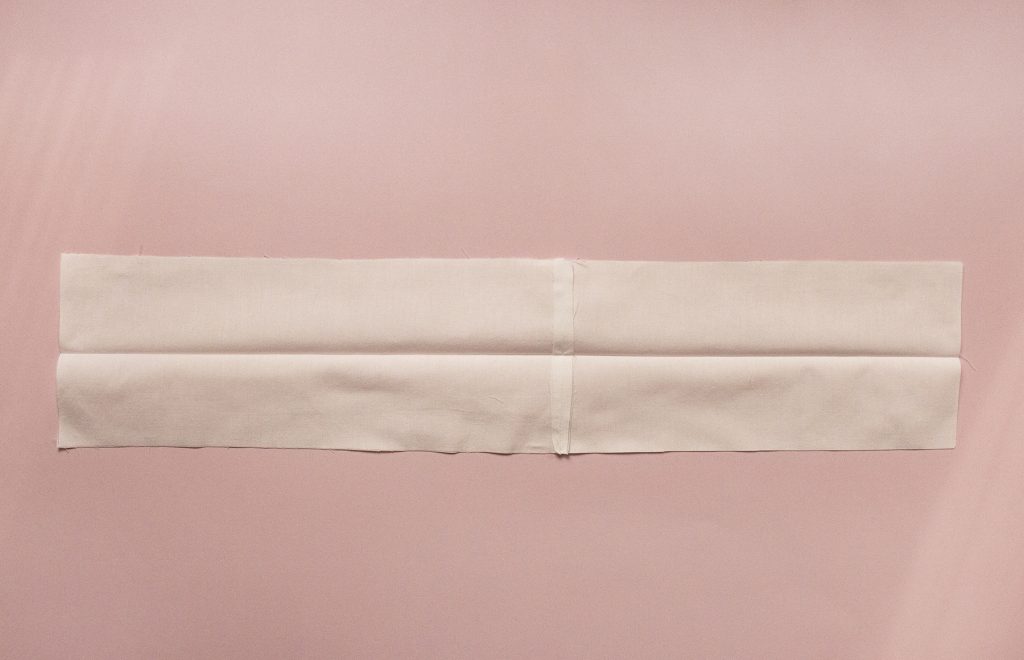
If you’re making the straps from the fabric, then cut two fabric stripes 65 cm long and 12 cm wide.
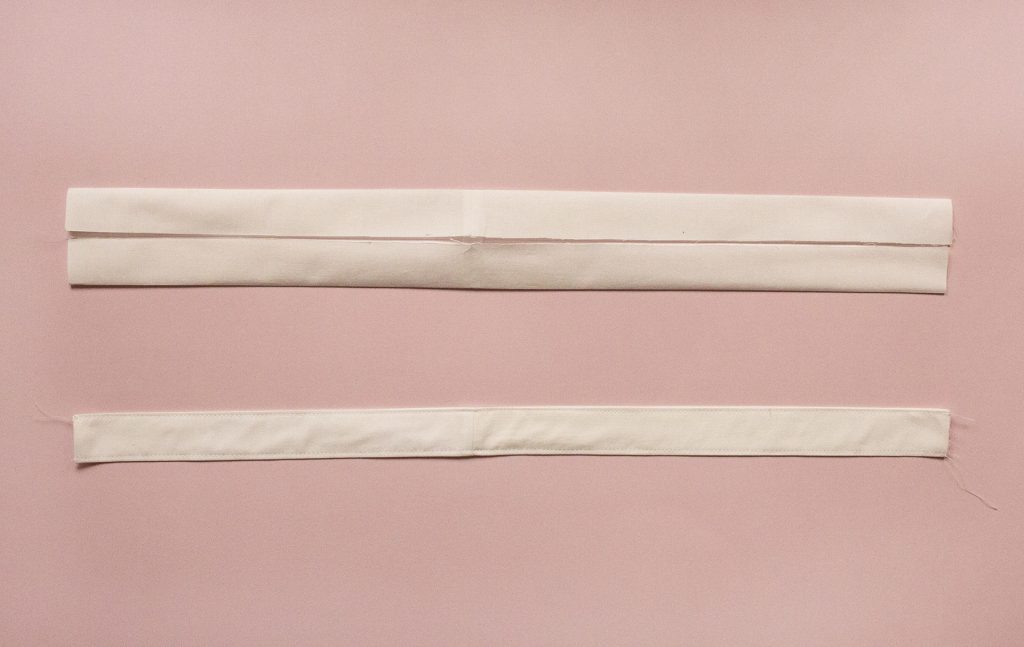
Fold the fabric stripe in half and iron it.
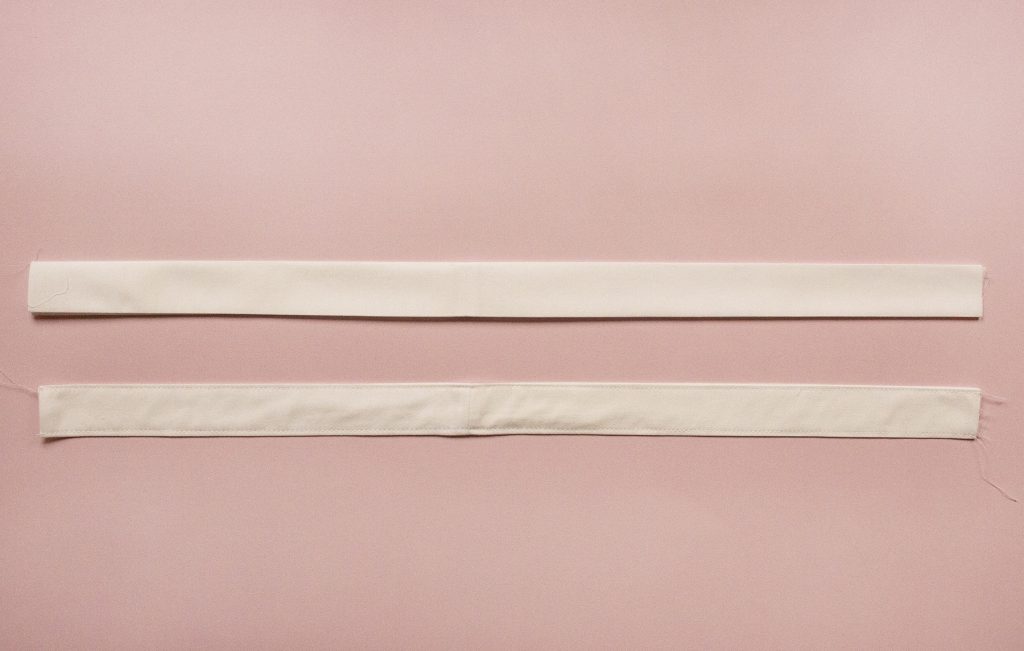
Handles should be approximately 2.5- 3 cm wide.
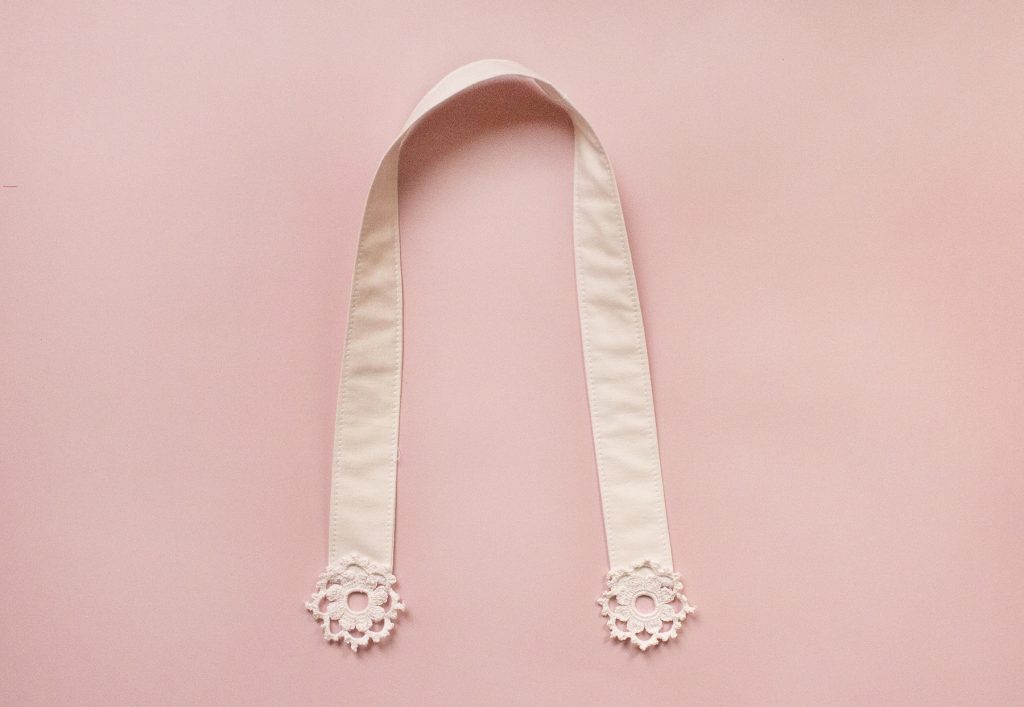
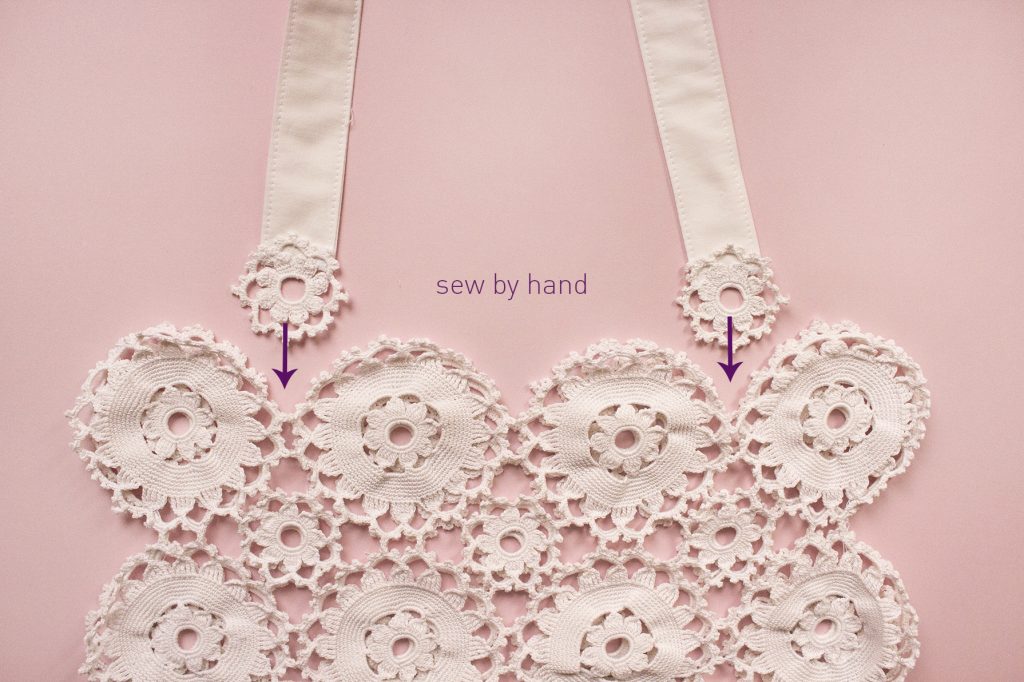
Attaching the handles

First, attach using pins and test if it is necessary to adjust by either shortening the handles or moving them closer to the center if you prefer.
Sew by hand or sewing machine.
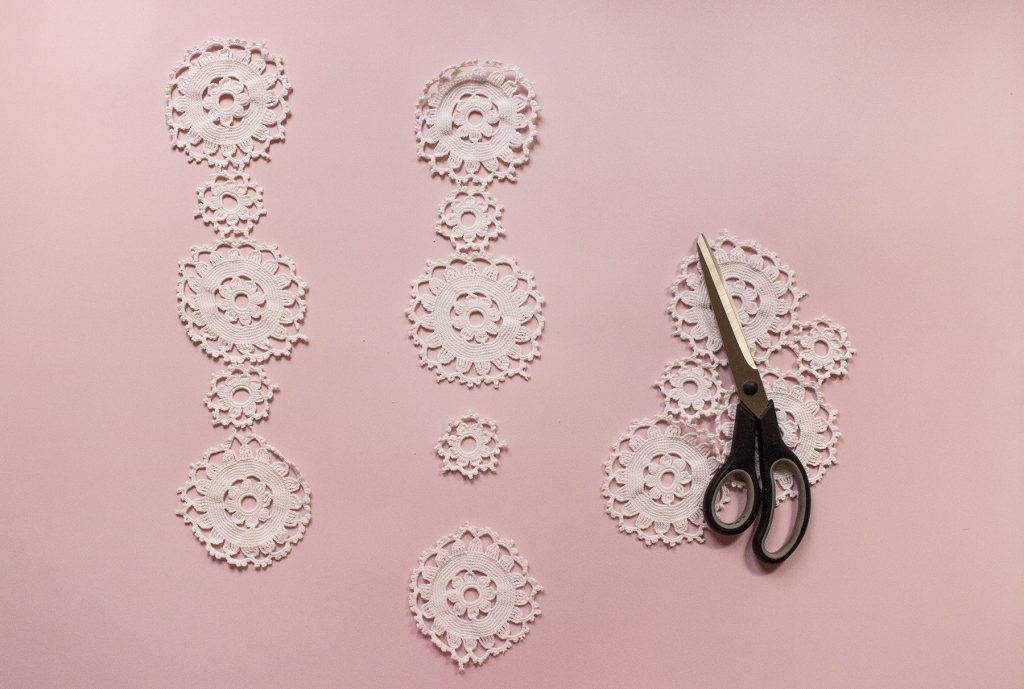
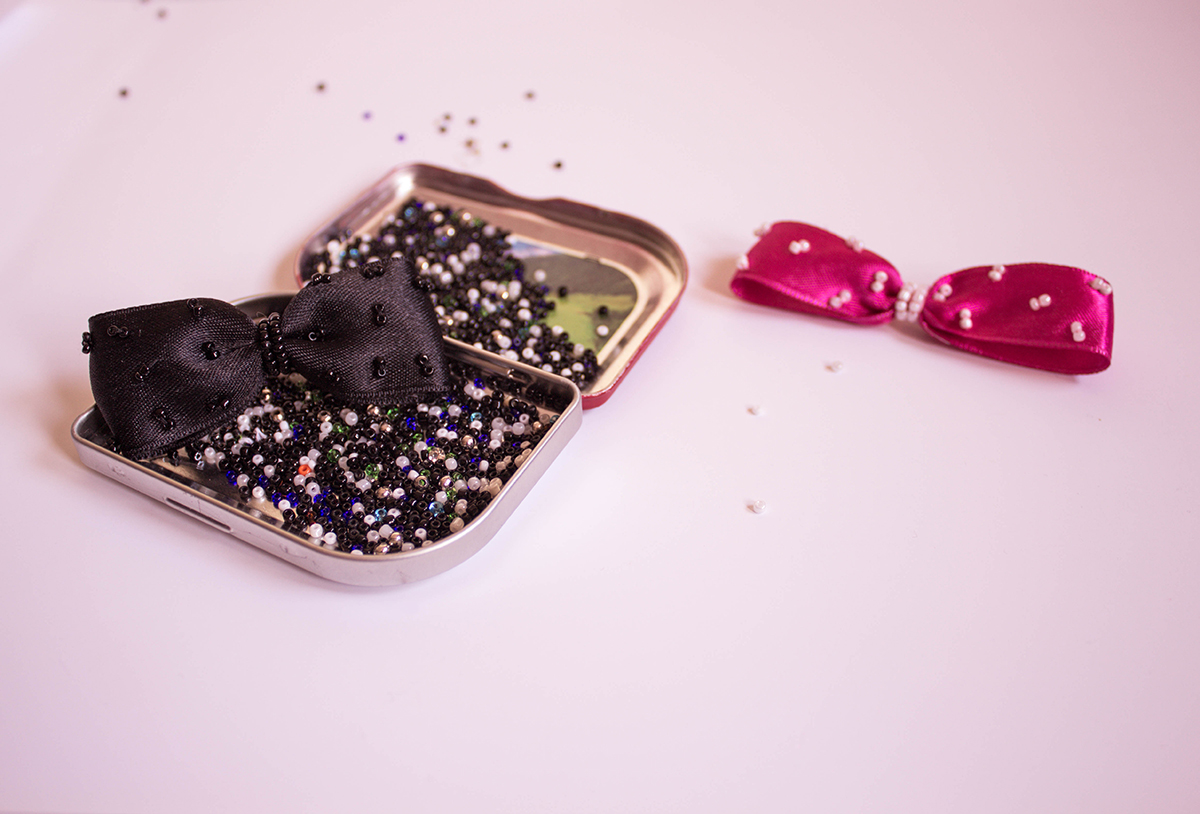
*On each side of the handles I attached small crochet pieces. But feel free to do this suiting your preferences.
Lots of love!


Hi! I loved your creation!! Cheers from Brazil <3
Hi. I love this idea. Many of your ideas I would like to print and save to make in the future. Wish they were easy to print with picture and directions all together to print.