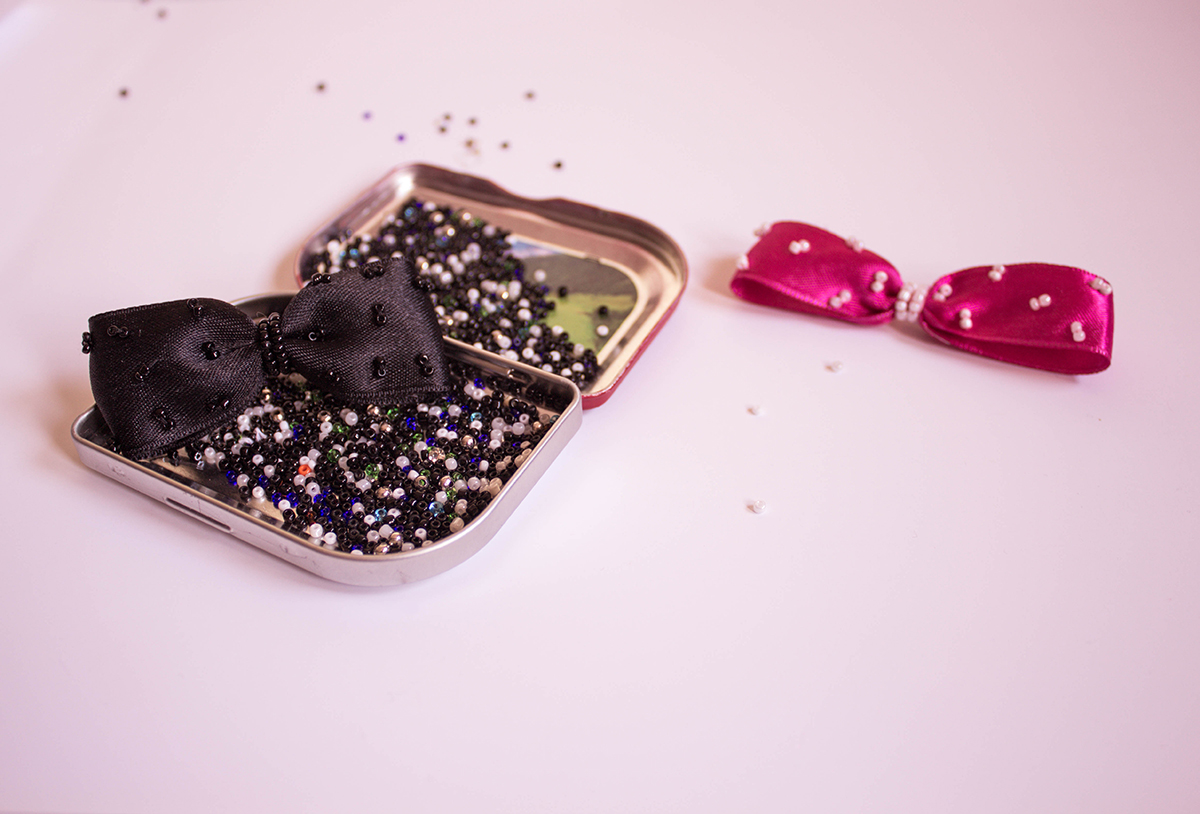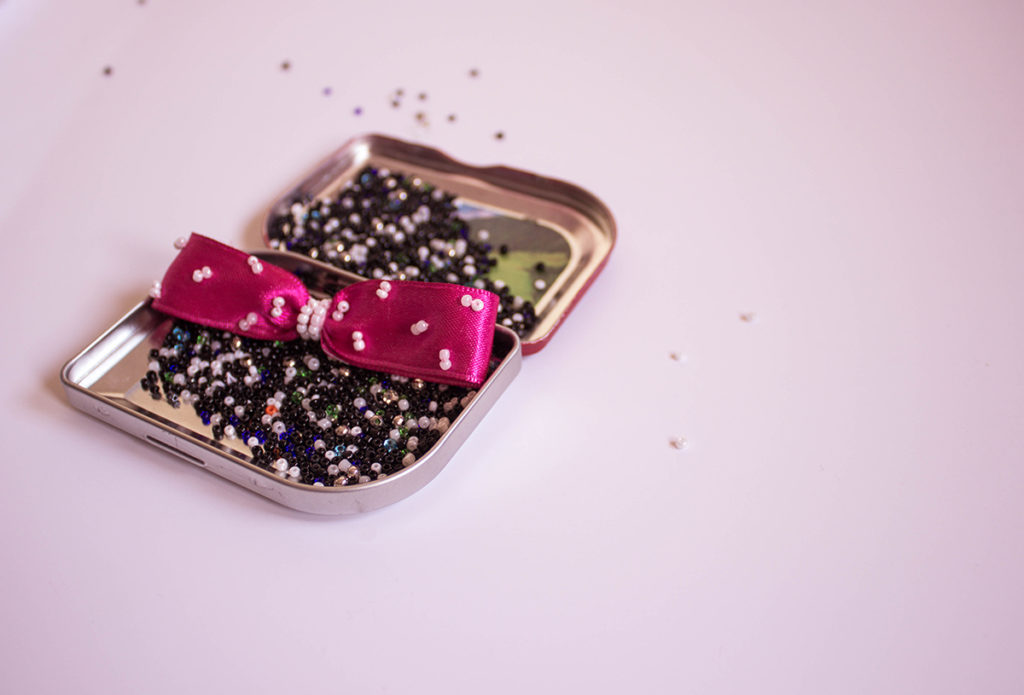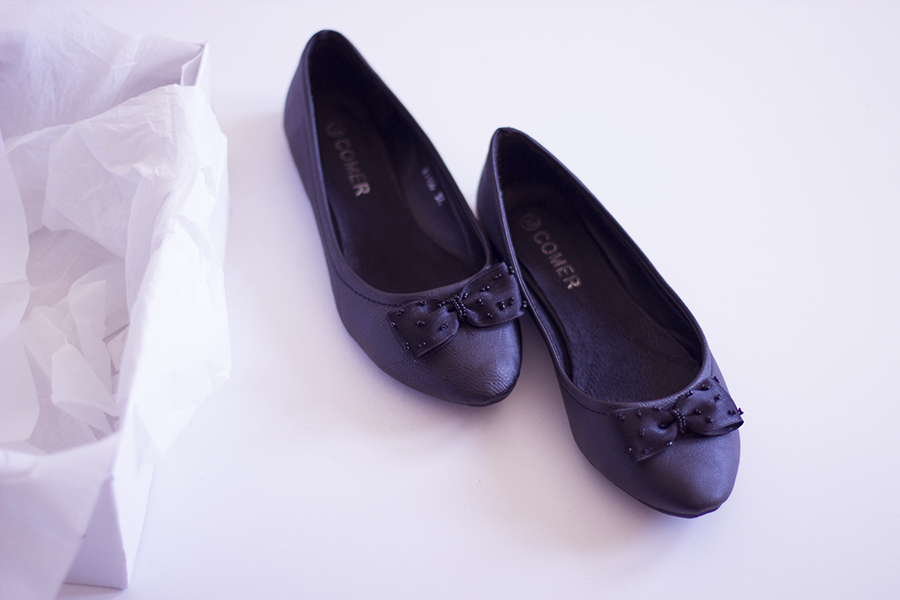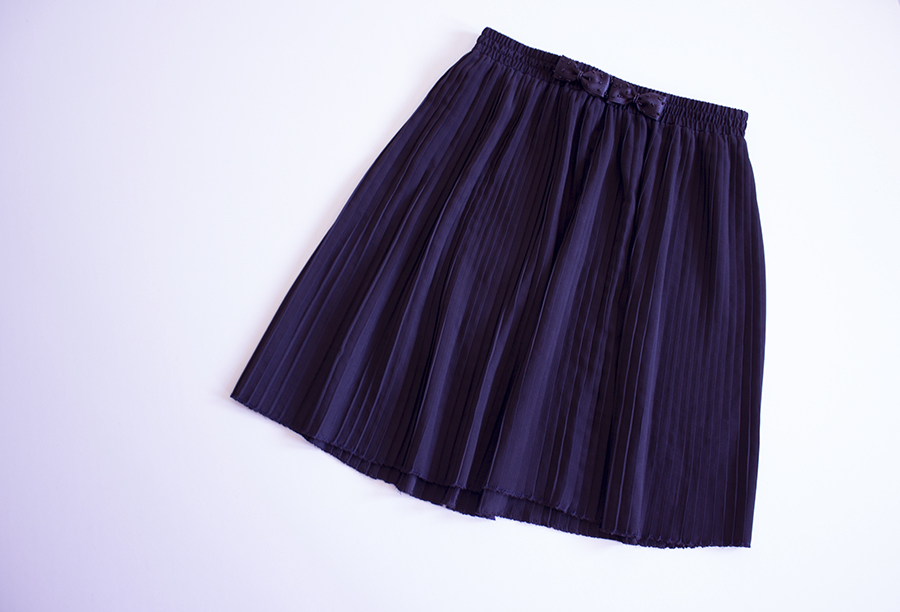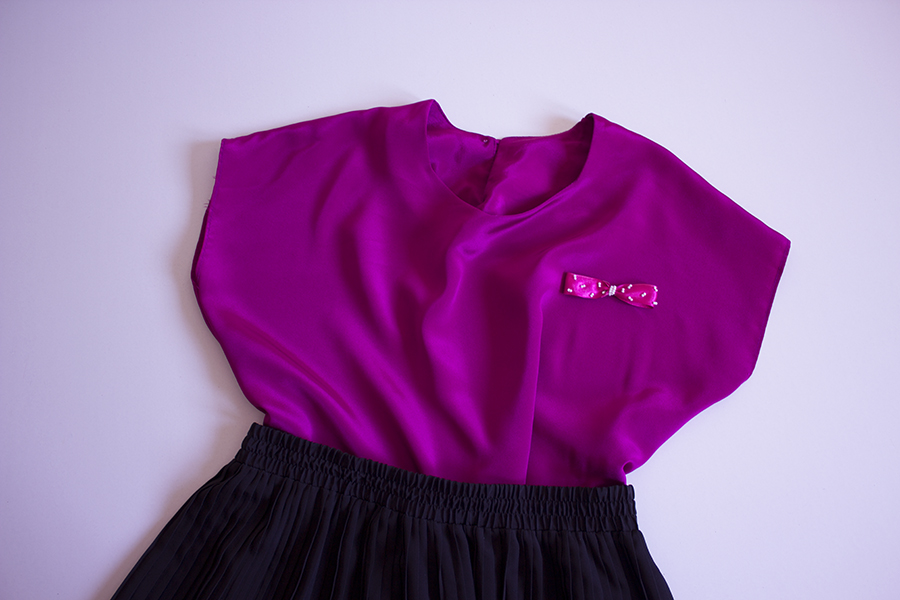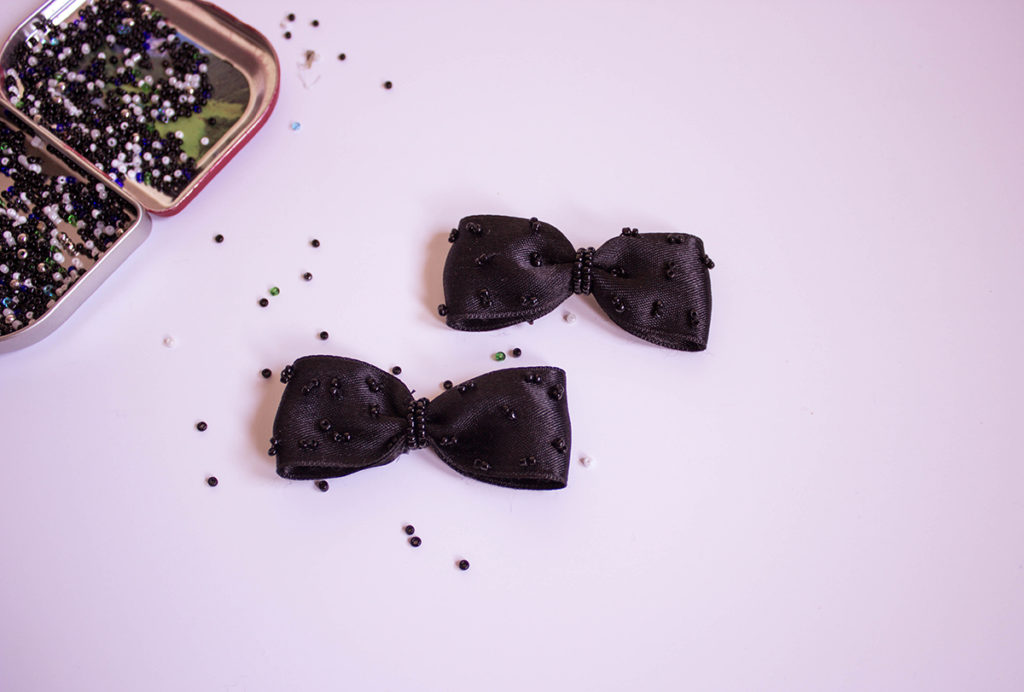
I like to have a little embellishment on my clothes or shoes. My initial idea was to make an embellished bow for my basic black ballerinas. After I made the bow, I found out that I can easily attach it to decorate an elegant basic top, a dress or even a skirt as well.
Learning to make these accessories is not really that difficult and you can use any kind of ribbon: silk, wired or cotton lace.
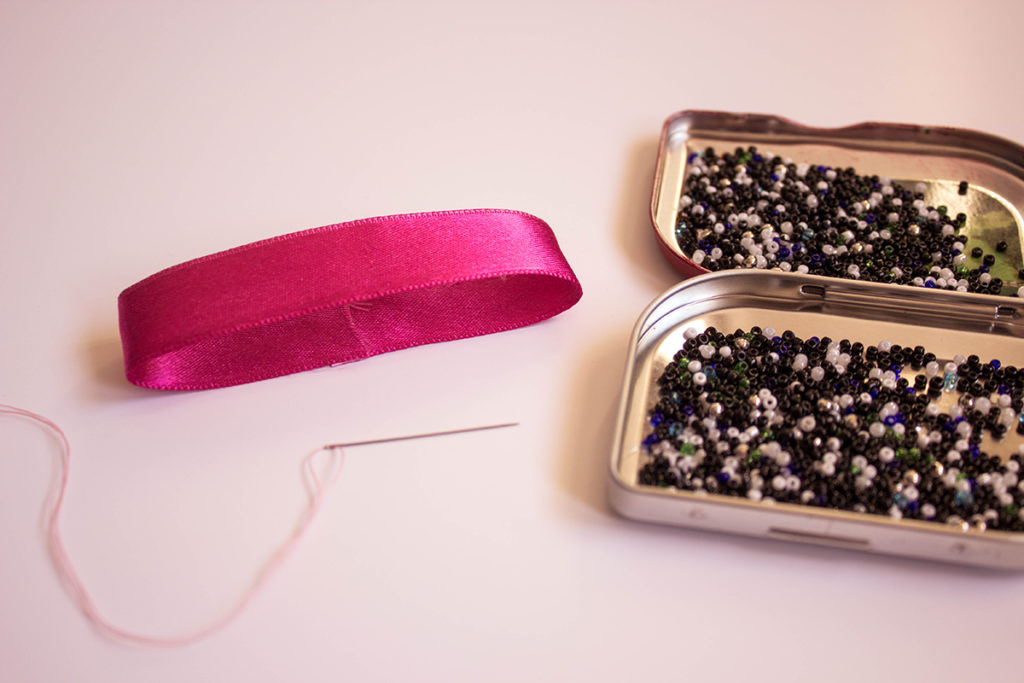
For the tutorial you’ll need
- A piece of Ribbon
- Needle & Thread
- Hot glue or tape
- Seed beads
- Pins
- Scissors
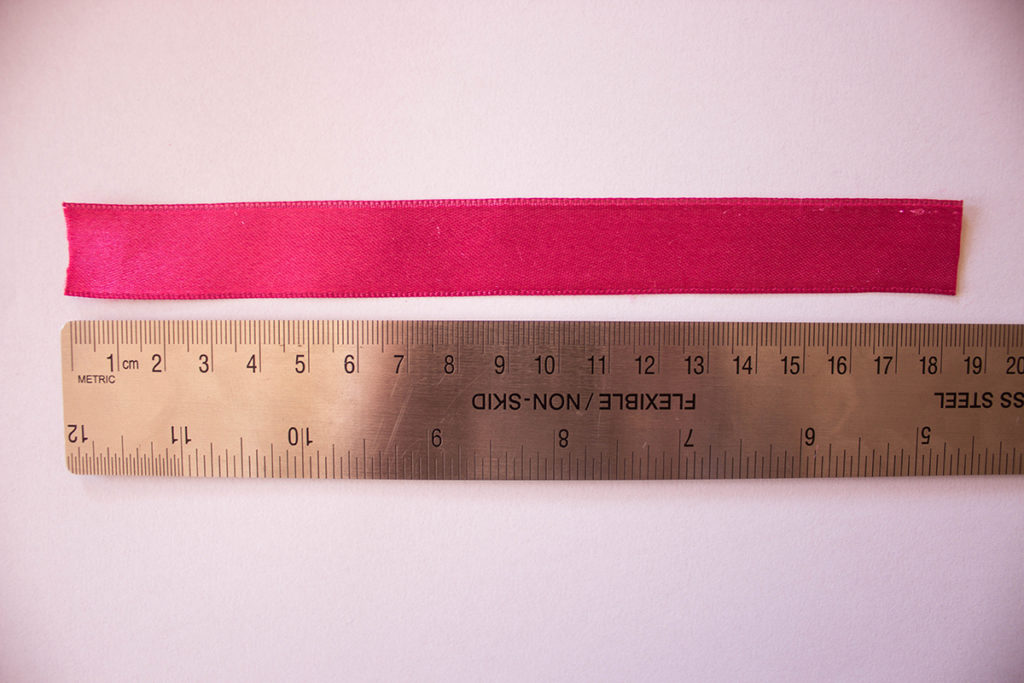
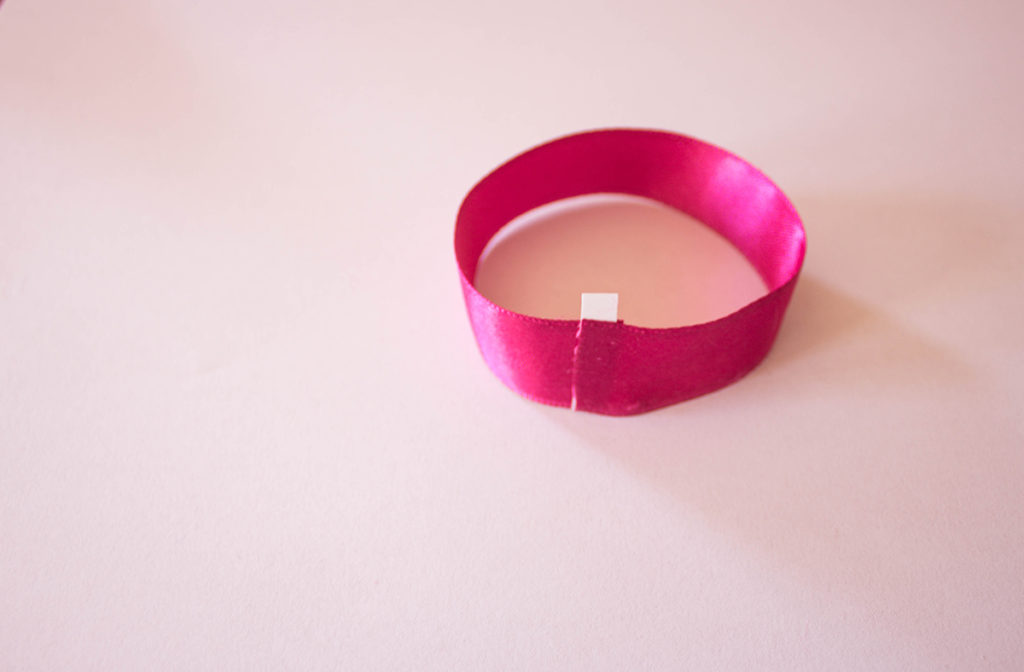
First choose the length of your ribbon and add an extra half inch to it(the extra is needed for overlap). With a 7.5 inch ribbon you’ll have an average size bow, like the one I made.
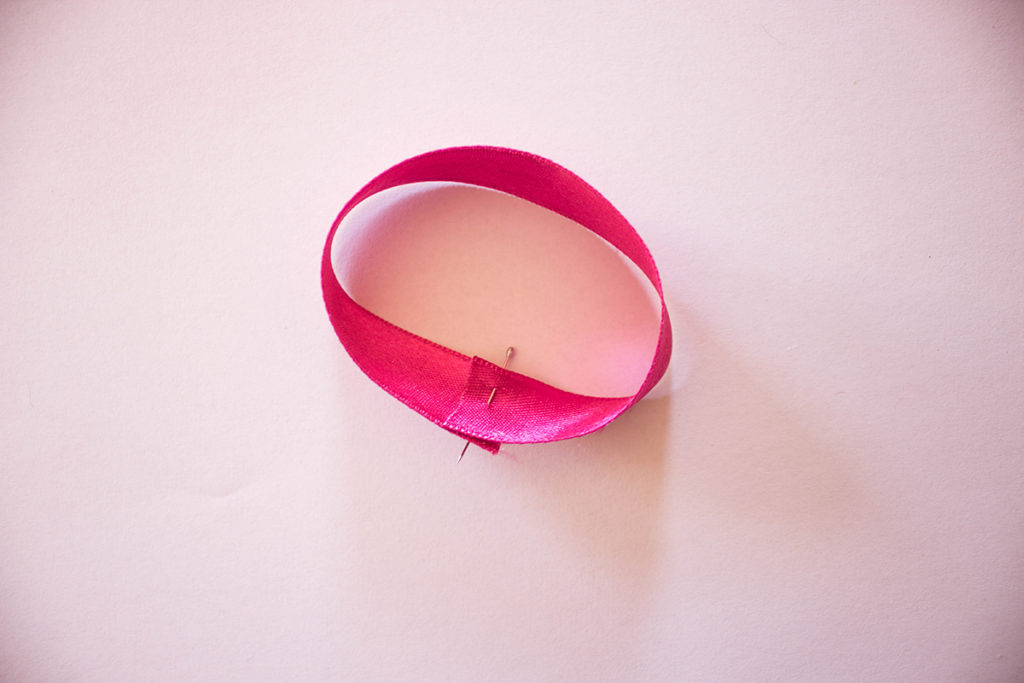
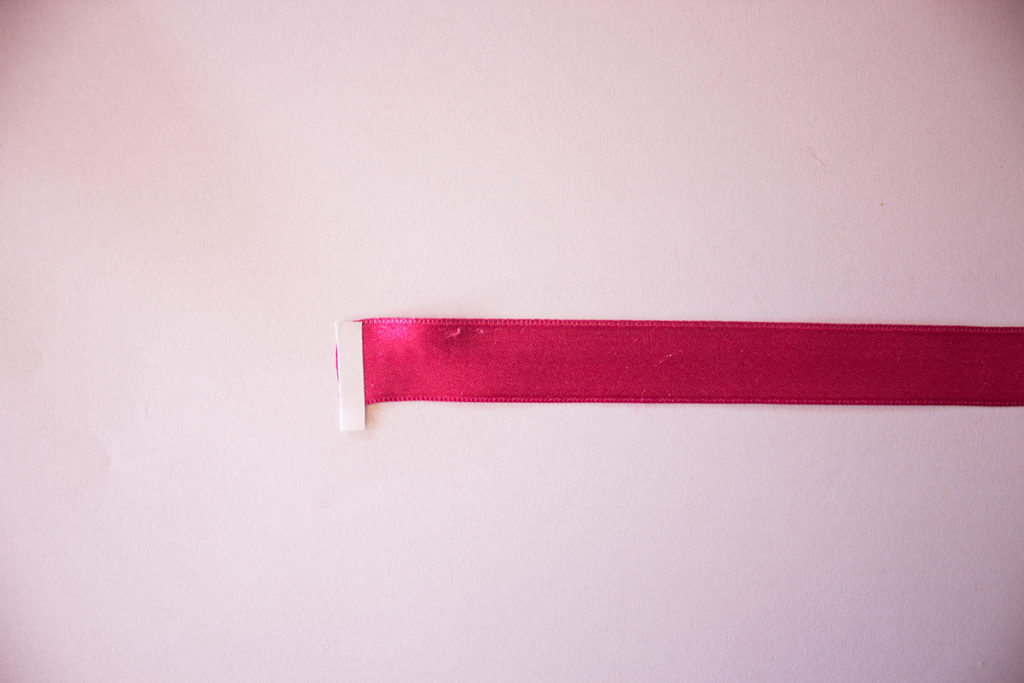
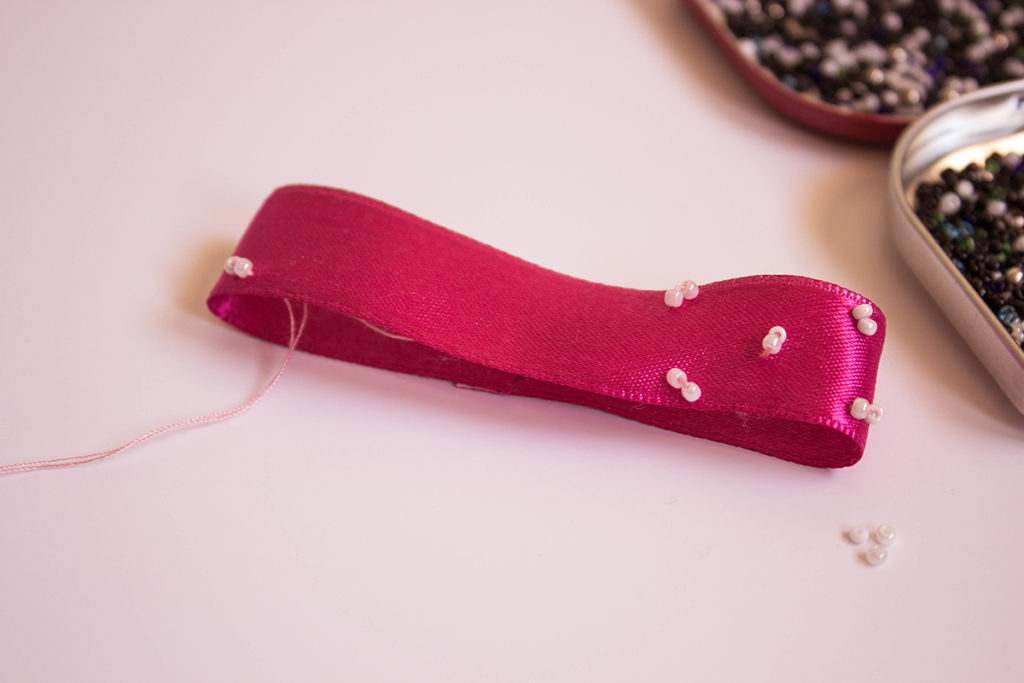
You can use a pin to keep the edges on place, while threading the beads. Or overlap the two edges using hot glue or double sided tape like I did.
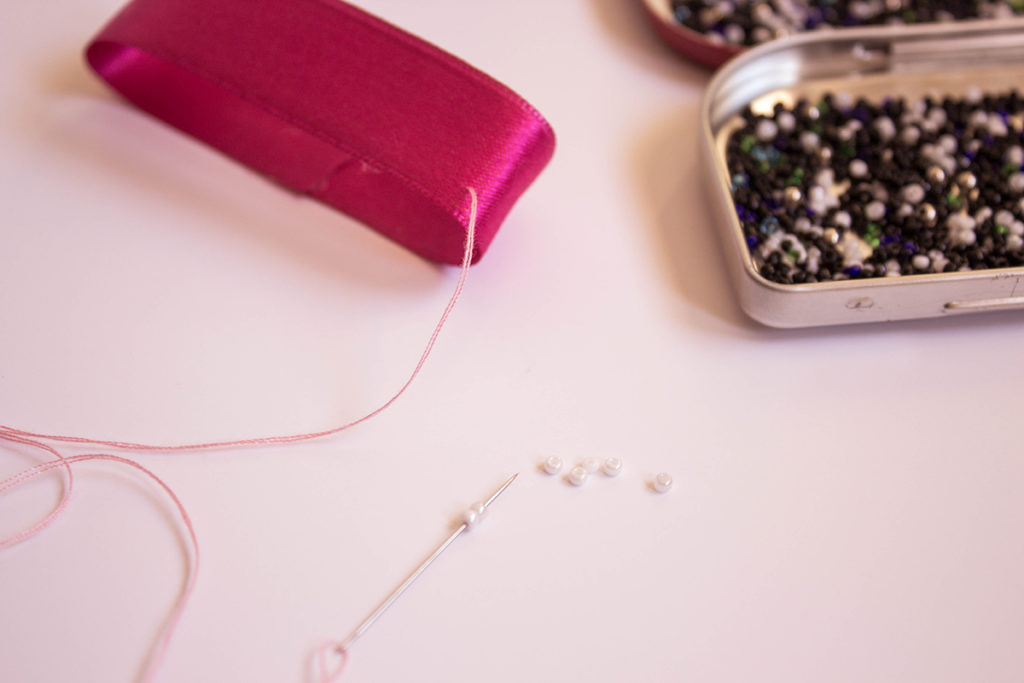
Take the needle and your chosen beads. Double the thread and tie the ends of the thread in a knot.
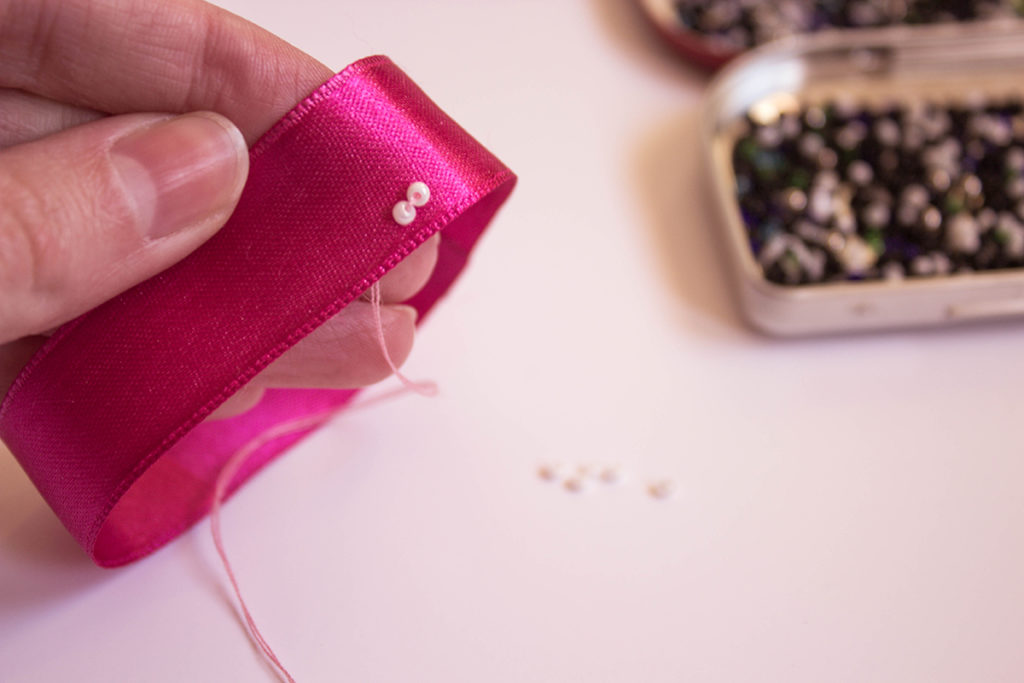
Press down the ribbon. Start threading the beads on the edge of the ribbon. Pass the needle through the underside fabric, once you reach the right side of the fabric add two beads. Push them down on the bottom of the thread and position them as you like. Next push the needle back down into the fabric.
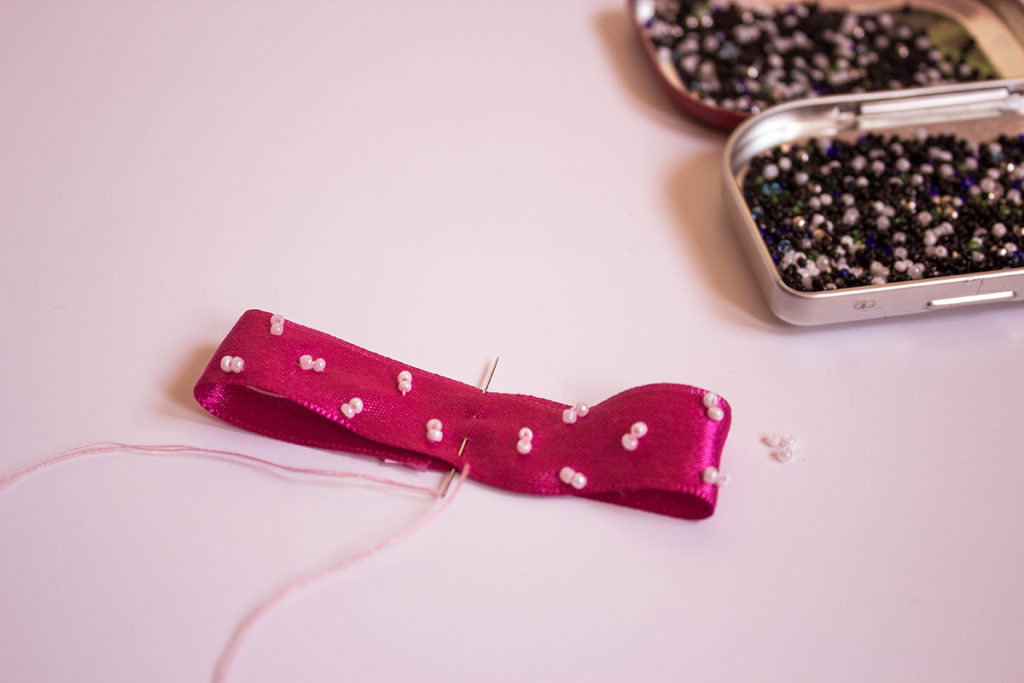
After determining the location of your next seed beads, bring the needle back up. Thread two seed beads again over the needle and push the needle back down into the fabric.
Continue adding beads by repeating this process. Make sure not to thread the middle of the ribbon and secure the thread in the end.
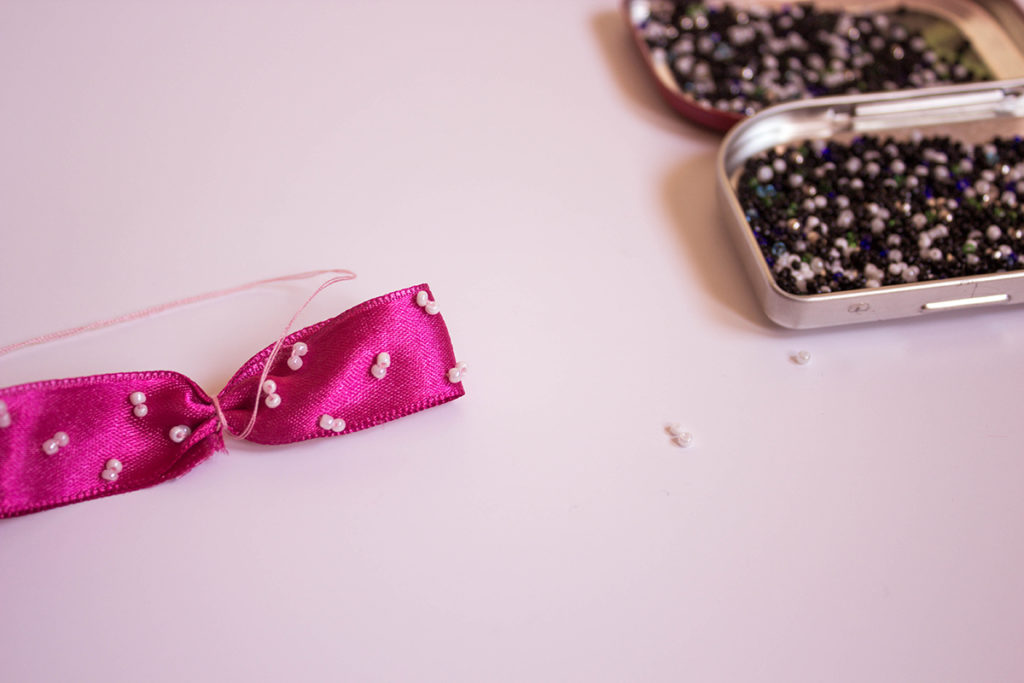
So now it’s time to stitch the middle.
After you have stitched through, scrunch and pull tight, tie the thread three times or more around the ribbon.
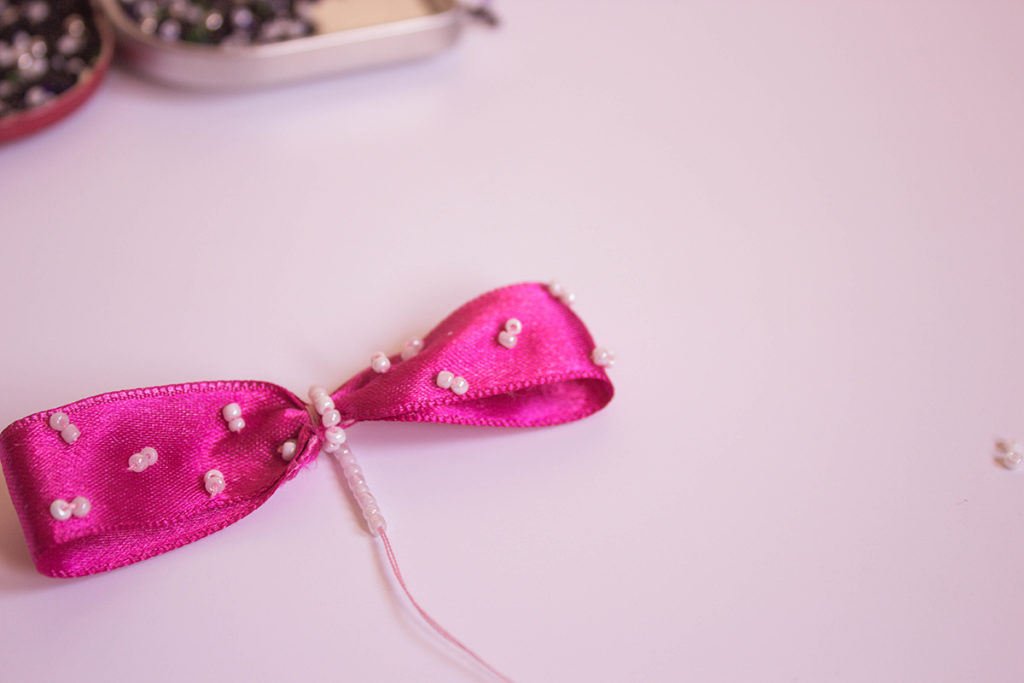
Since you still have the needle, thread enough seed beads and wrap them around the middle of the ribbon. Secure the thread after wrapping them. Cut the thread and make any adjustments if necessary.
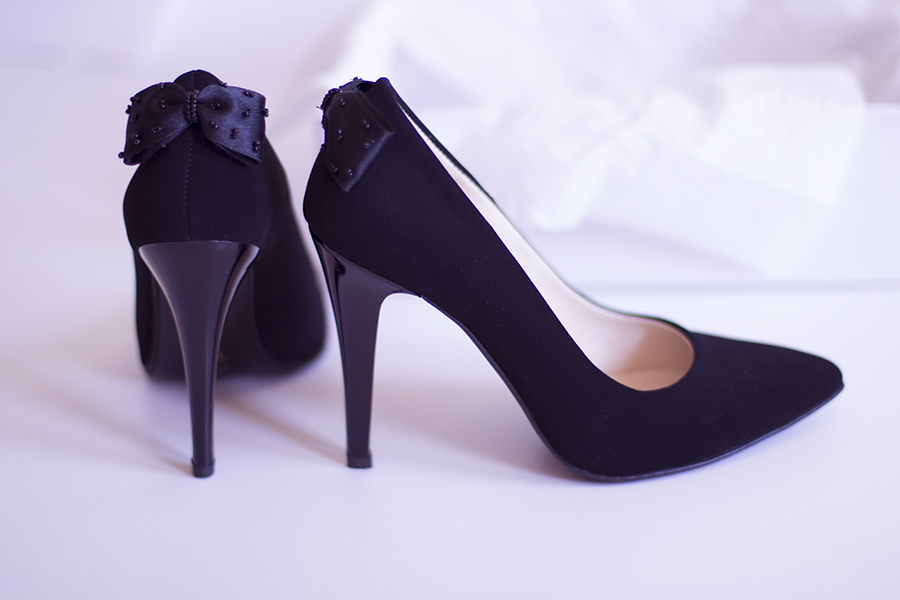
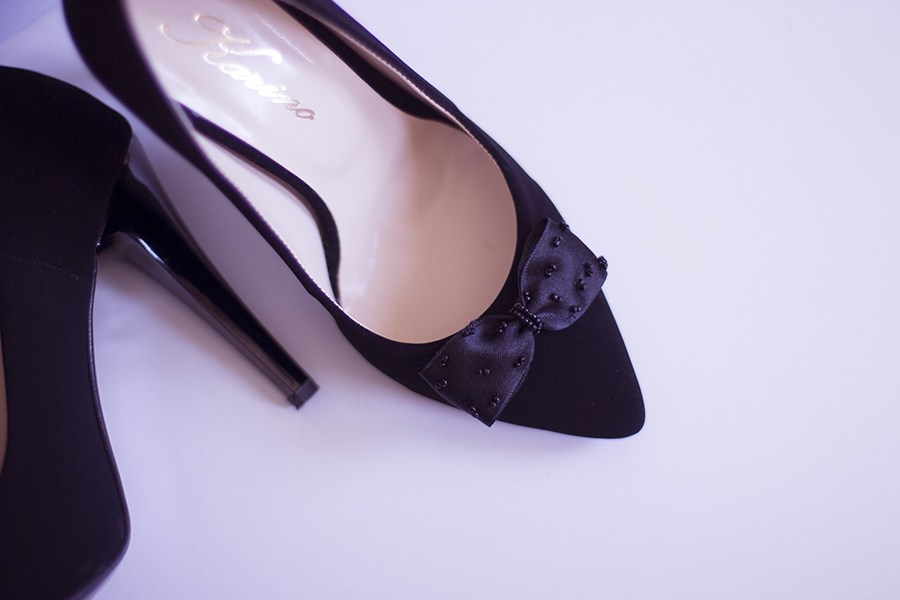
On the pictures below, you’ll have some ideas on where to put these beautiful and unique bows.
Thank you for visiting DIYclothes!
Tringa

