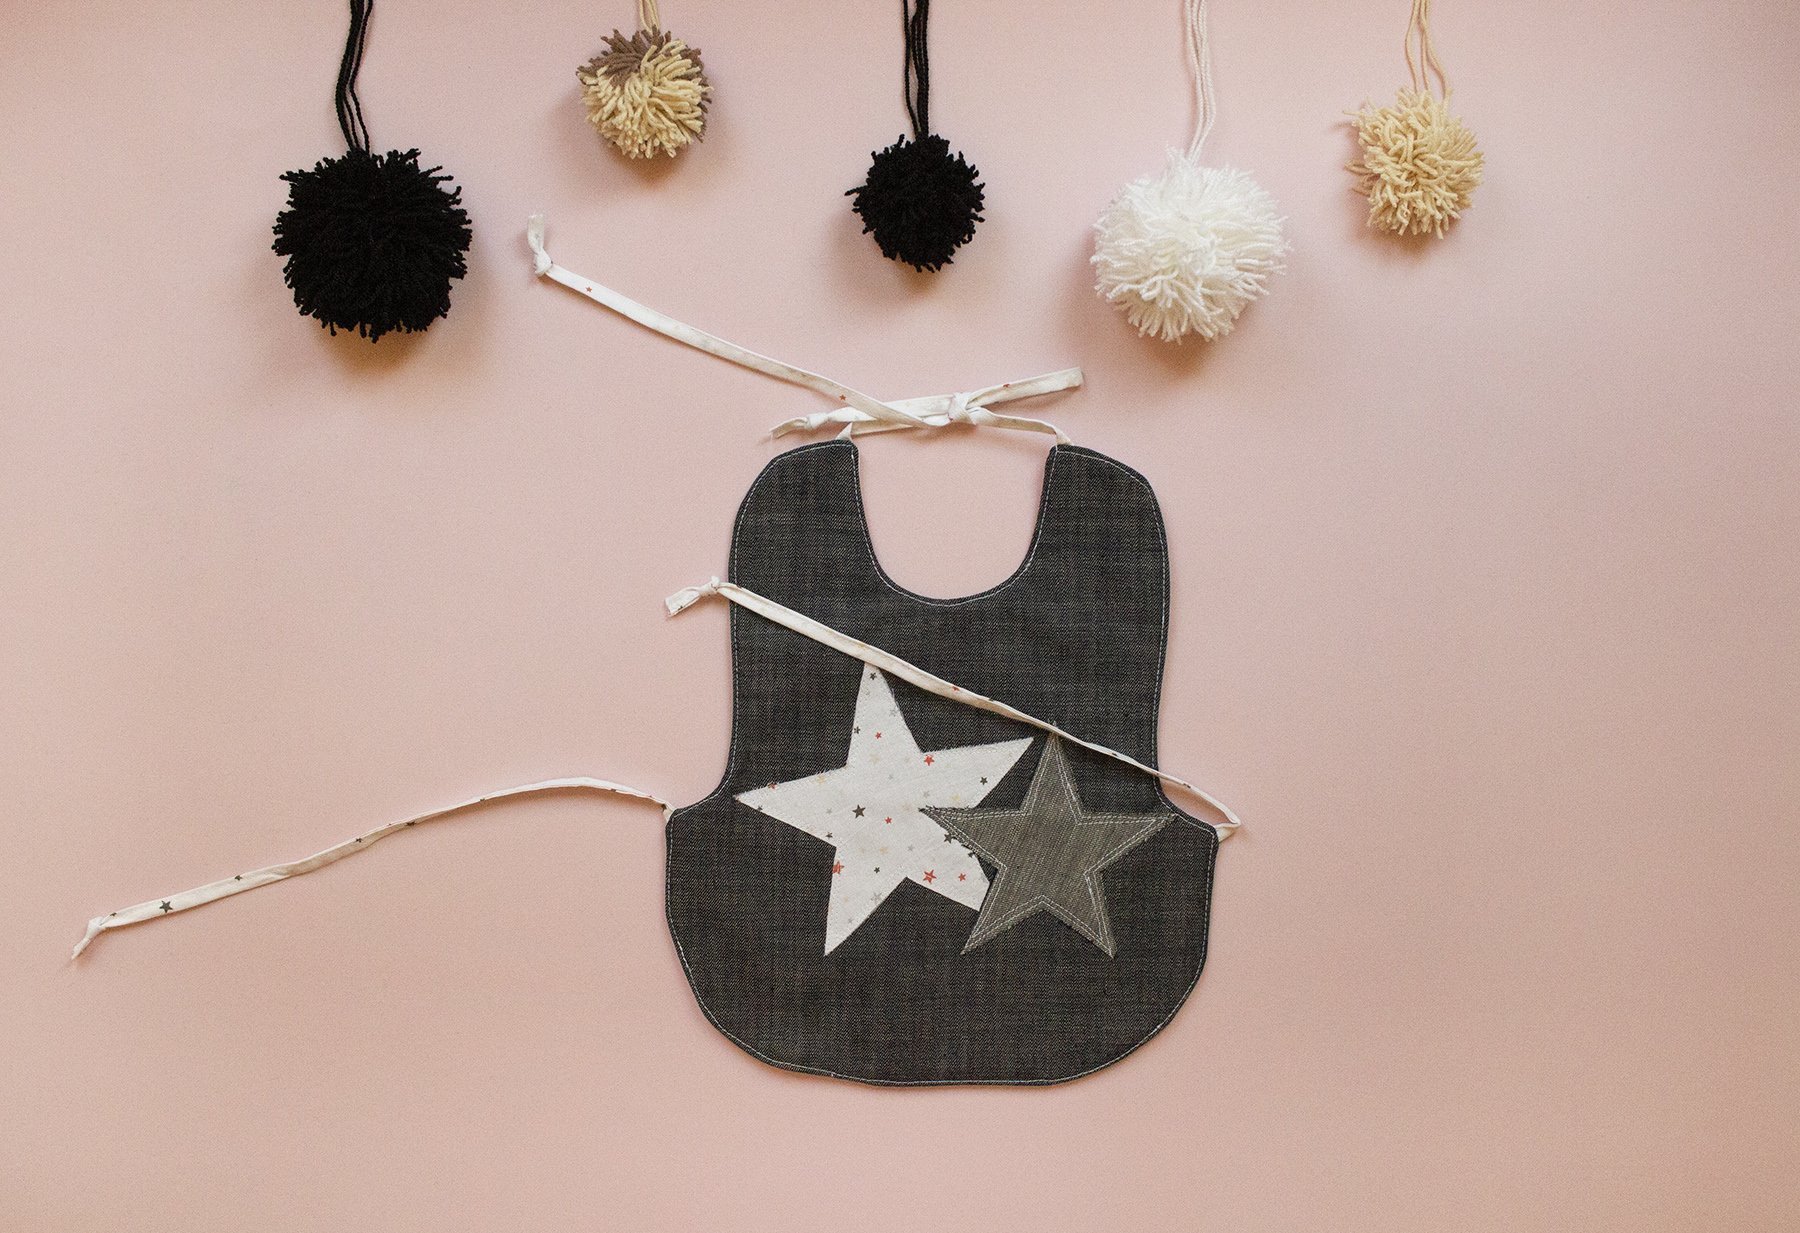

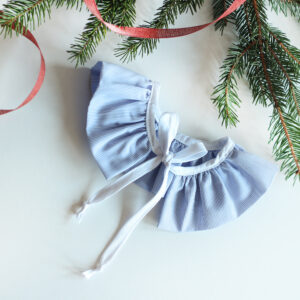
Today I am excited to share this adorable Free Apron Bib Pattern for the little ones.
This bib can be sewn in two different methods, with or without bias tape and it is super easy to make, including for those who are new to the art of sewing. The simple step by step tutorial below will walk you through on how to sew the apron bib.
Enjoy creating beautiful things!
To make your own Baby Apron Bib, you will need:
- The pattern – Download HERE
- 3 pieces of fabric ( front, middle, back fabric) 35 cm tall 30 cm wide
- Matching thread
- Scissors
- Iron
- Sewing machine
- Pins
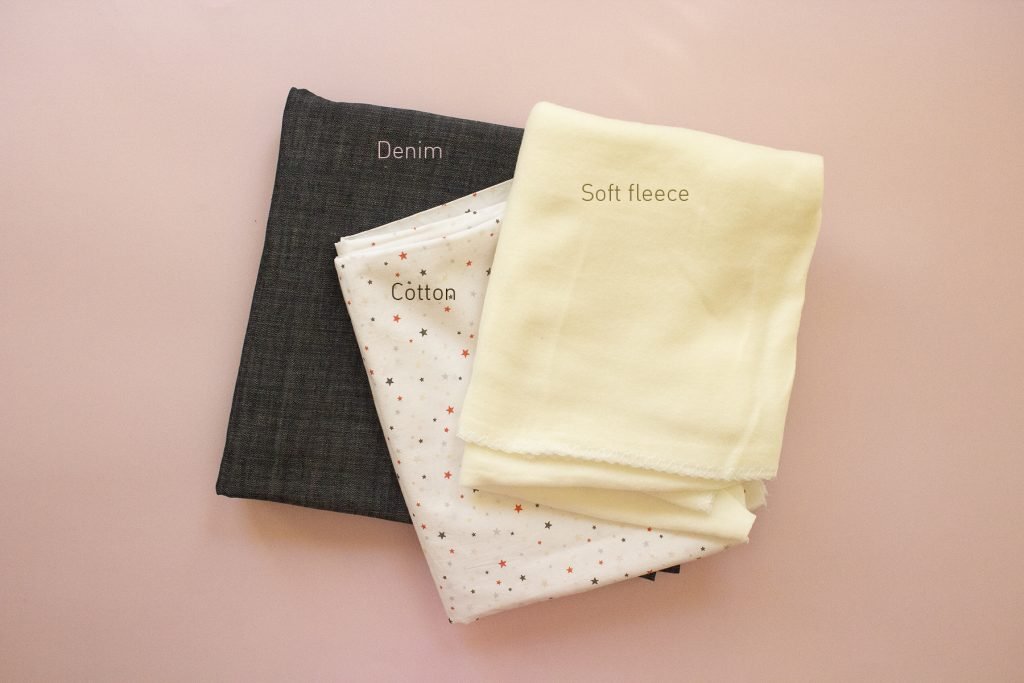
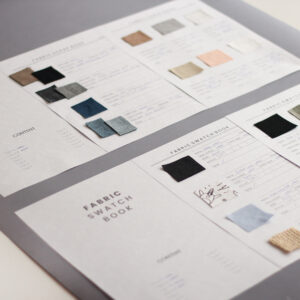
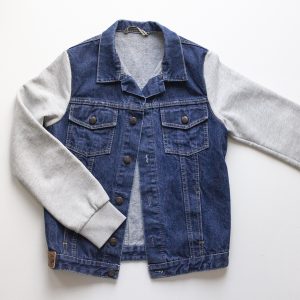
First, some fabric suggestions: You can use light to medium-weight fabrics like cotton, denim, muslin, canvas, linen, denim, fleece and terry cloth.
Print the Free Pattern HERE

There are three pages in total, but you only need to print the second and third page.
Print at 100%. Do not “scale to fit. Check if the square test measures 4 cm x 4 cm.
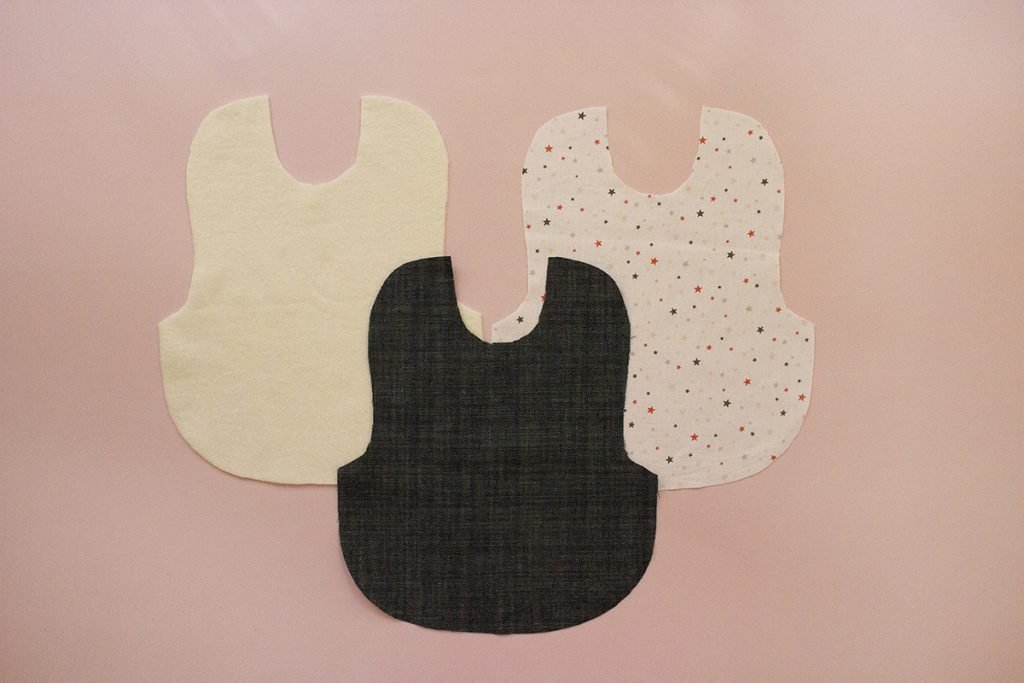
Cut out a front, a back and the batting fabric. I used some fleece insead of it .
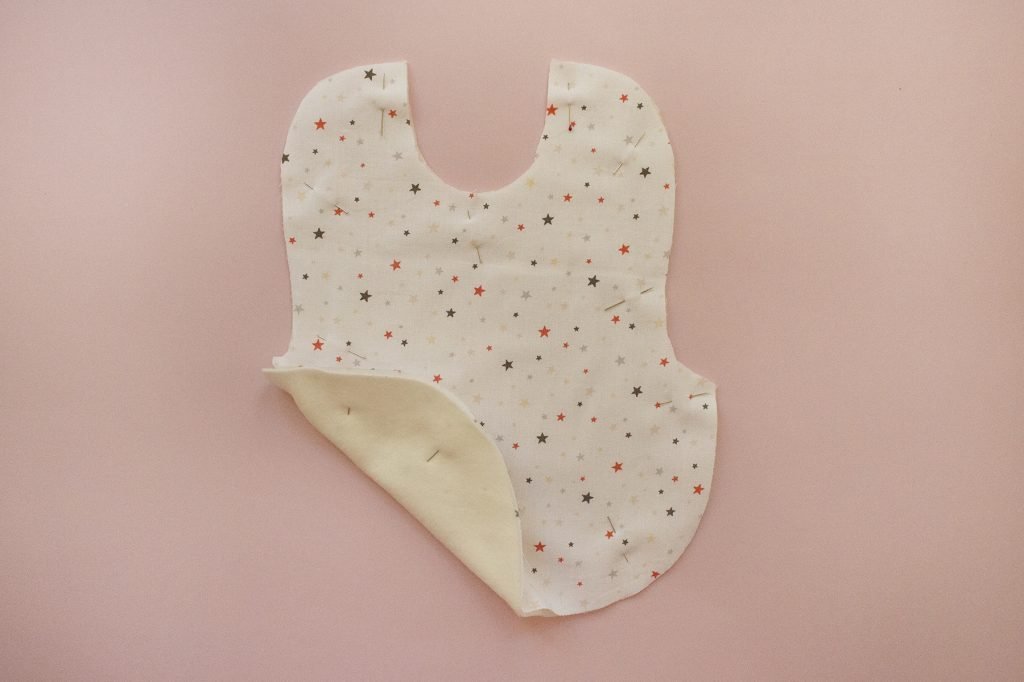
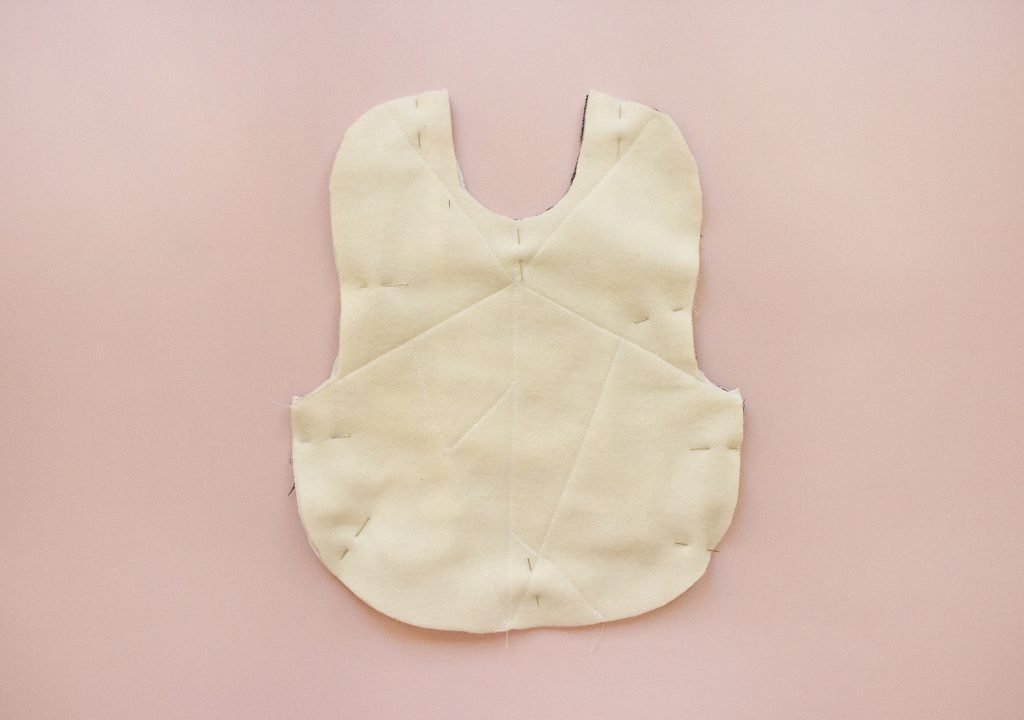
Pin together the batting and the back layer.
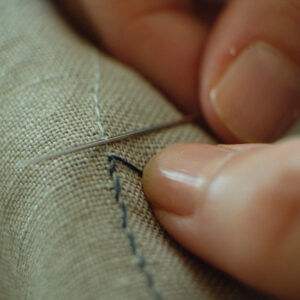
Topstitch horizontally and vertically as desired in order to keep both these layers in place as one.
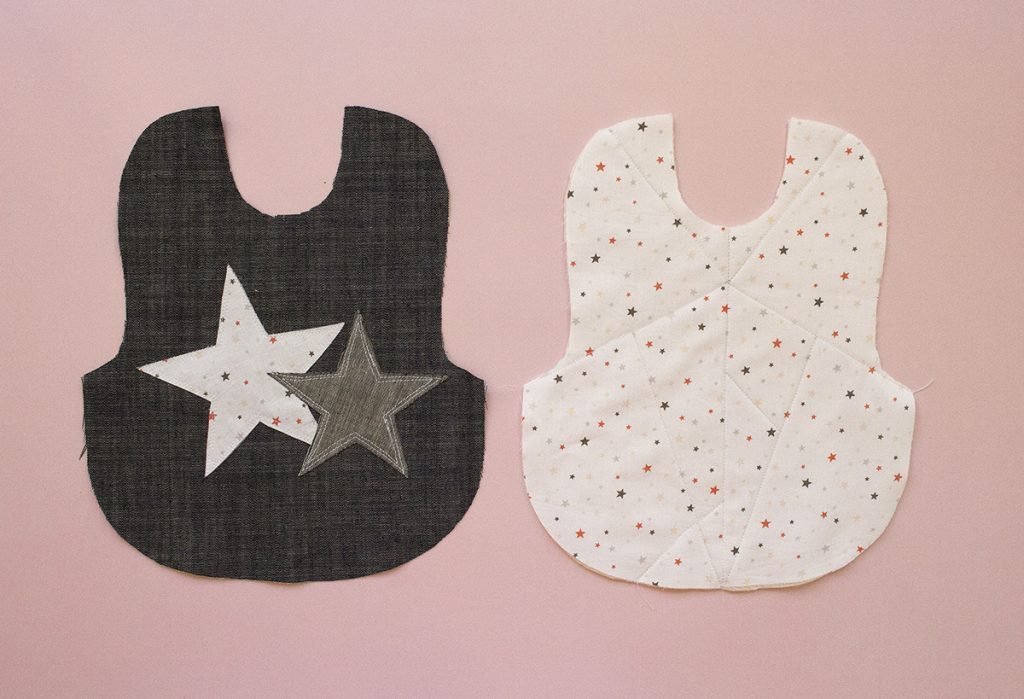
Design the front of the bib with stars or your chosen figures.

With your choice of fabric make the ties. Cut four rectangles 3 cm wide and 20 cm long.
Fold each piece in half lengthwise, and press.
Fold again so that the raw edges are enclosed and the folded edges meet, iron and stitch along in one or both long sides close to the edges.
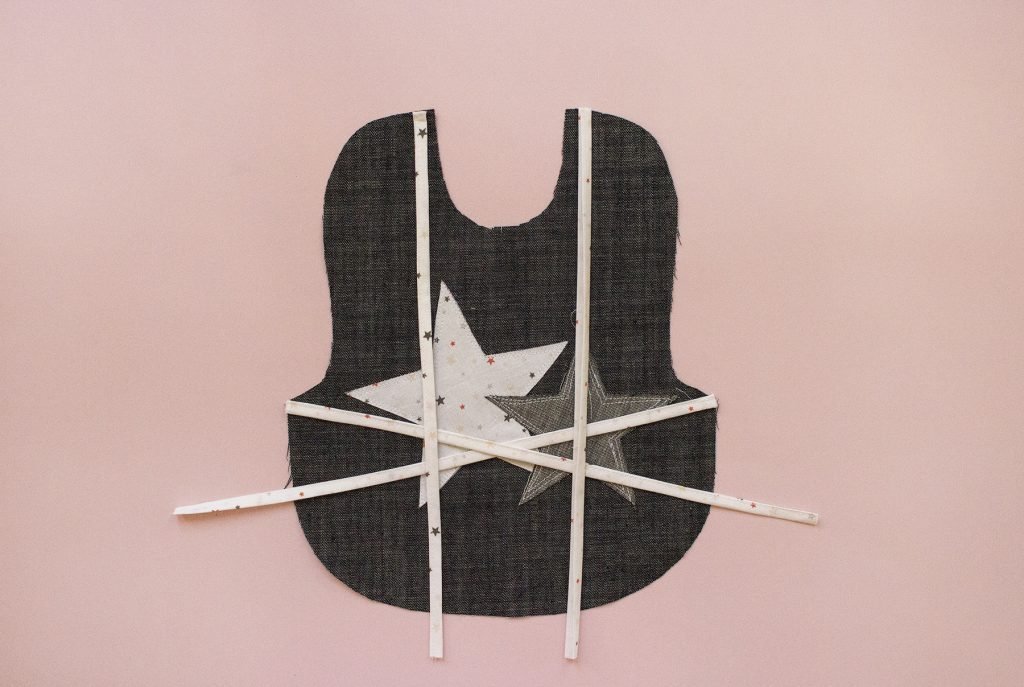
On your work desk put the front bib panel and position the straps 0.8 cm off the neckline edge on both sides.
Sew in Place using 0.3 cm seam allowance. Repeat for the bottomed ties.
With the right sides of the fabrics together, pin the two panels together
• Stitch around the bib with a 0.6 cm seam allowance, leaving a 3 cm opening at the bottom to turn the bib right side out.
• Trim some of the bulk from your seam.
• Turn the apron bib right-side out through the opening and press the seams.
• Sew the opening at the bottom and continue topstitching around the entire bib.


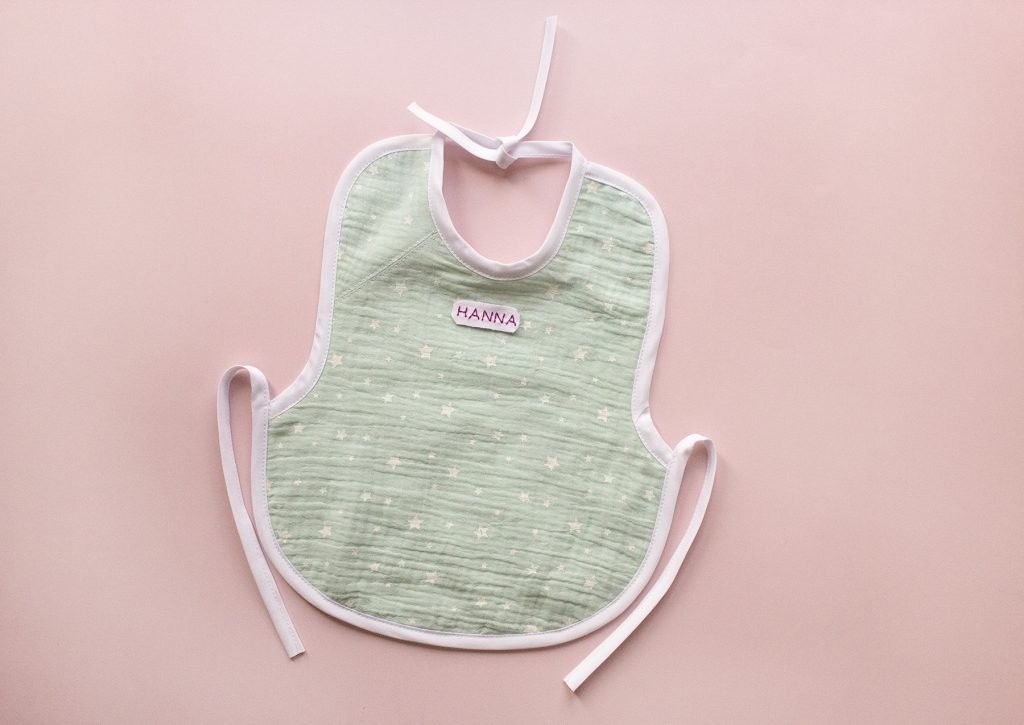
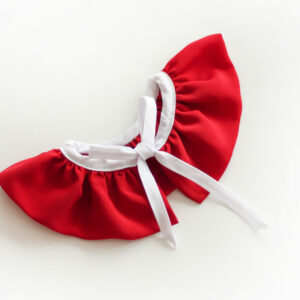
Second method – with Bias Tape
Pin the two panels of fabric with the wrong sides facing each other.
Edge stitch all around the bib, so you can remove the pins and add the bias tape without worrying that the panels will shift.
Add the bias tape around the sides, first.
Next, pin the bias tape to the neck of the bib and leave out 15- 20 cm of tape for the ties on both sides.
Pin the bias tape around the bottomed curved edge of the bib, also leaving enough for the ties.
I hope you enjoyed this tutorial as I plan to share more baby patterns in the future.
Thank you all!


The pattern file wouldn’t download or show up, though I tried everything.
Would it be possible for you to email it to me?
Or tell me when Im doing wrong.